.png)
1. Scan To Action
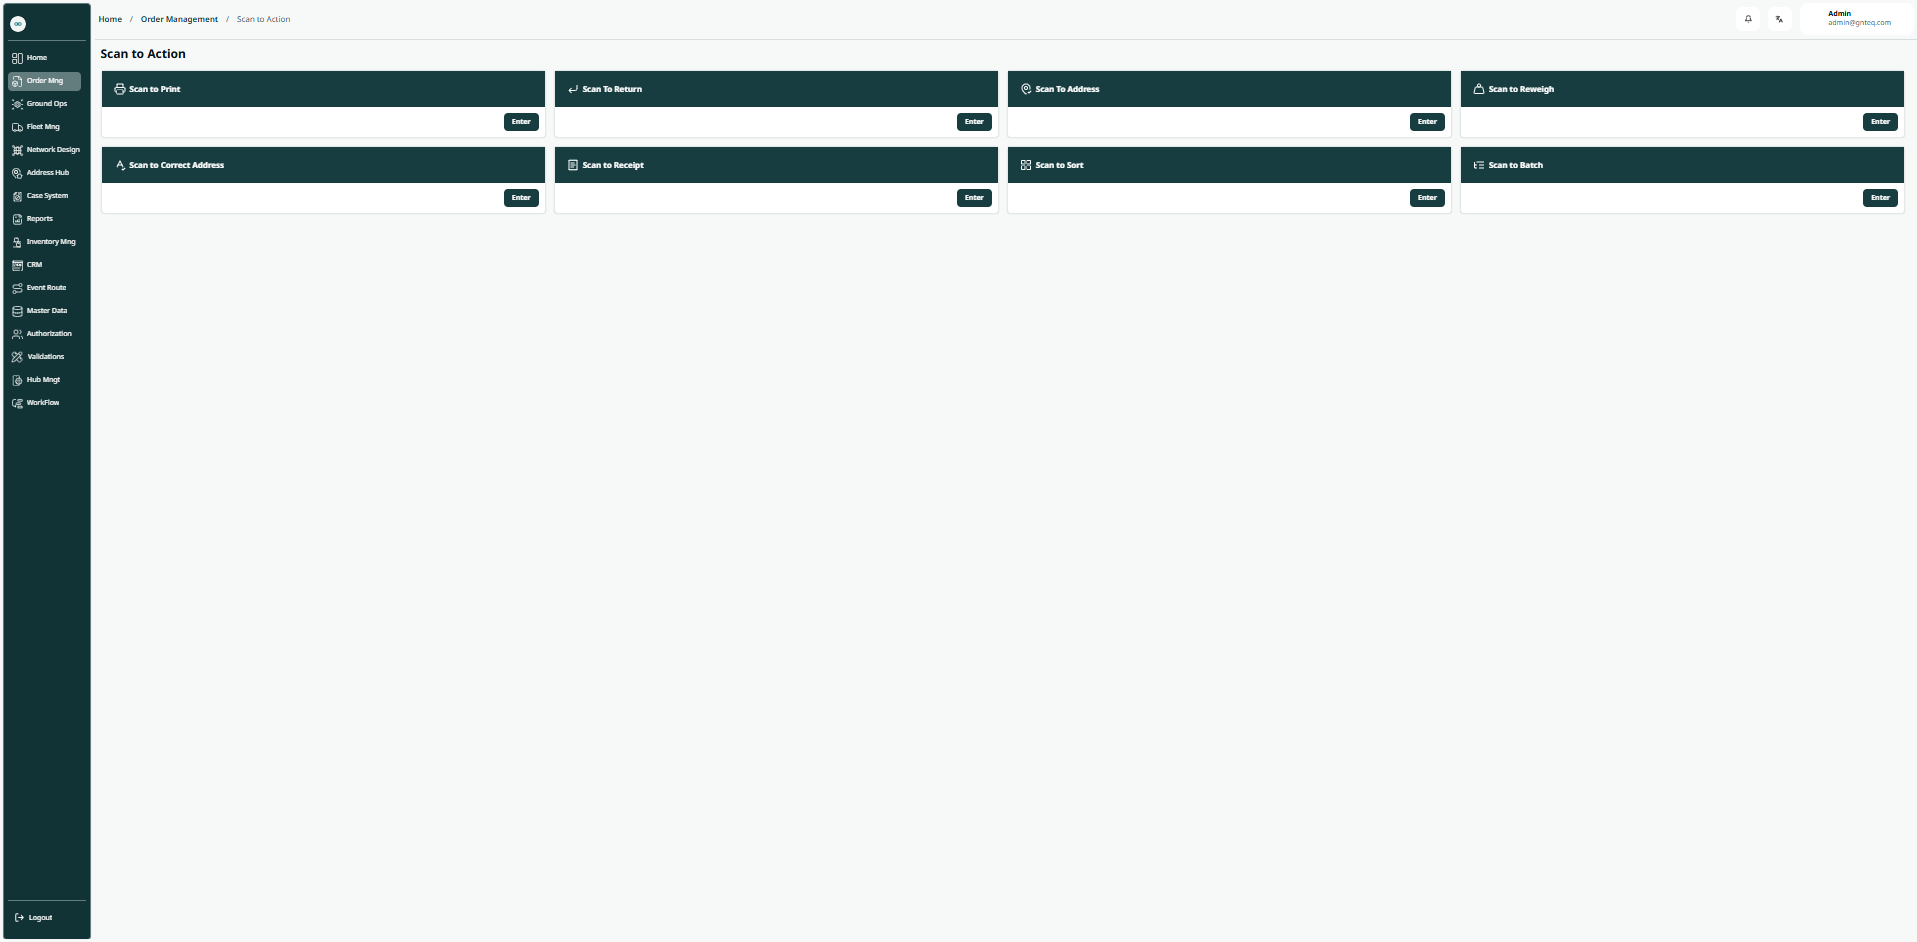
1.1 Dashboard
1.2 Scan To Print
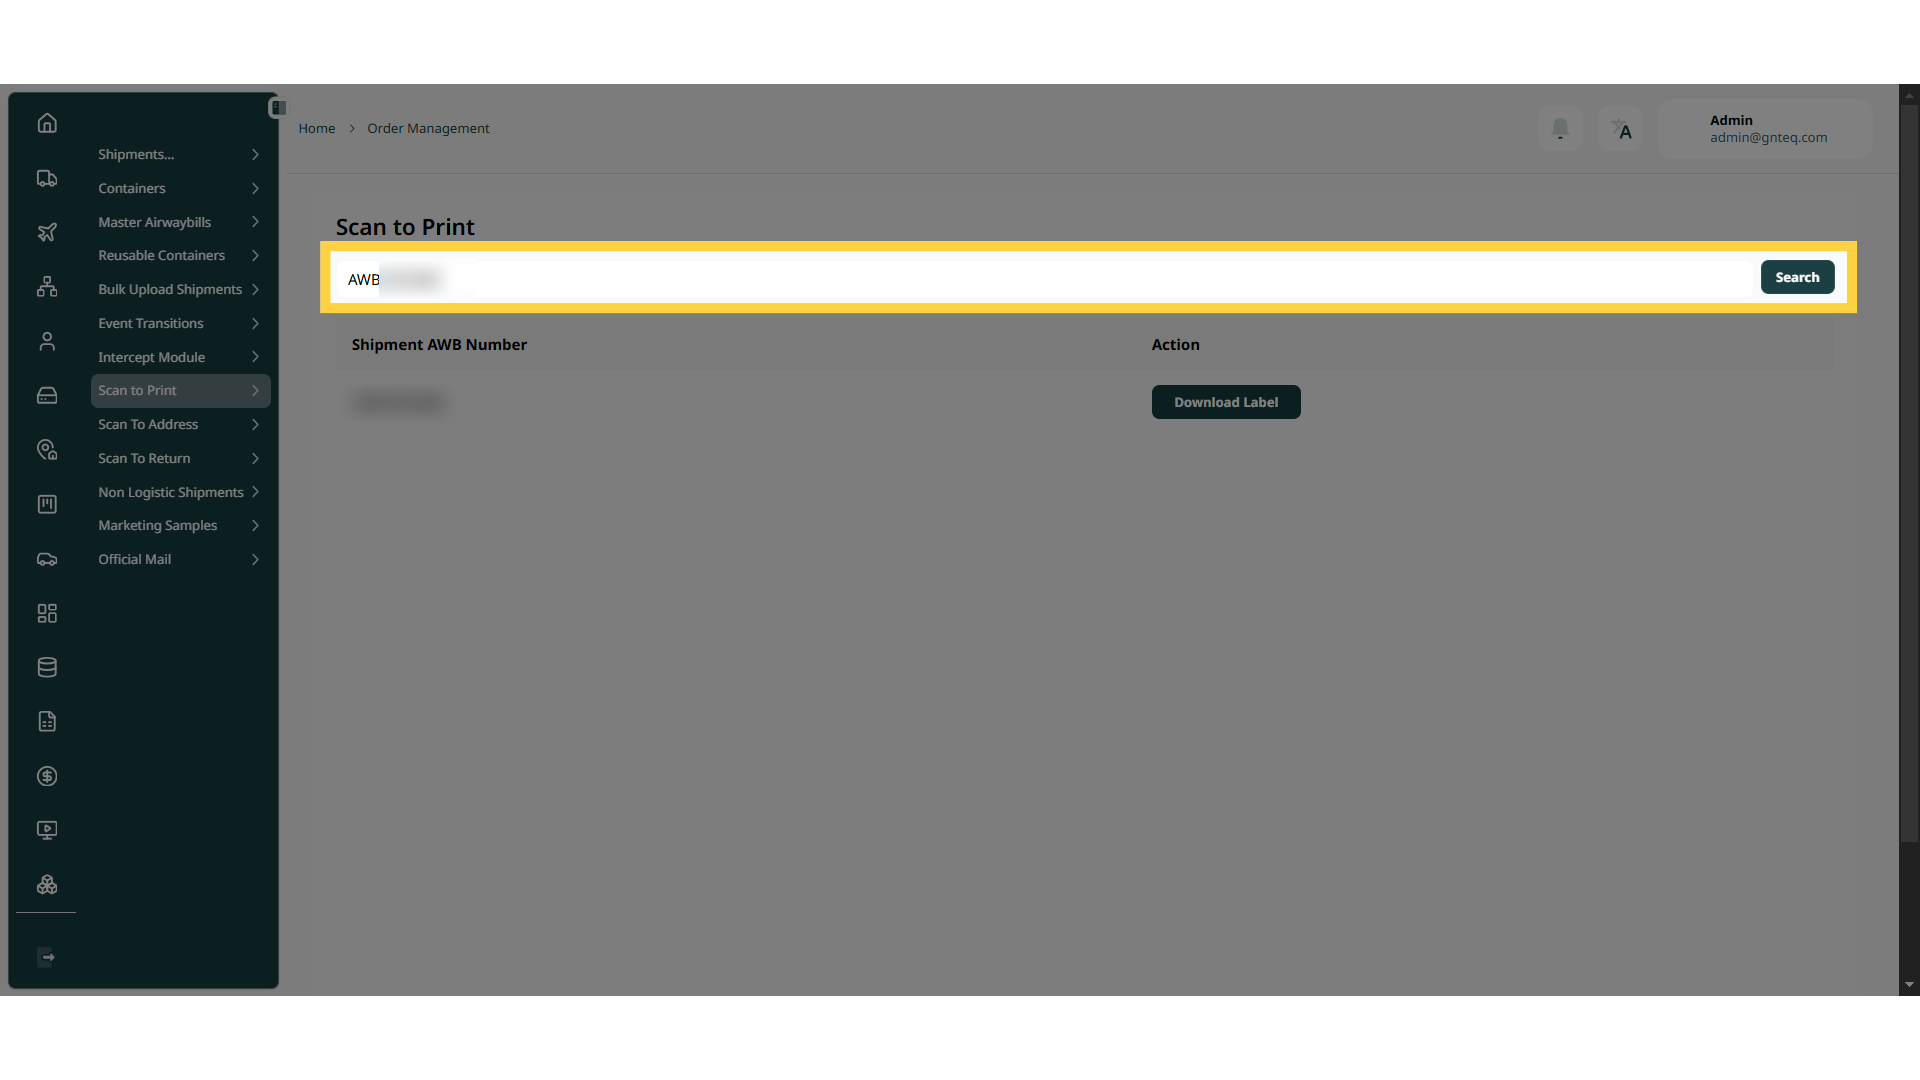
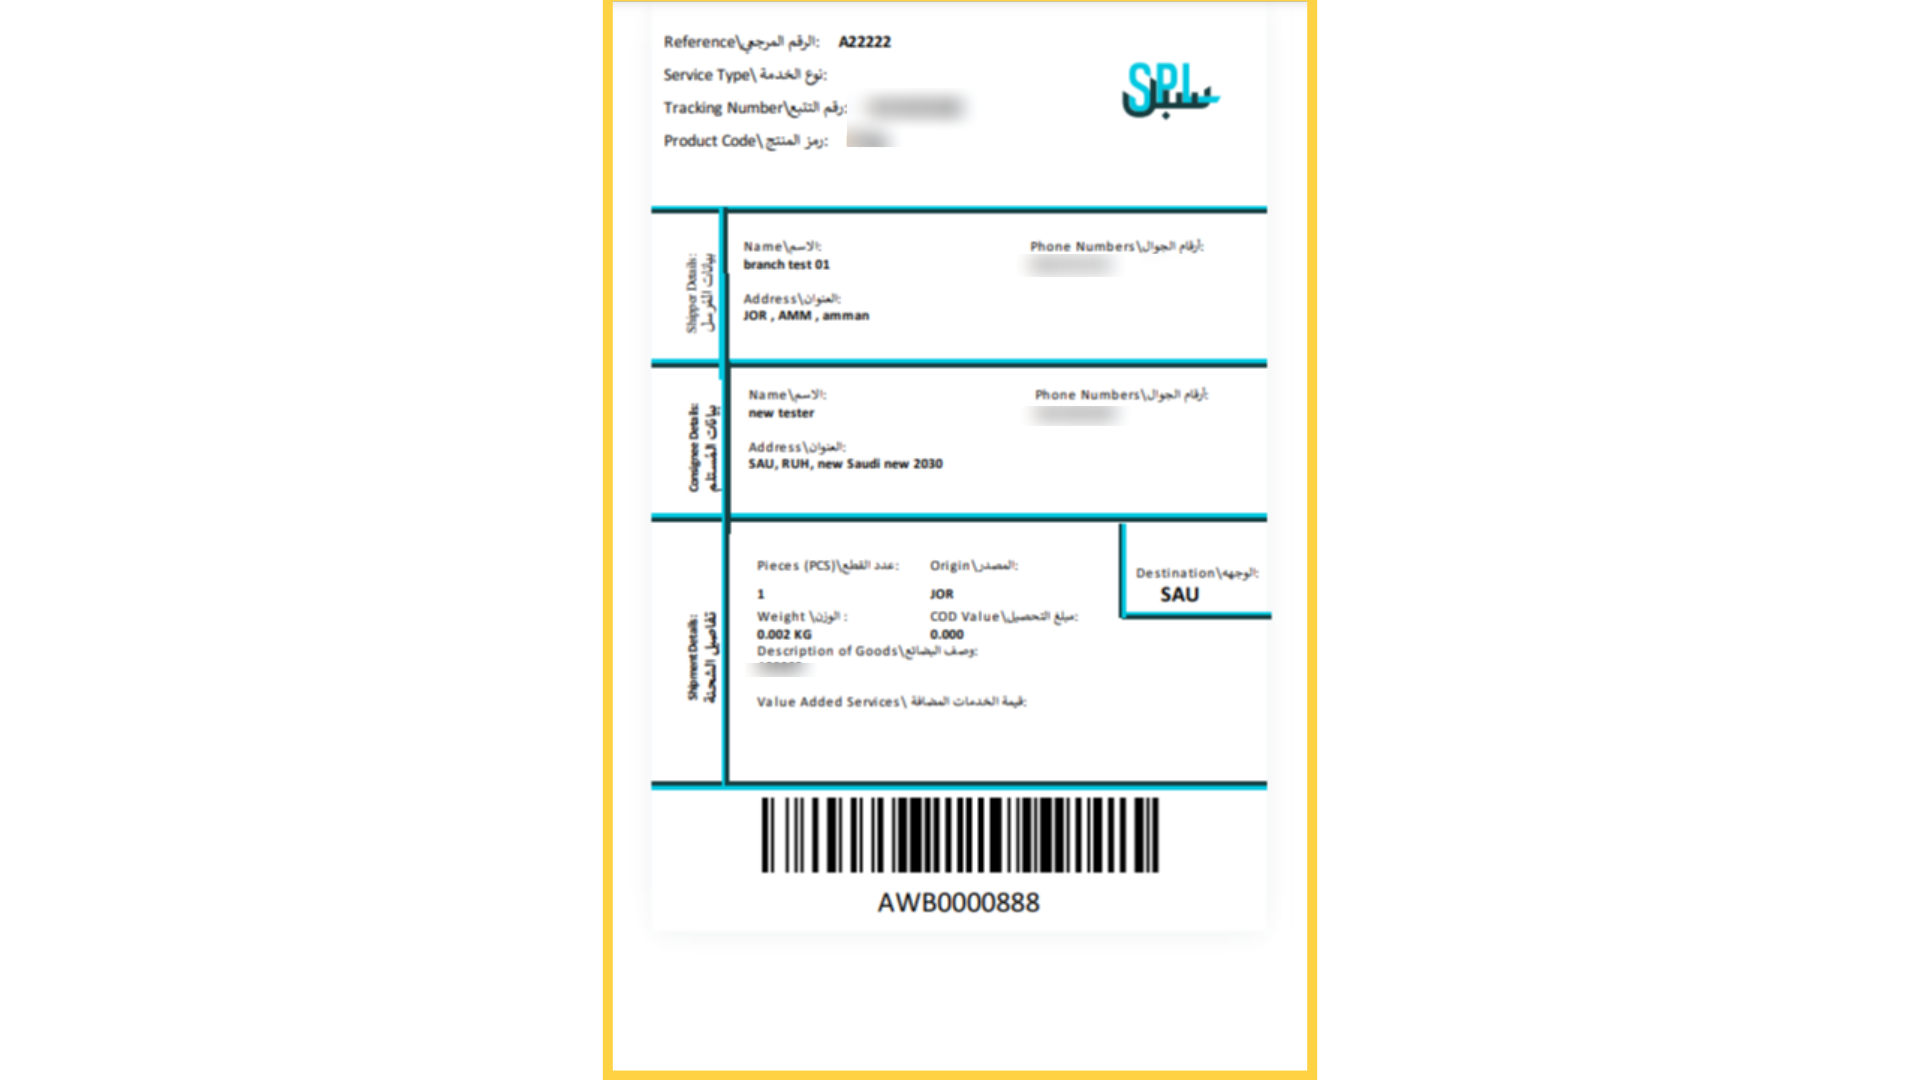
The user can print the label for any AWB by scanning the shipment code (AWB) and navigating to the ‘Scan to Print’ screen via the Order Management as follows:
1.3 Scan To Address
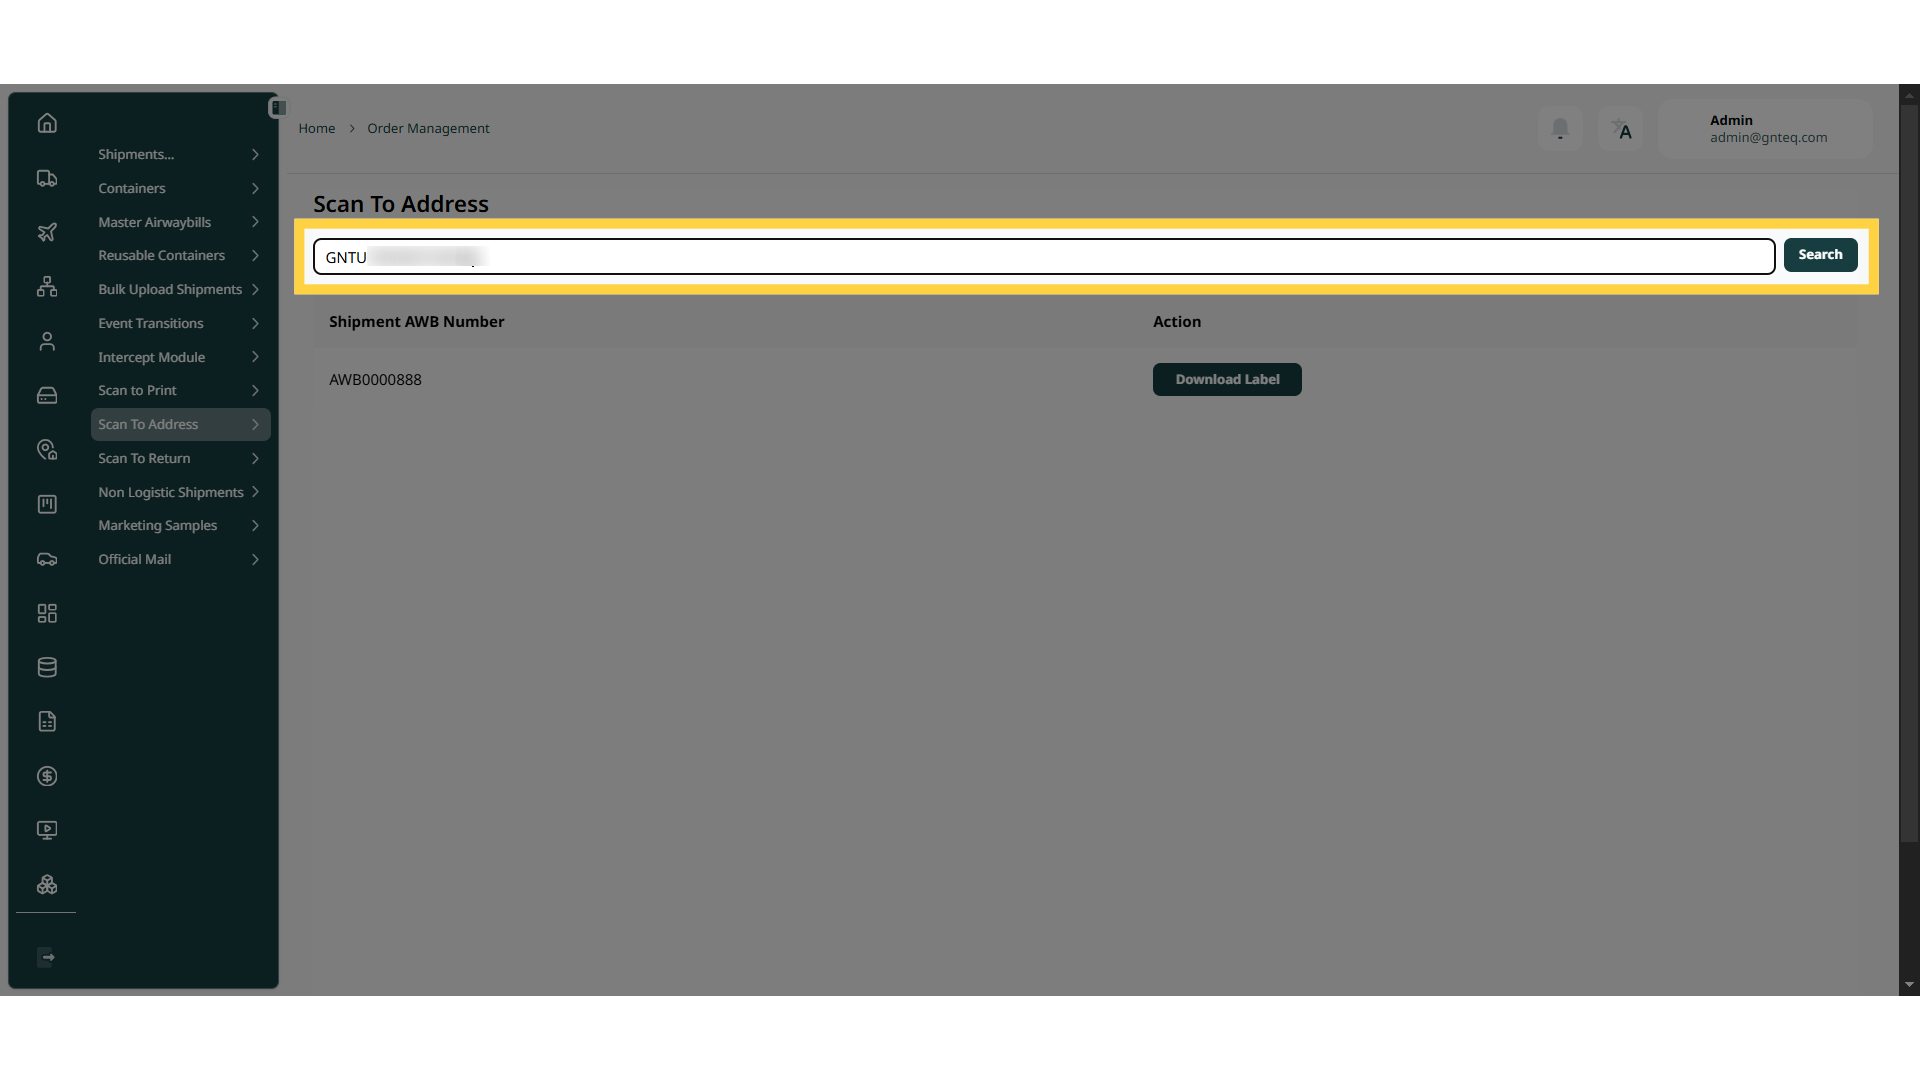
The user can print the address for any AWB by scanning the shipment code (AWB) and navigating to the ‘Scan to Address’ screen via the Order Management as follows:
1.4 Scan To Return
The user can return shipments by scanning the shipment code (AWB) and navigating to the ‘Scan to Return’ screen via the Order Management as follows:
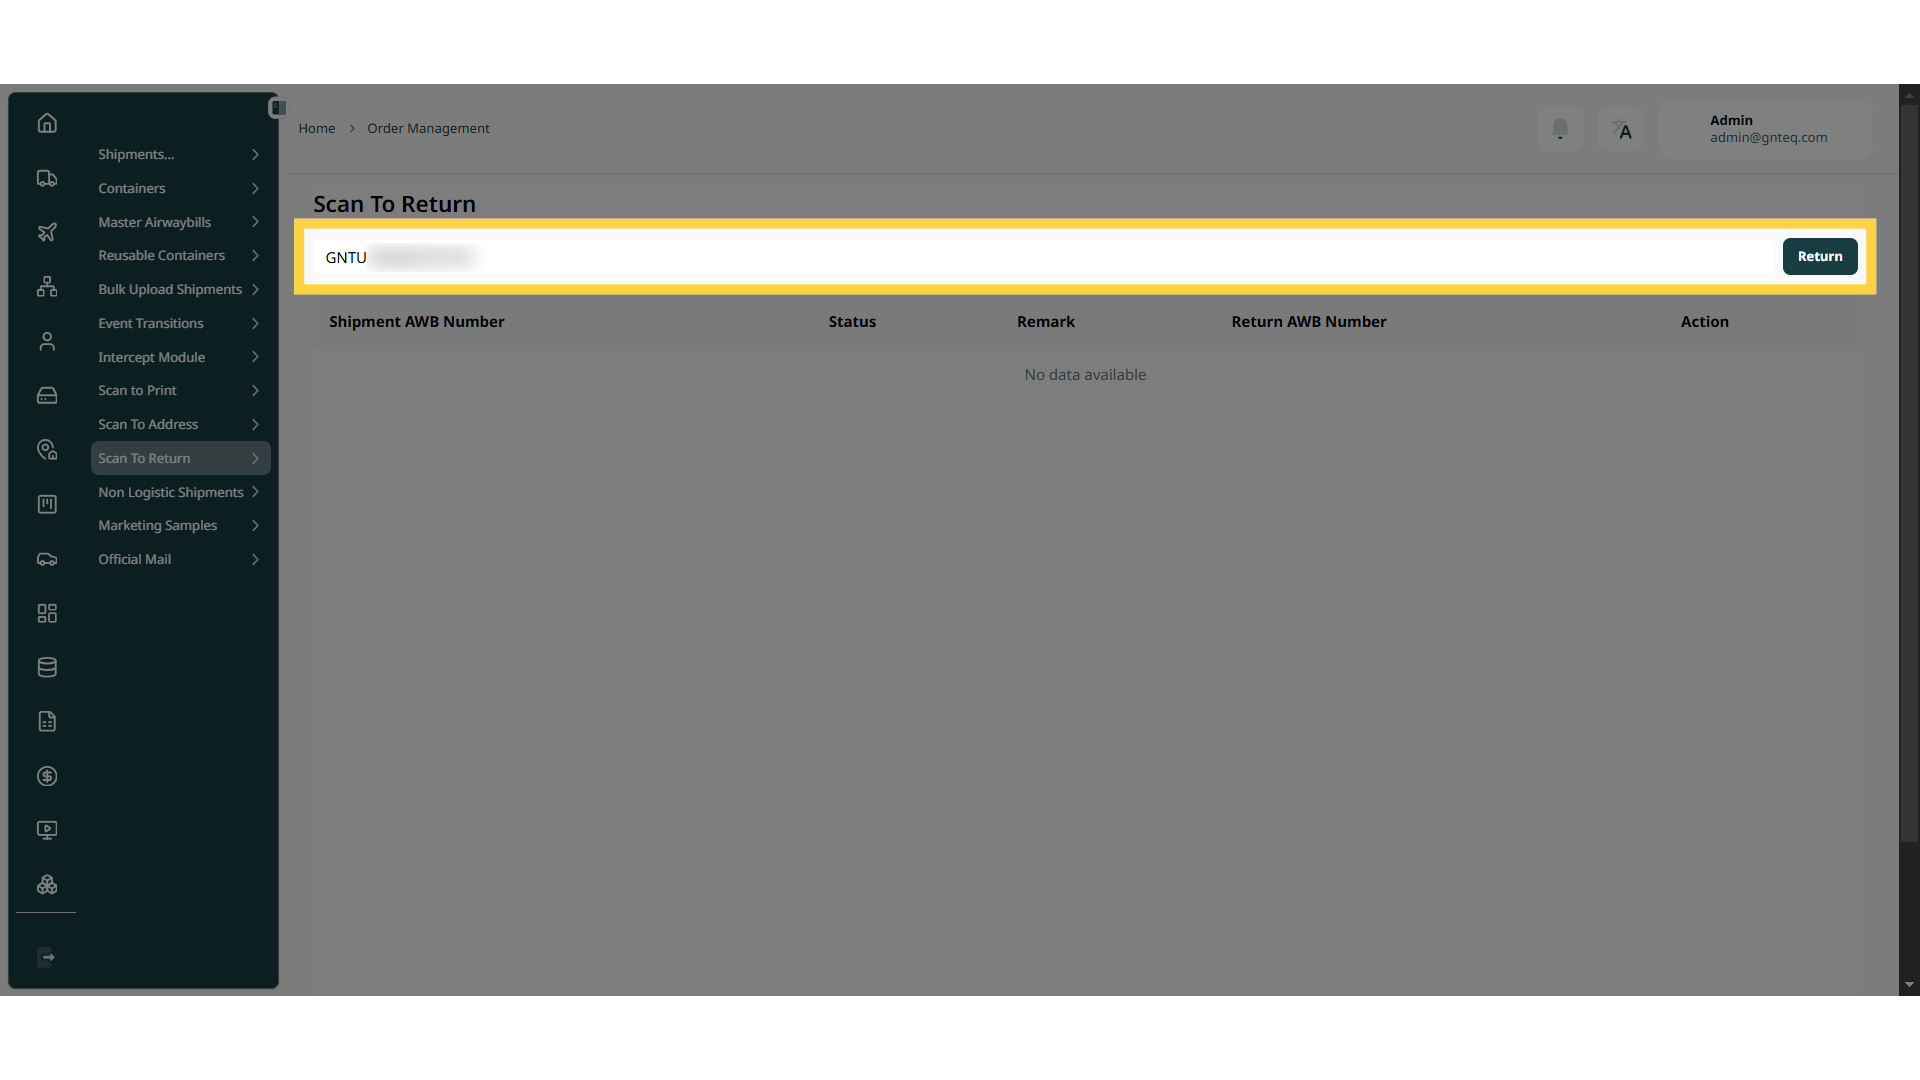
By Clicking on “Return” the shipment will be return successfully.
1.5 Scan To Reweight
The user can reweight shipments by scanning the shipment code (AWB) and navigating to the ‘Scan to Reweight’ screen via the Order Management as follows:
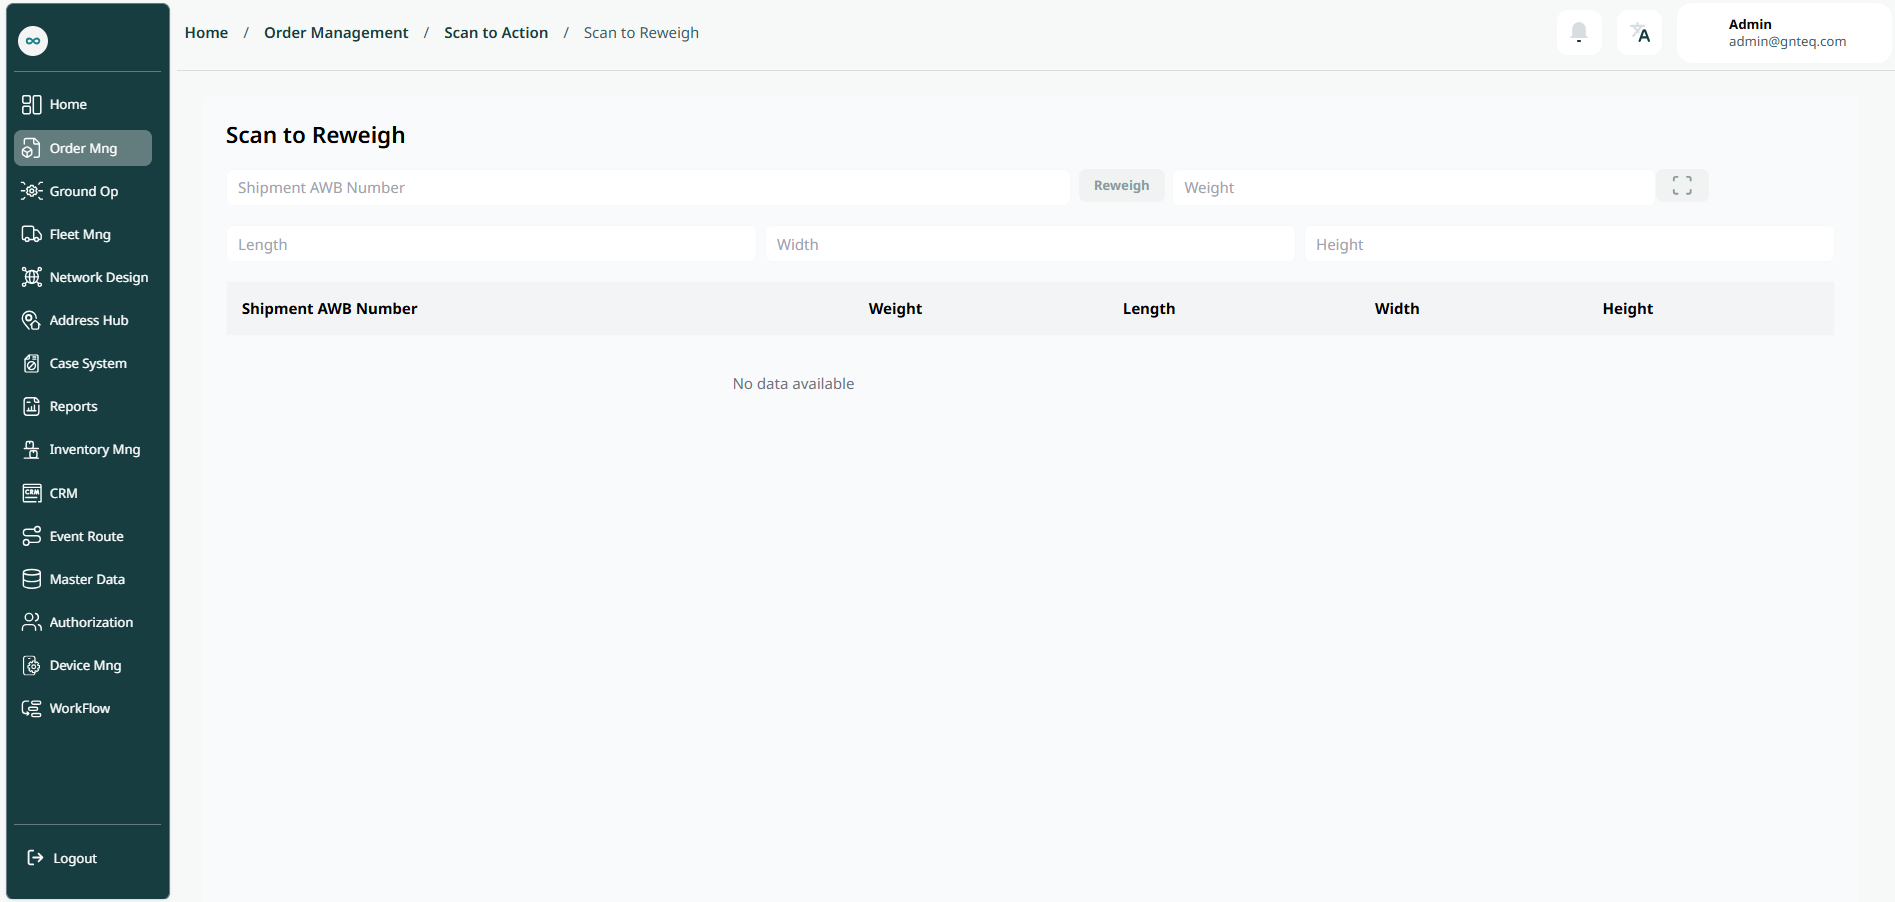
1.6 Scan To Correct Address
The user can correct address by scanning the shipment code (AWB) and navigating to the ‘Scan to Correct Address’ screen via the Order Management as follows:
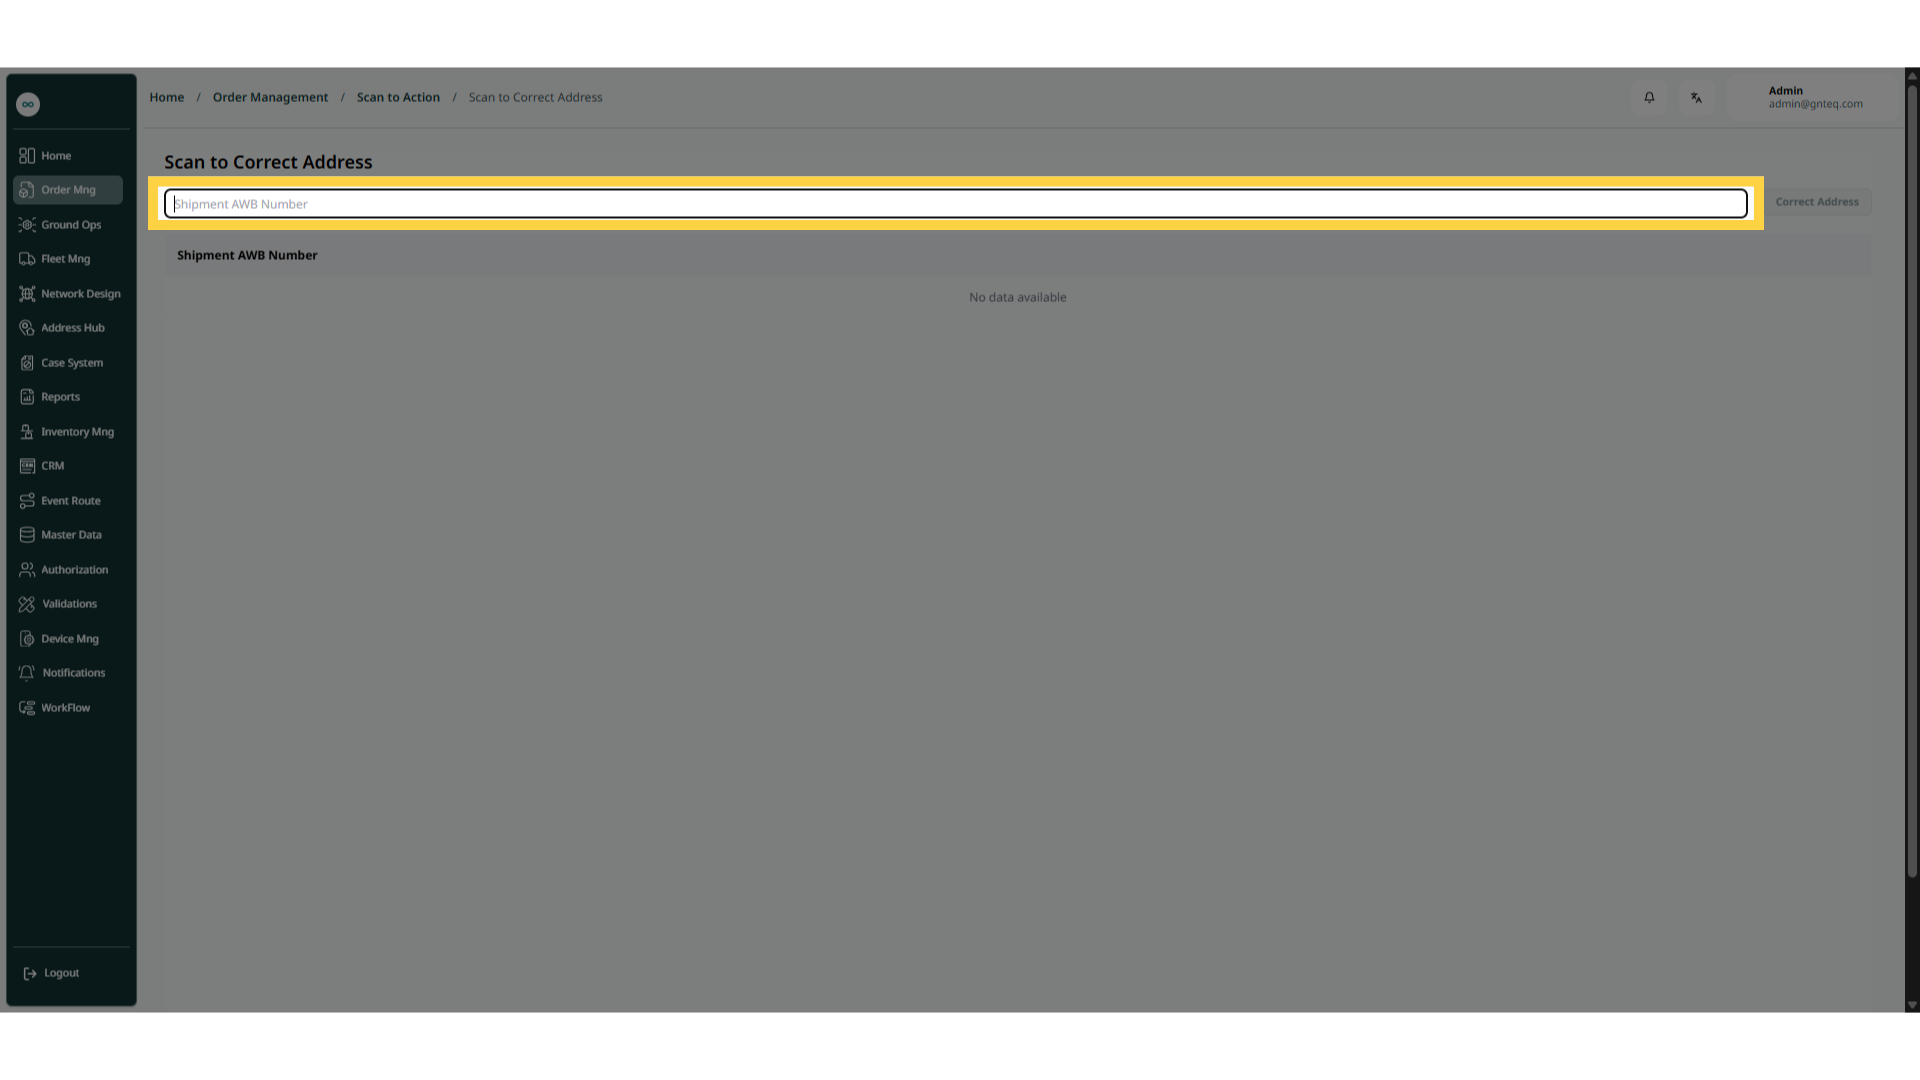
1.7 Scan To Receipt
The user can get receipt by scanning the shipment code (AWB) and navigating to the ‘Scan to Receipt’ screen via the Order Management as follows:
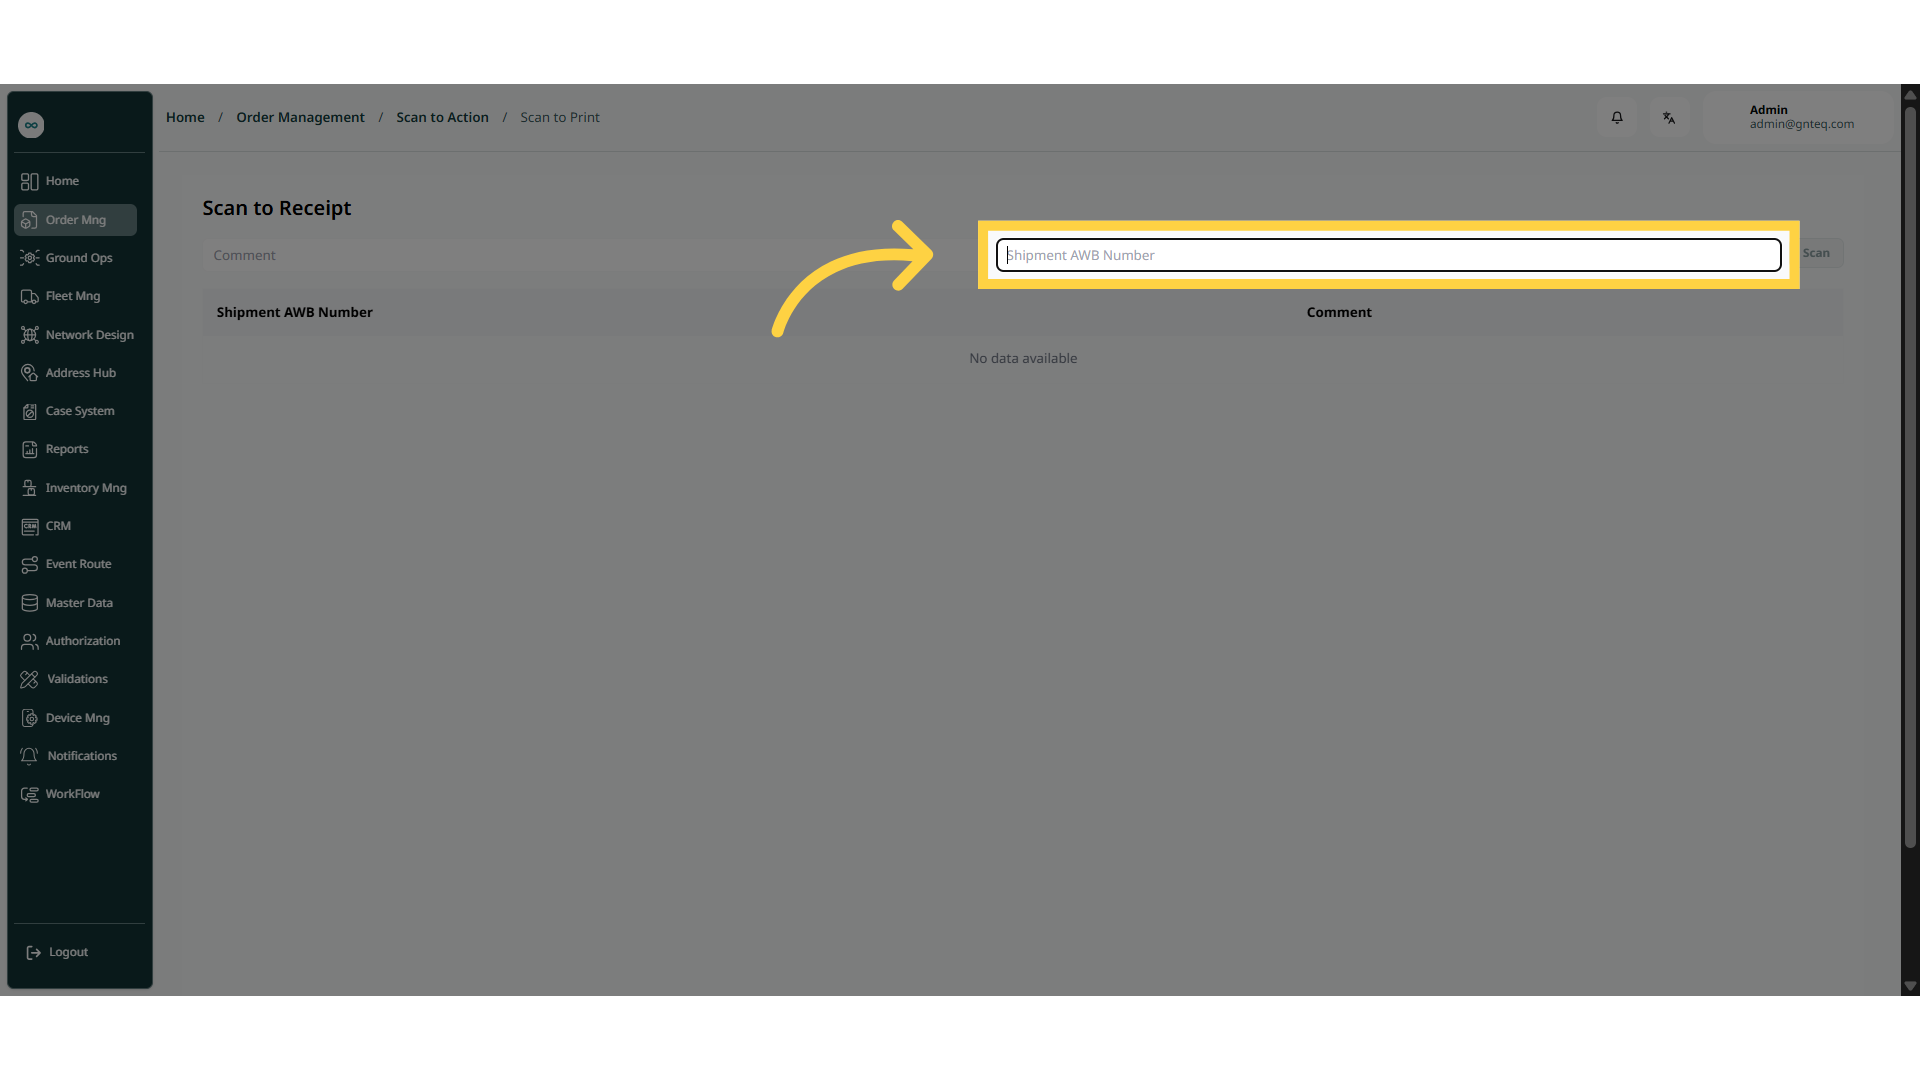
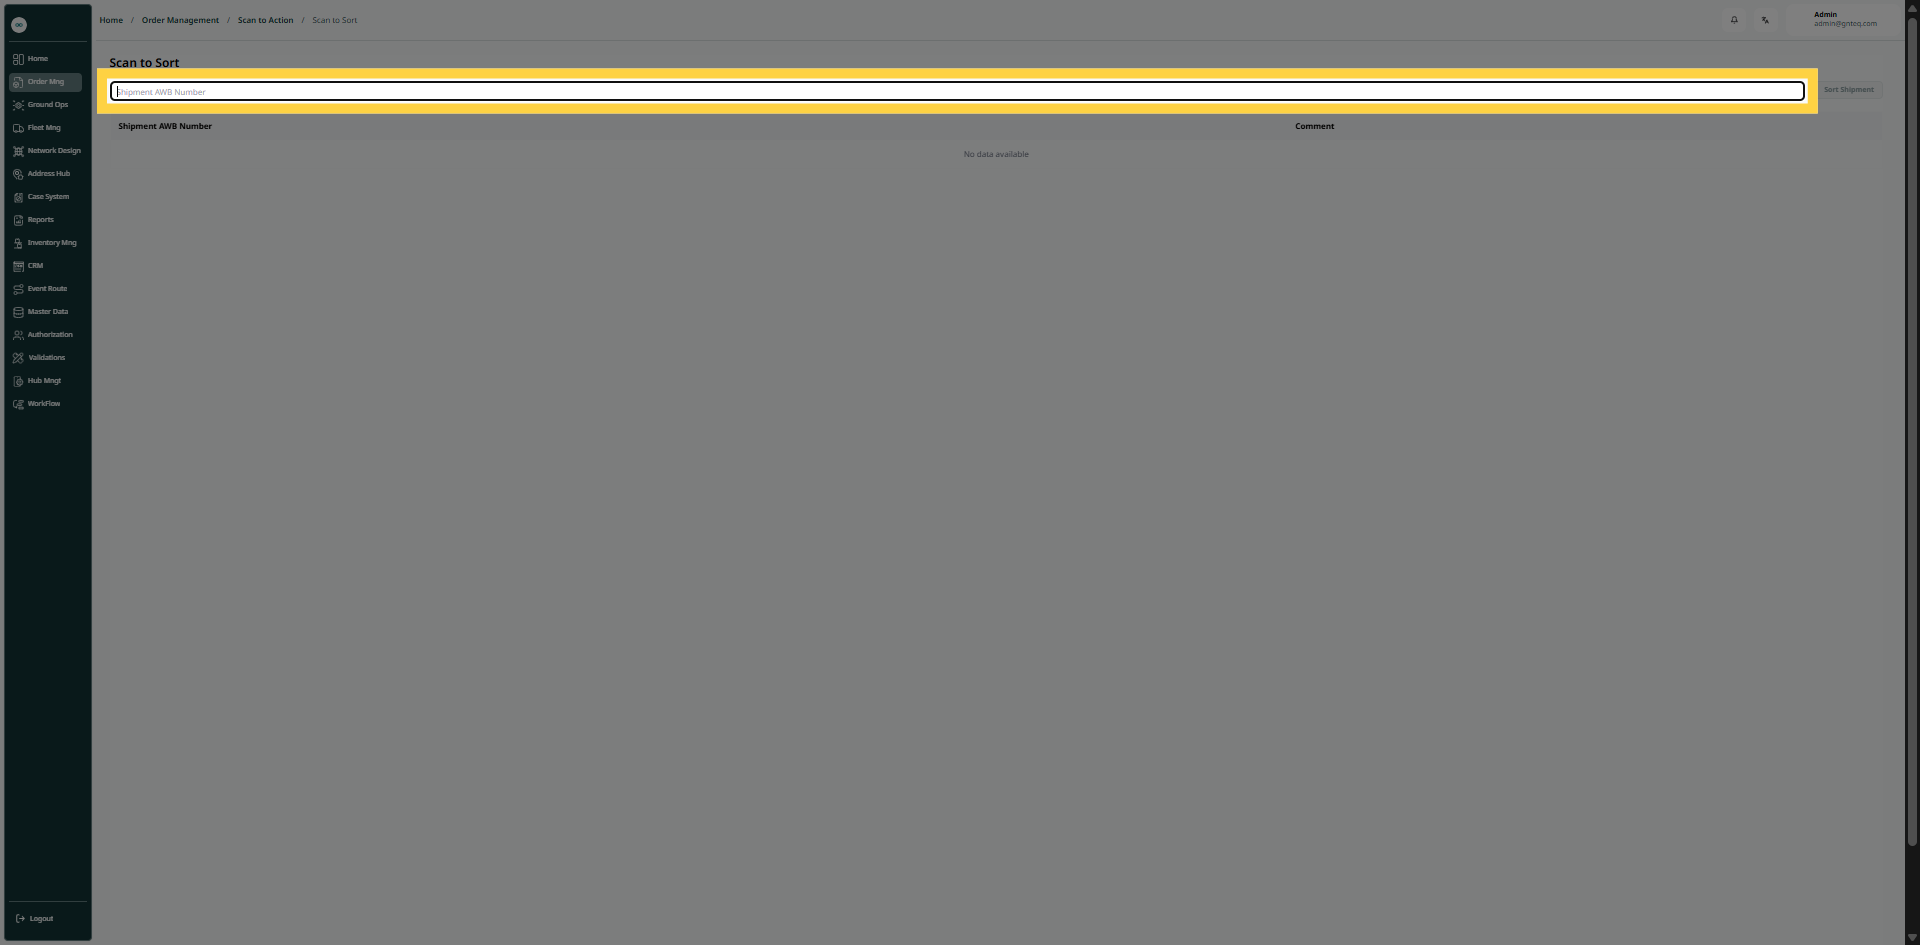
1.8 Scan To Sort
The user can sort t by scanning the shipment code (AWB) and navigating to the ‘Scan to Sort’ screen via the Order Management as follows:
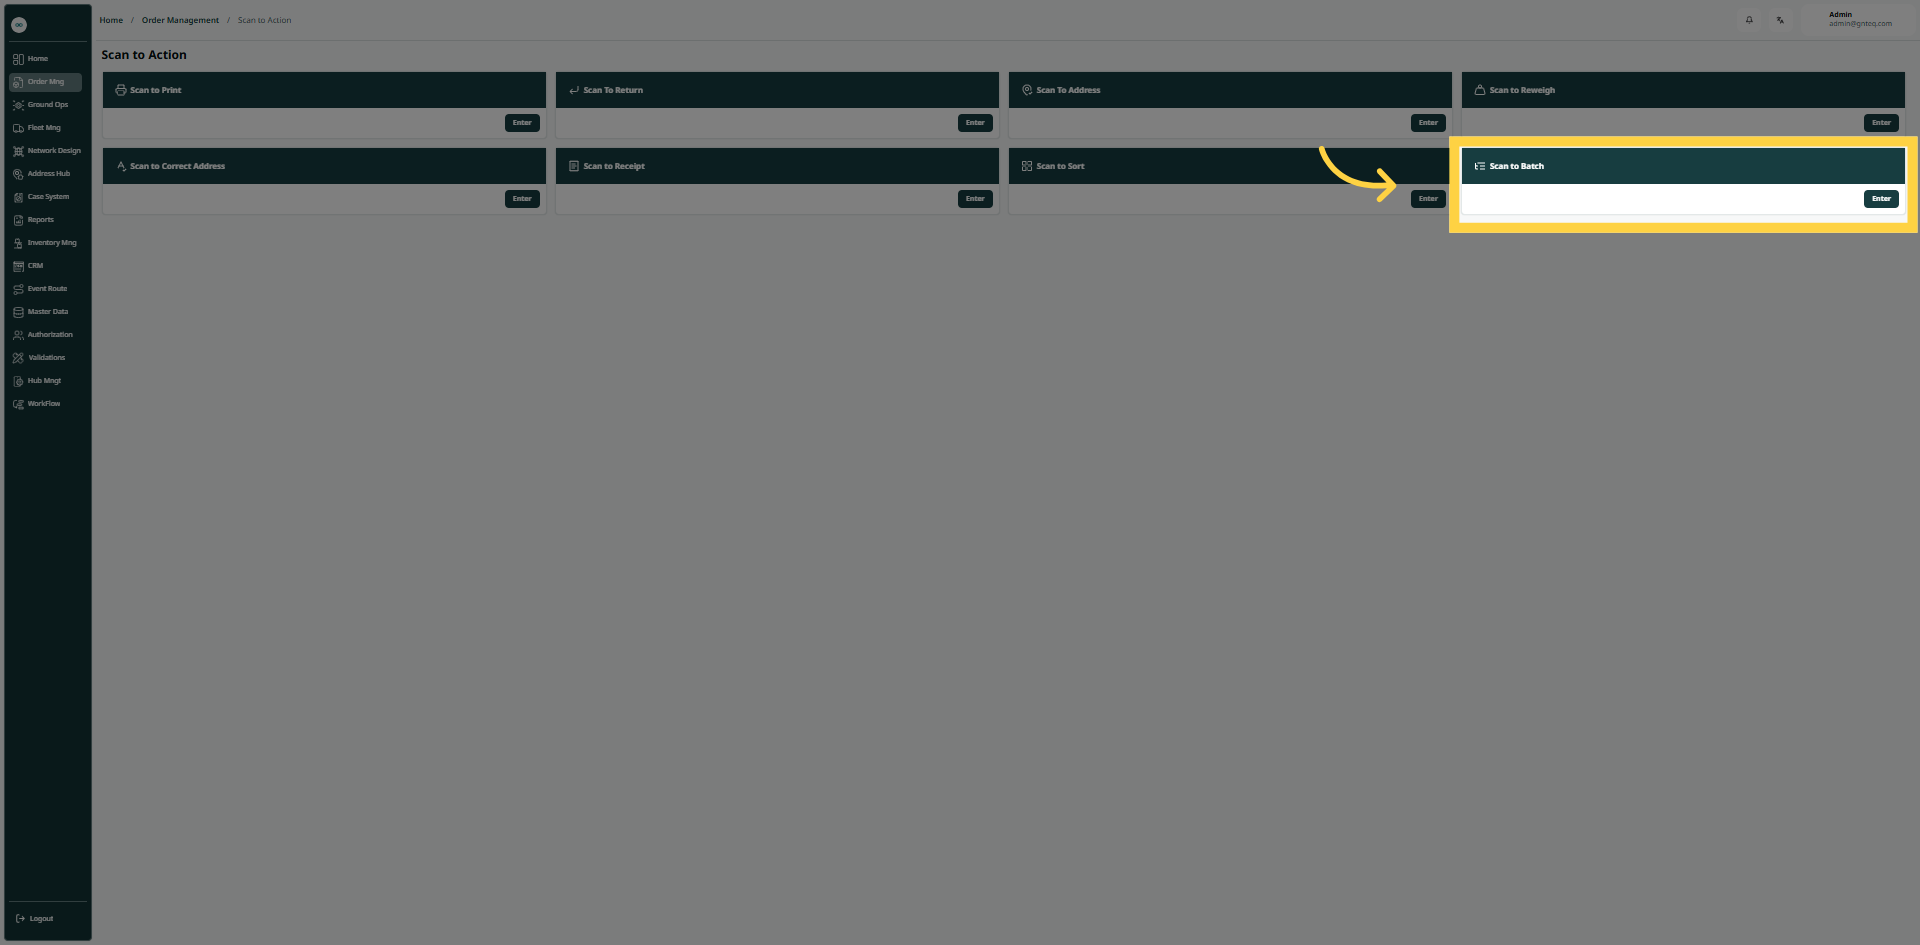
1.9 Scan To Batch
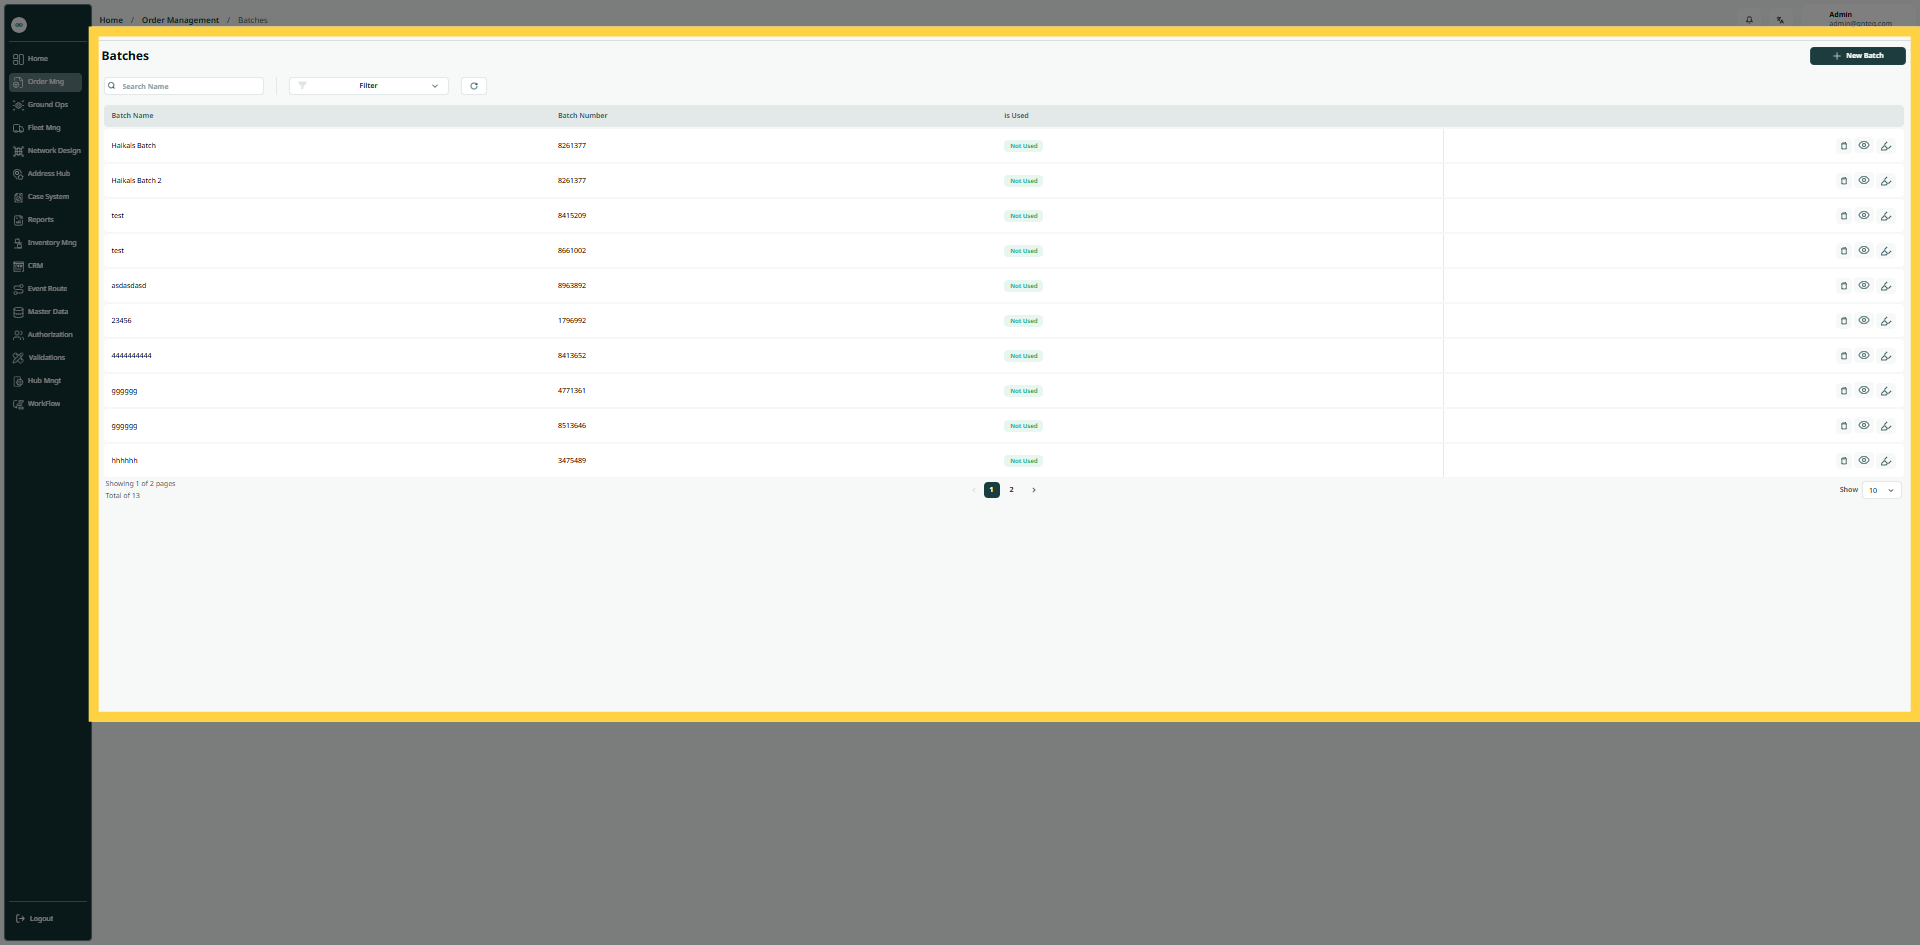
The user can add shipments under a batch number by navigating to the ‘Scan to Batch’ screen via the Order Management as follows:
-
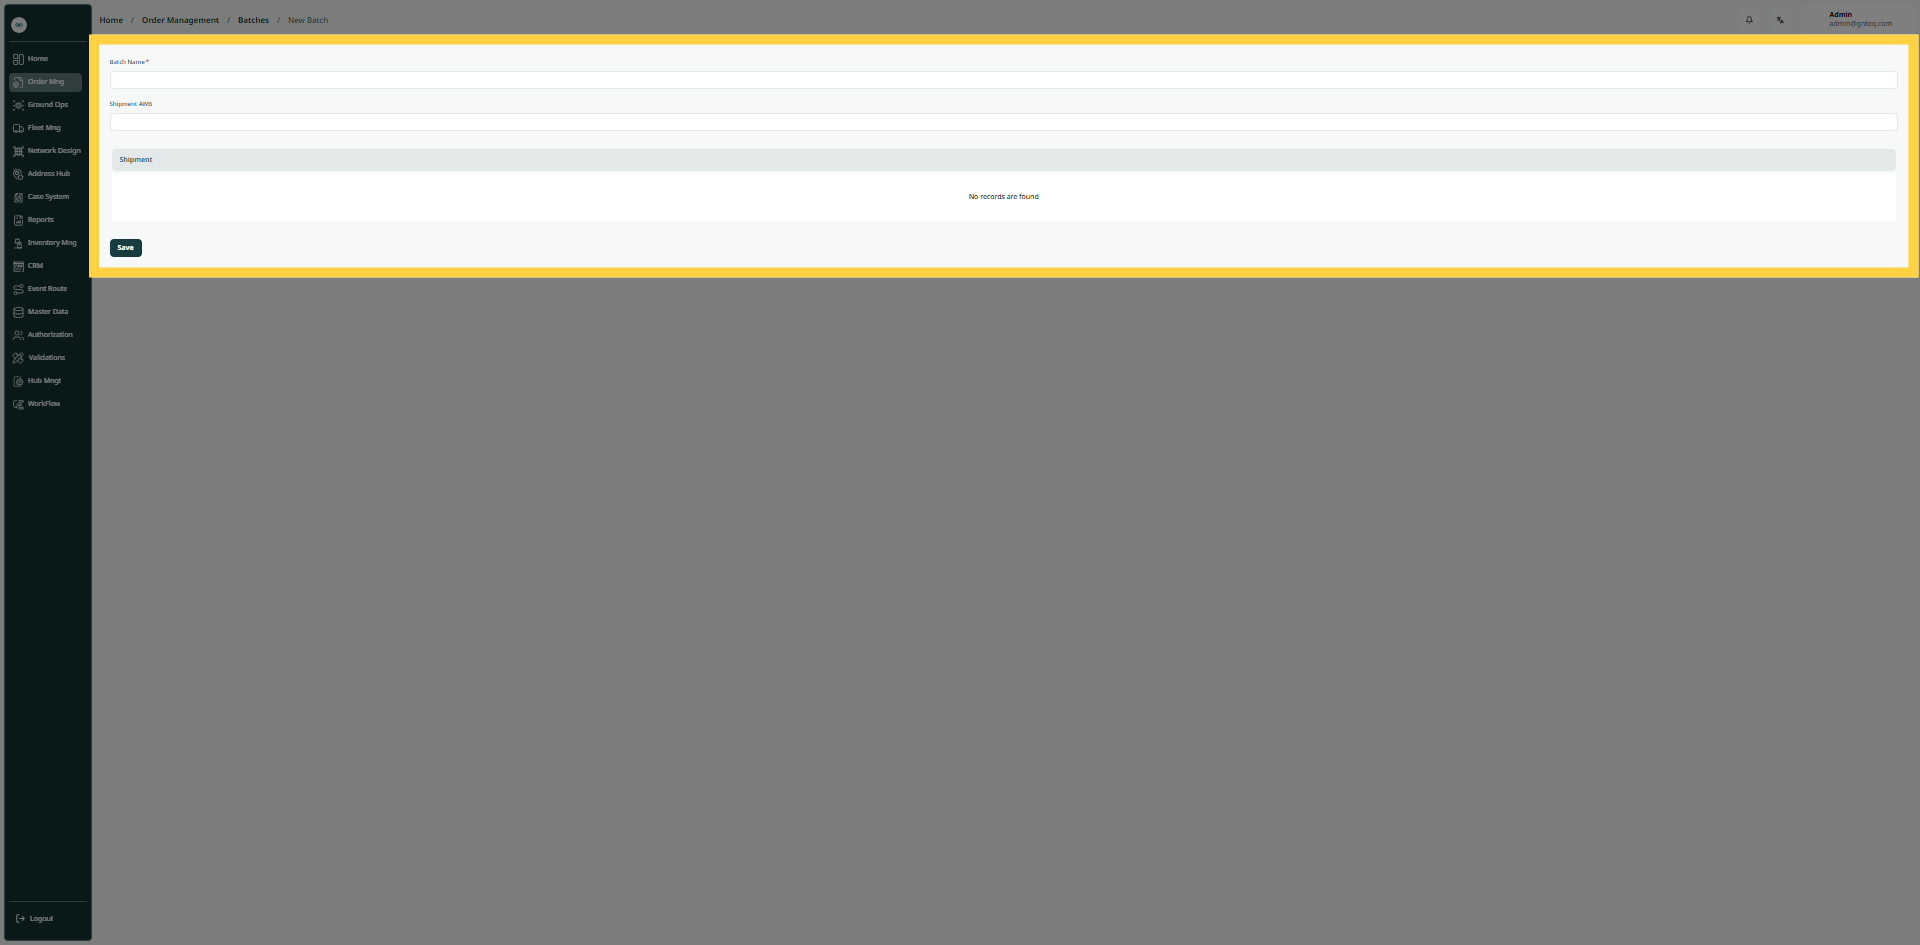
Batch Name: this field represents the batch name.
-
Shipment AWB: this field represents the shipments AWBs number.
By clicking on Save, the batch will be created successfully.
1.9.1 View Details
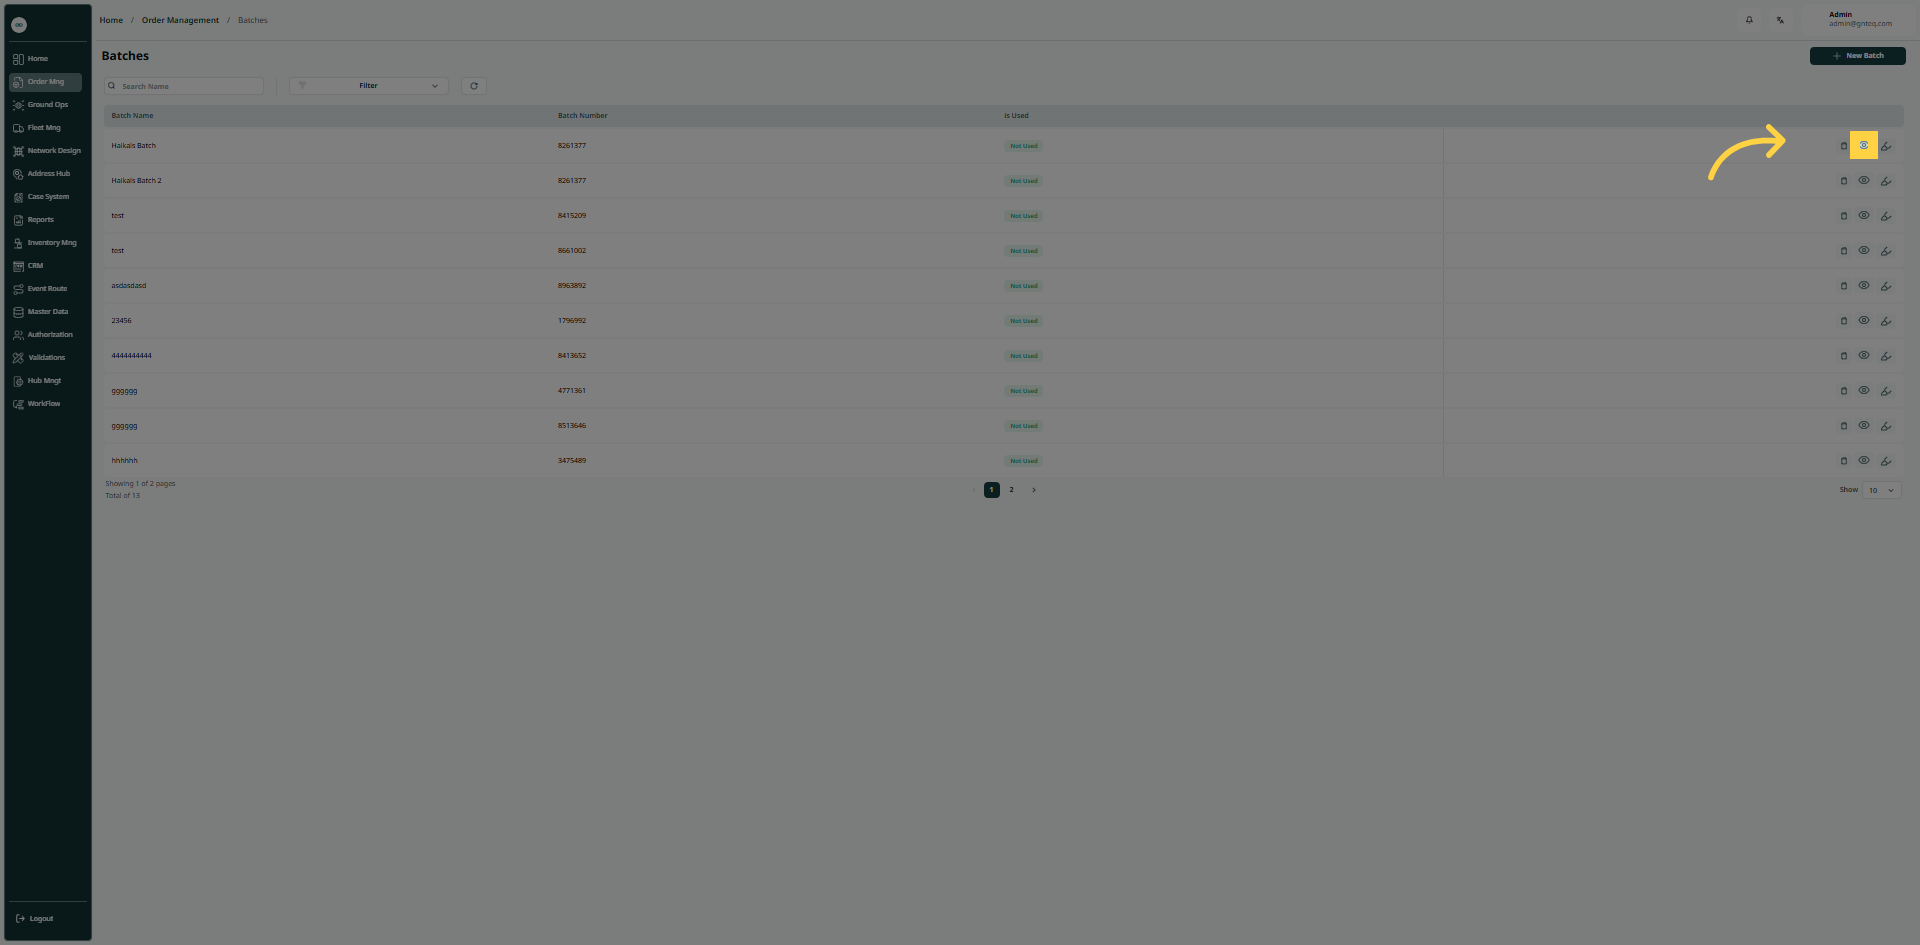
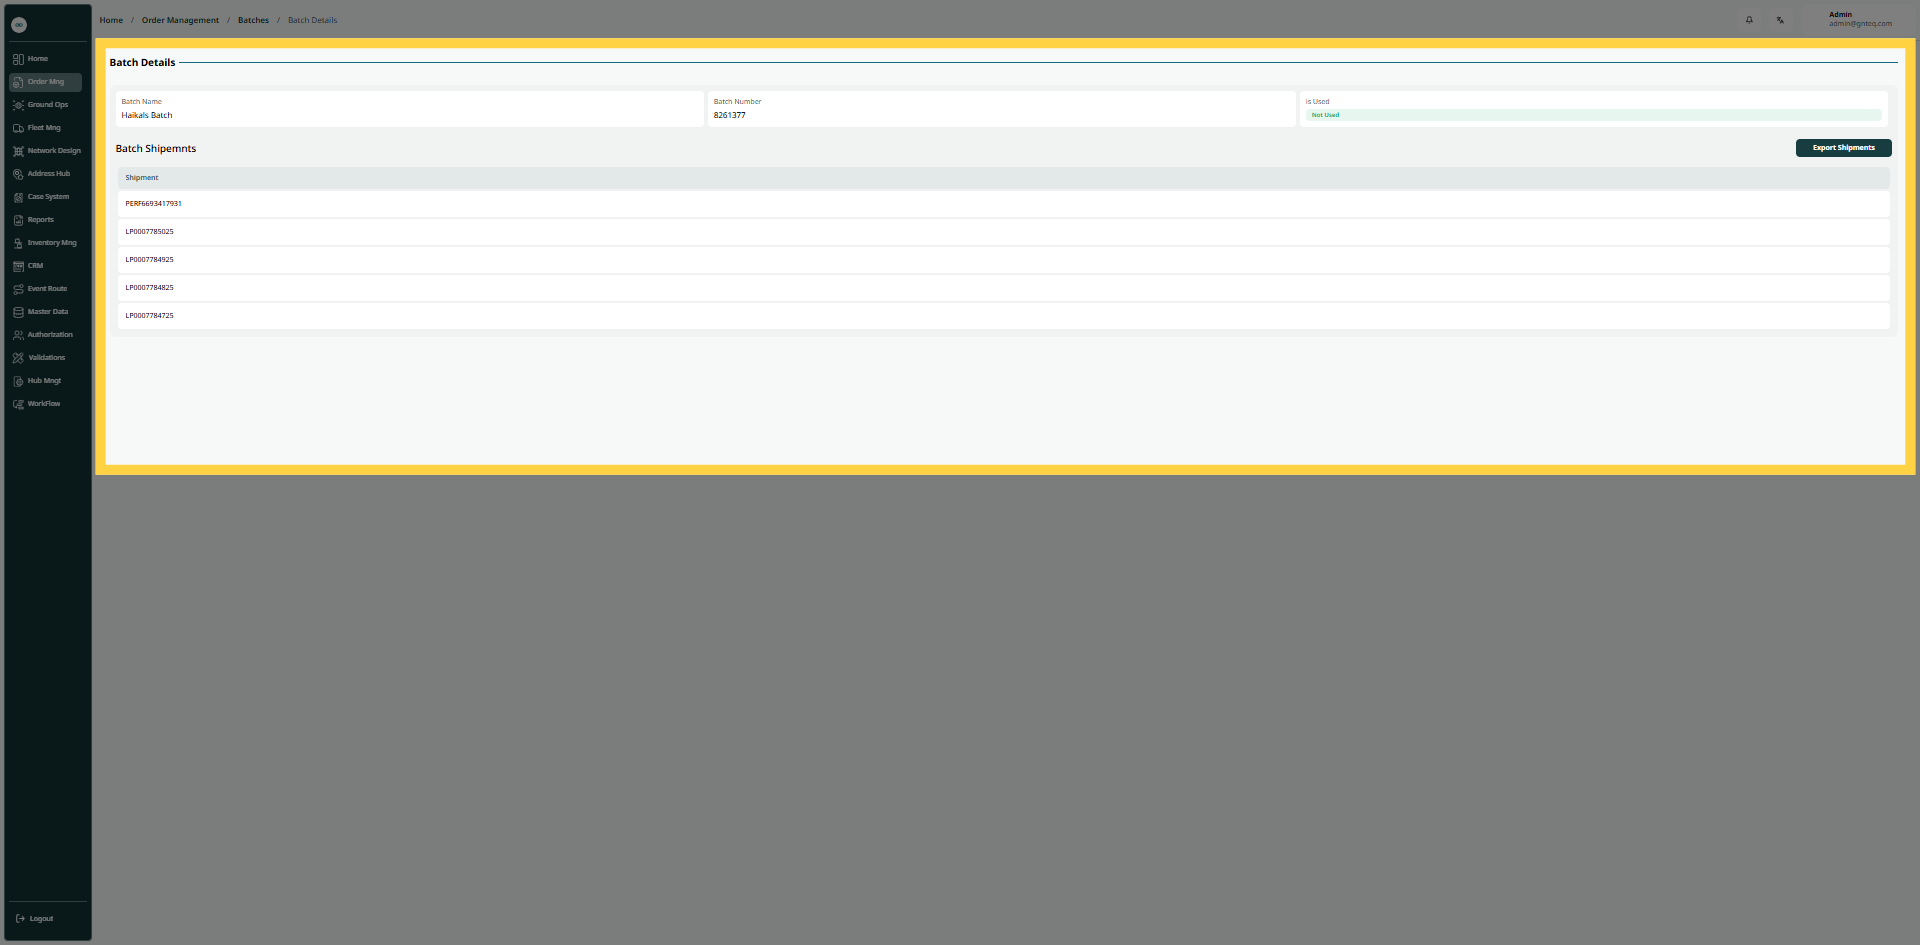
The user can view the batch details by navigating to the ‘Batches’ screen via the Order Management and clicking on View Details from Actions as follows:
1.9.2 Delete Batch
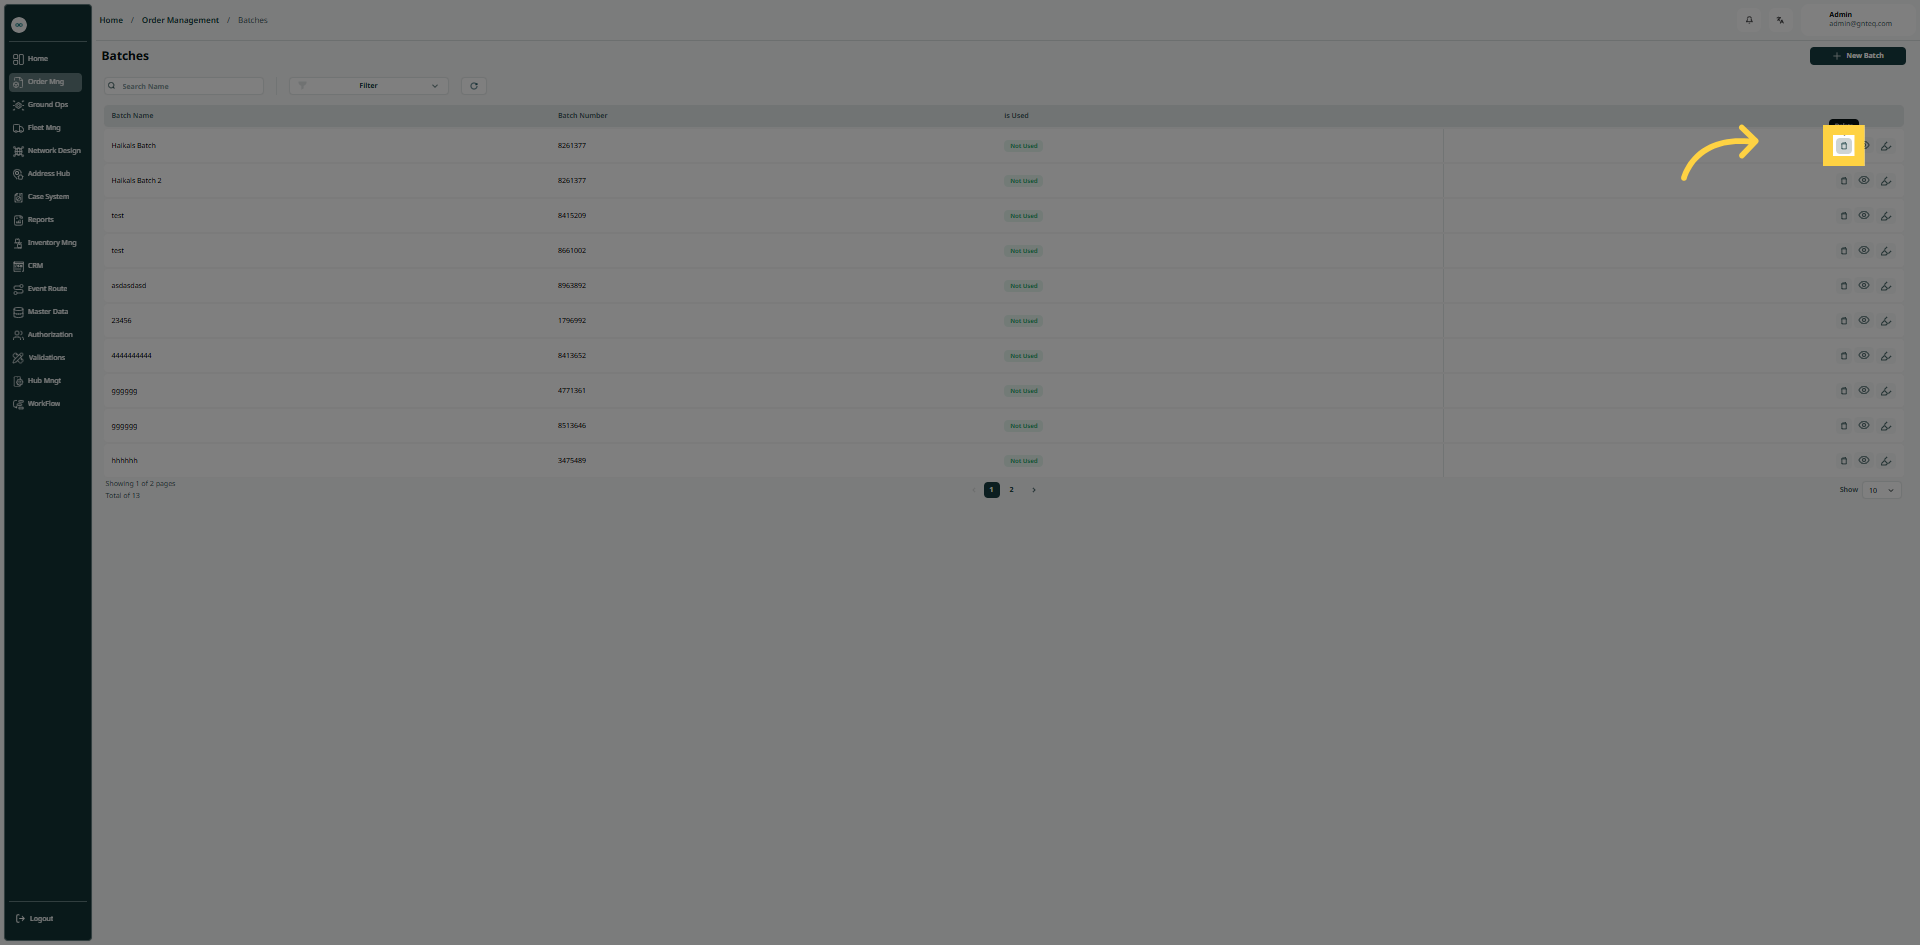
The user can delete the batch by clicking on Delete from Actions by navigating to the ‘Batches’ screen via the Order Management.
1.9.3 Mark As Used
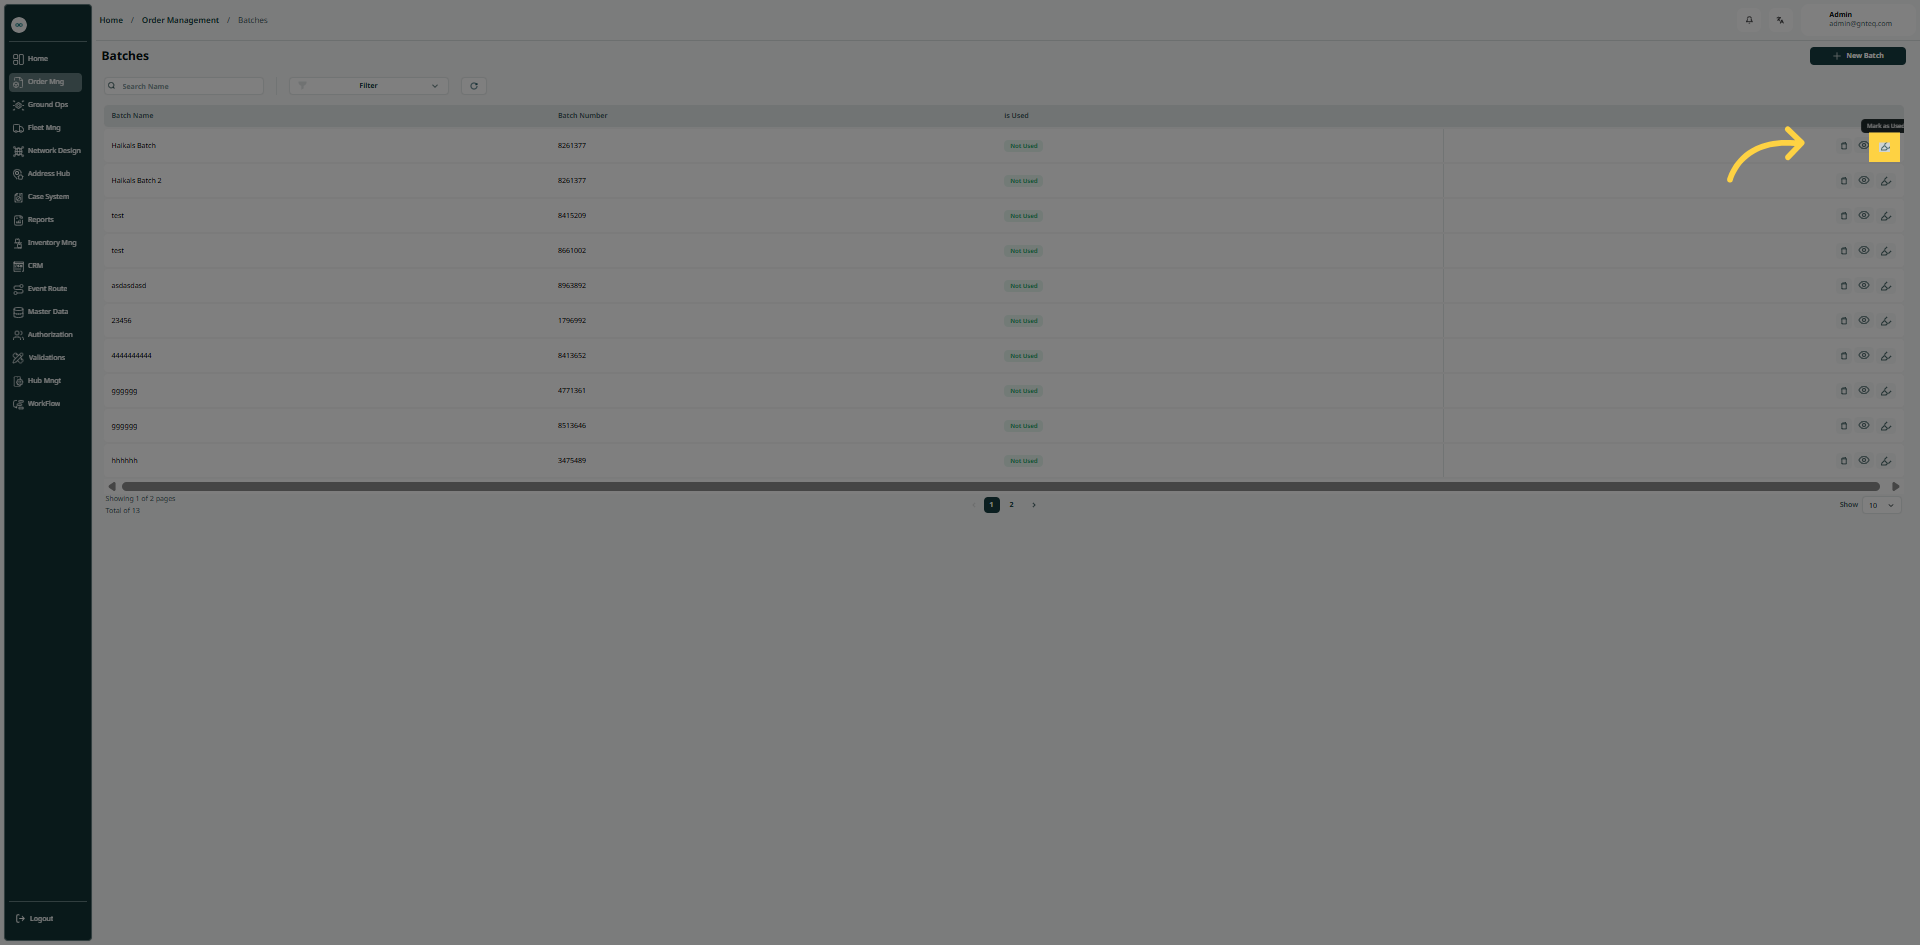
The user can mark the batch as used by clicking on Mark As Used from Actions by navigating to the ‘Batches’ screen via the Order Management.
1.10 Scan To Deliver
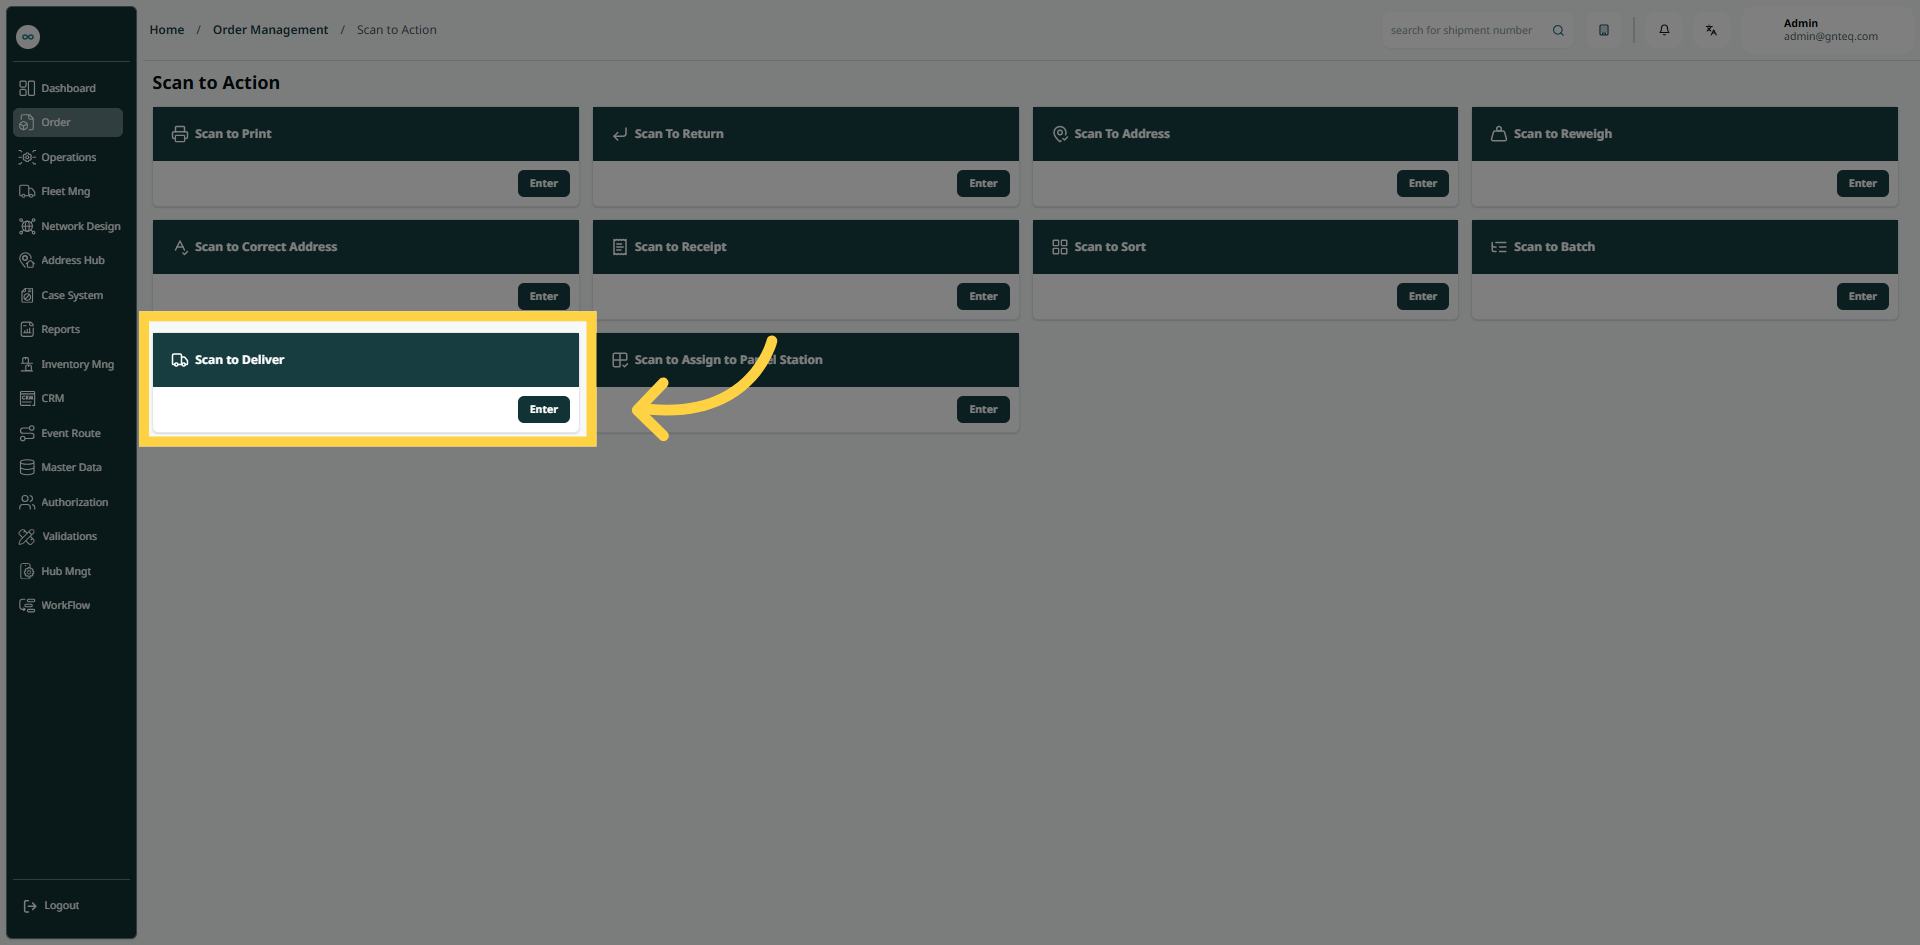
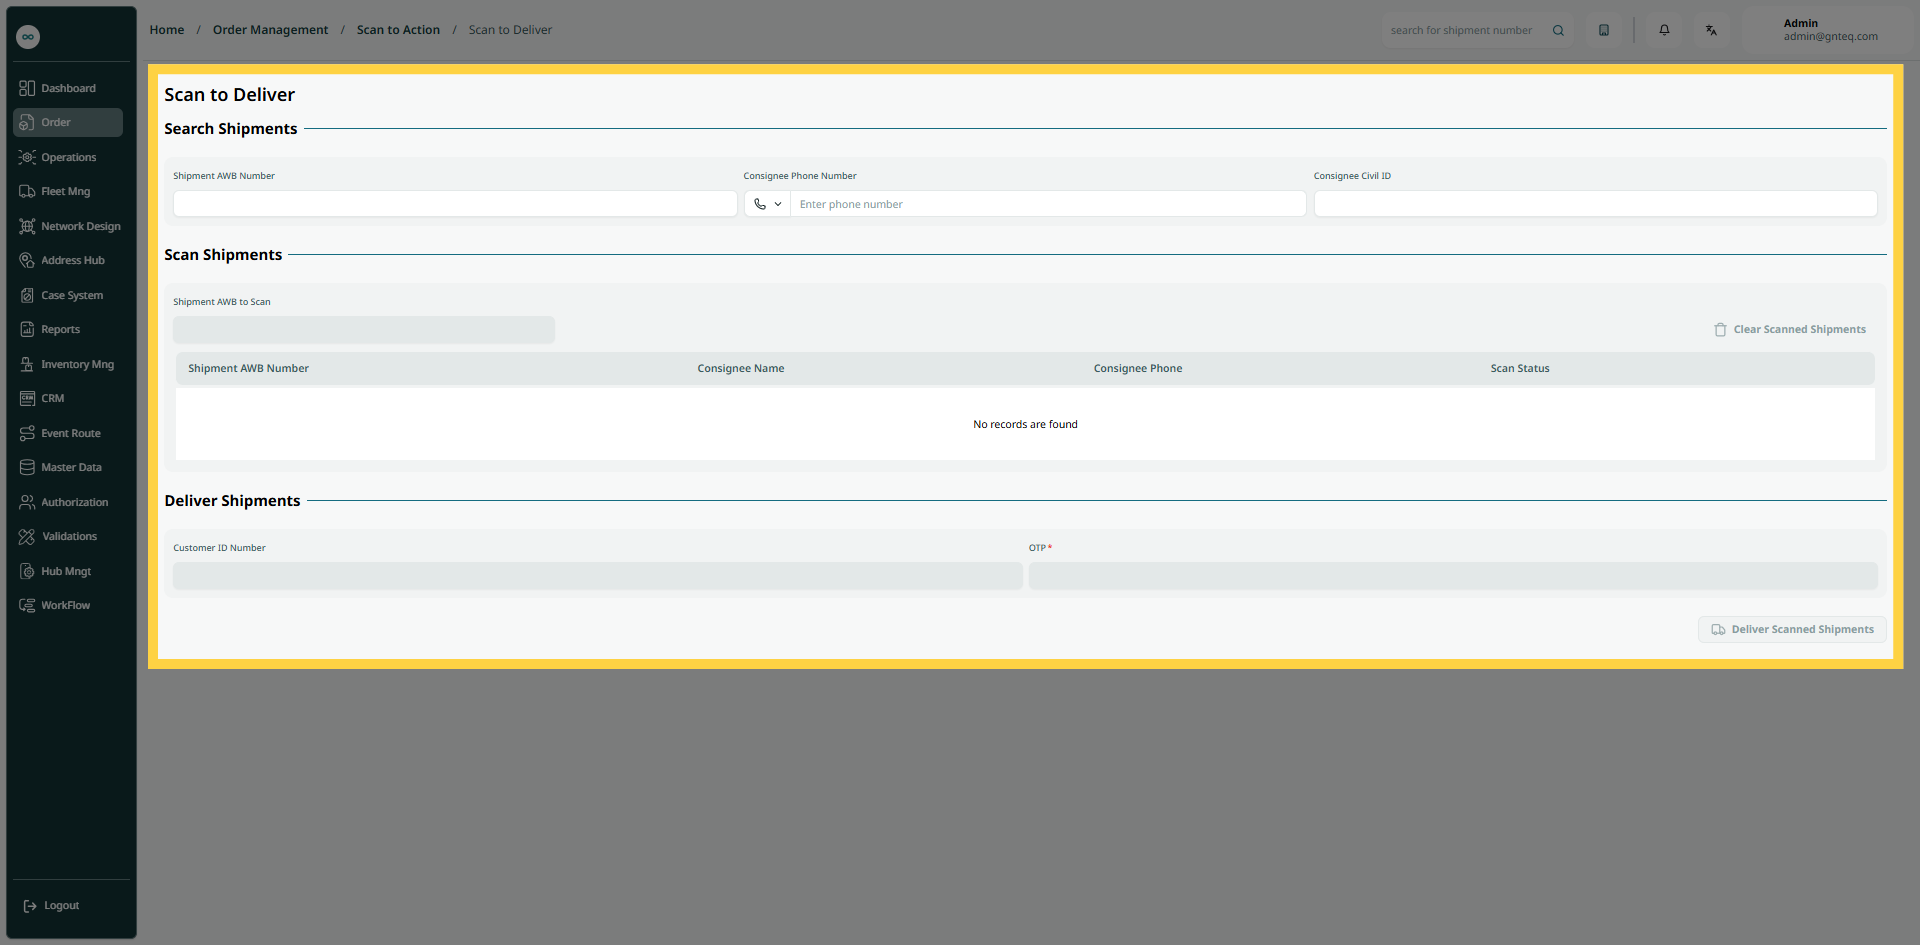
The user can scan shipments to deliver by navigating to the ‘Scan to Deliver’ screen via the Order Management as follows:
-
Shipment AWB Number: this field represents the shipment air waybill number.
-
Consignee Phone Number: this filed represent the phone number of the consignee.
-
Consignee Civil ID: this field represents the an official identification document required in customs clearance processes.
-
Shipments AWB TO Scan: this filed represents that the user can scan shipments AWB numbers.
-
Customer ID Number: this field represents the ID number Of the Customer.
-
OTP: this filed represents a temporary, automatically generated code used once for secure authentication during logins, transactions, or verifications.
By clicking on Deliver Scanned Shipments, the shipments will be successfully delivered in the system.
1. Scan To Assign To Parcel Station
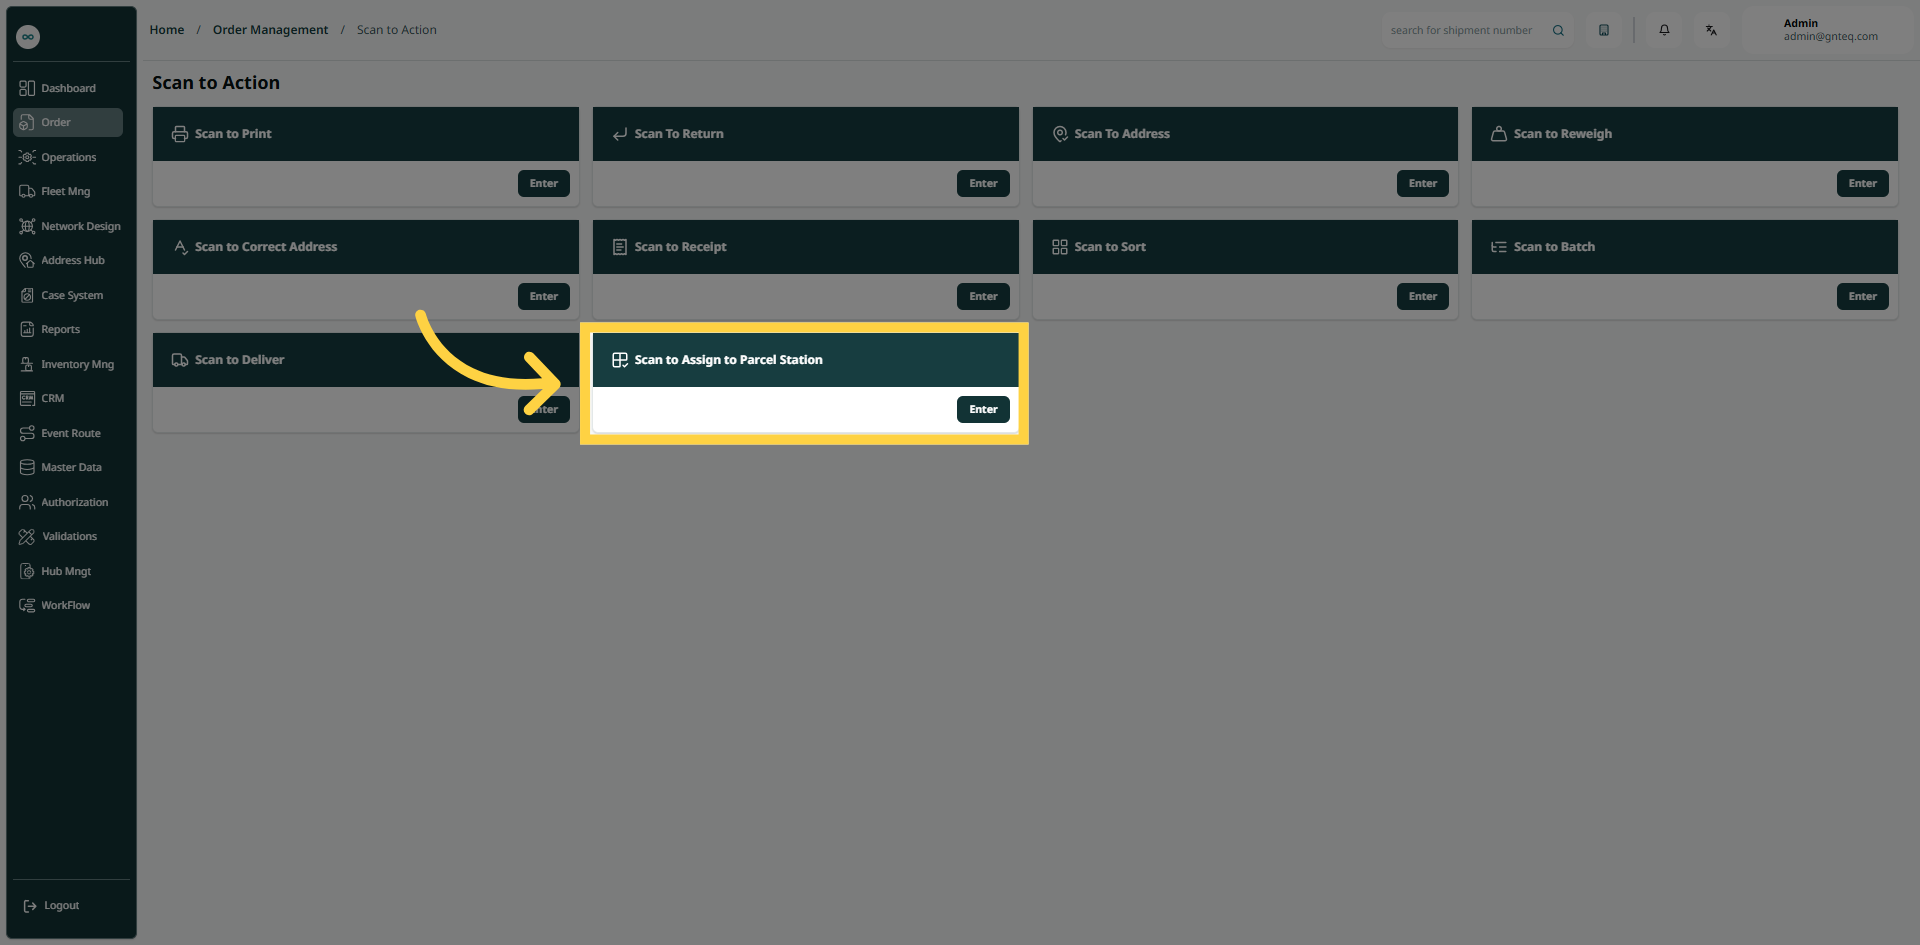
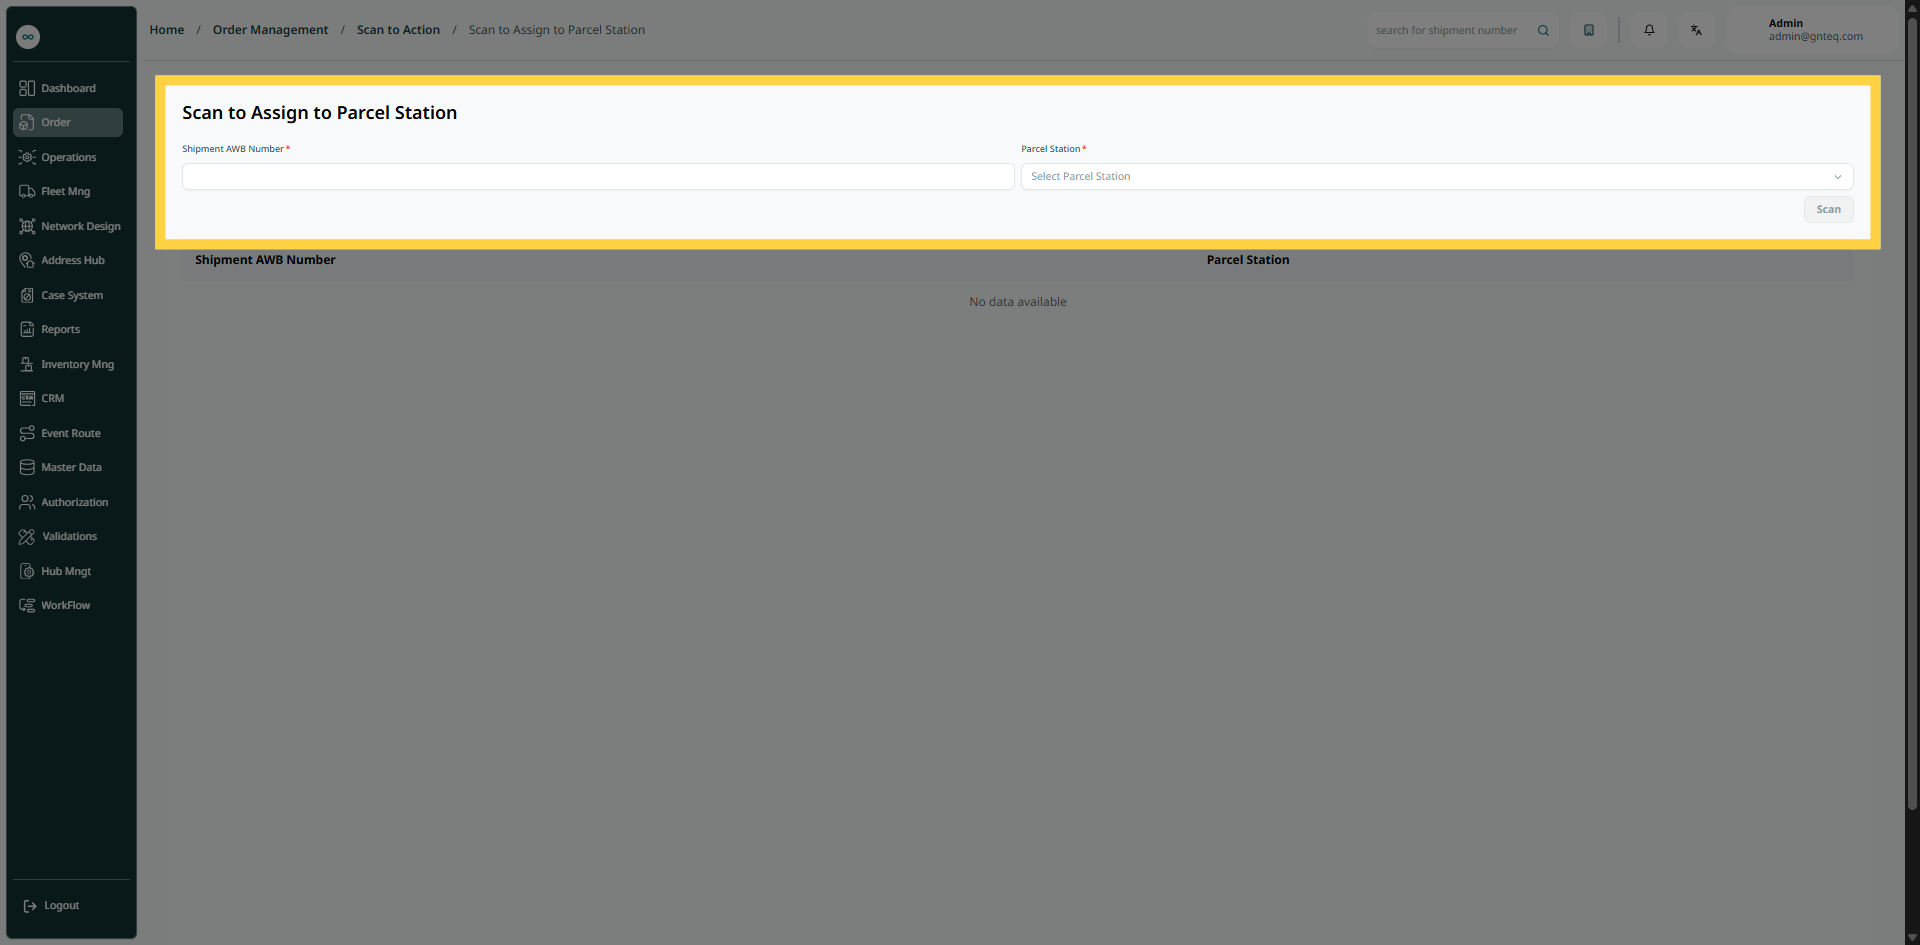
The user can scan shipments to assign to parcel station by navigating to the ‘Scan To Assign To Parcel Station’ screen via the Order Management as follows:
-
Shipment AWB Number: this field represents the shipment air waybill number.
-
Parcel Station: this field represents the name of the parcel station.
By clicking on Scan, the shipments will be assigned to the parcel station successfully.