.png)
1. Pick List Management
1.1 Dashboard
-
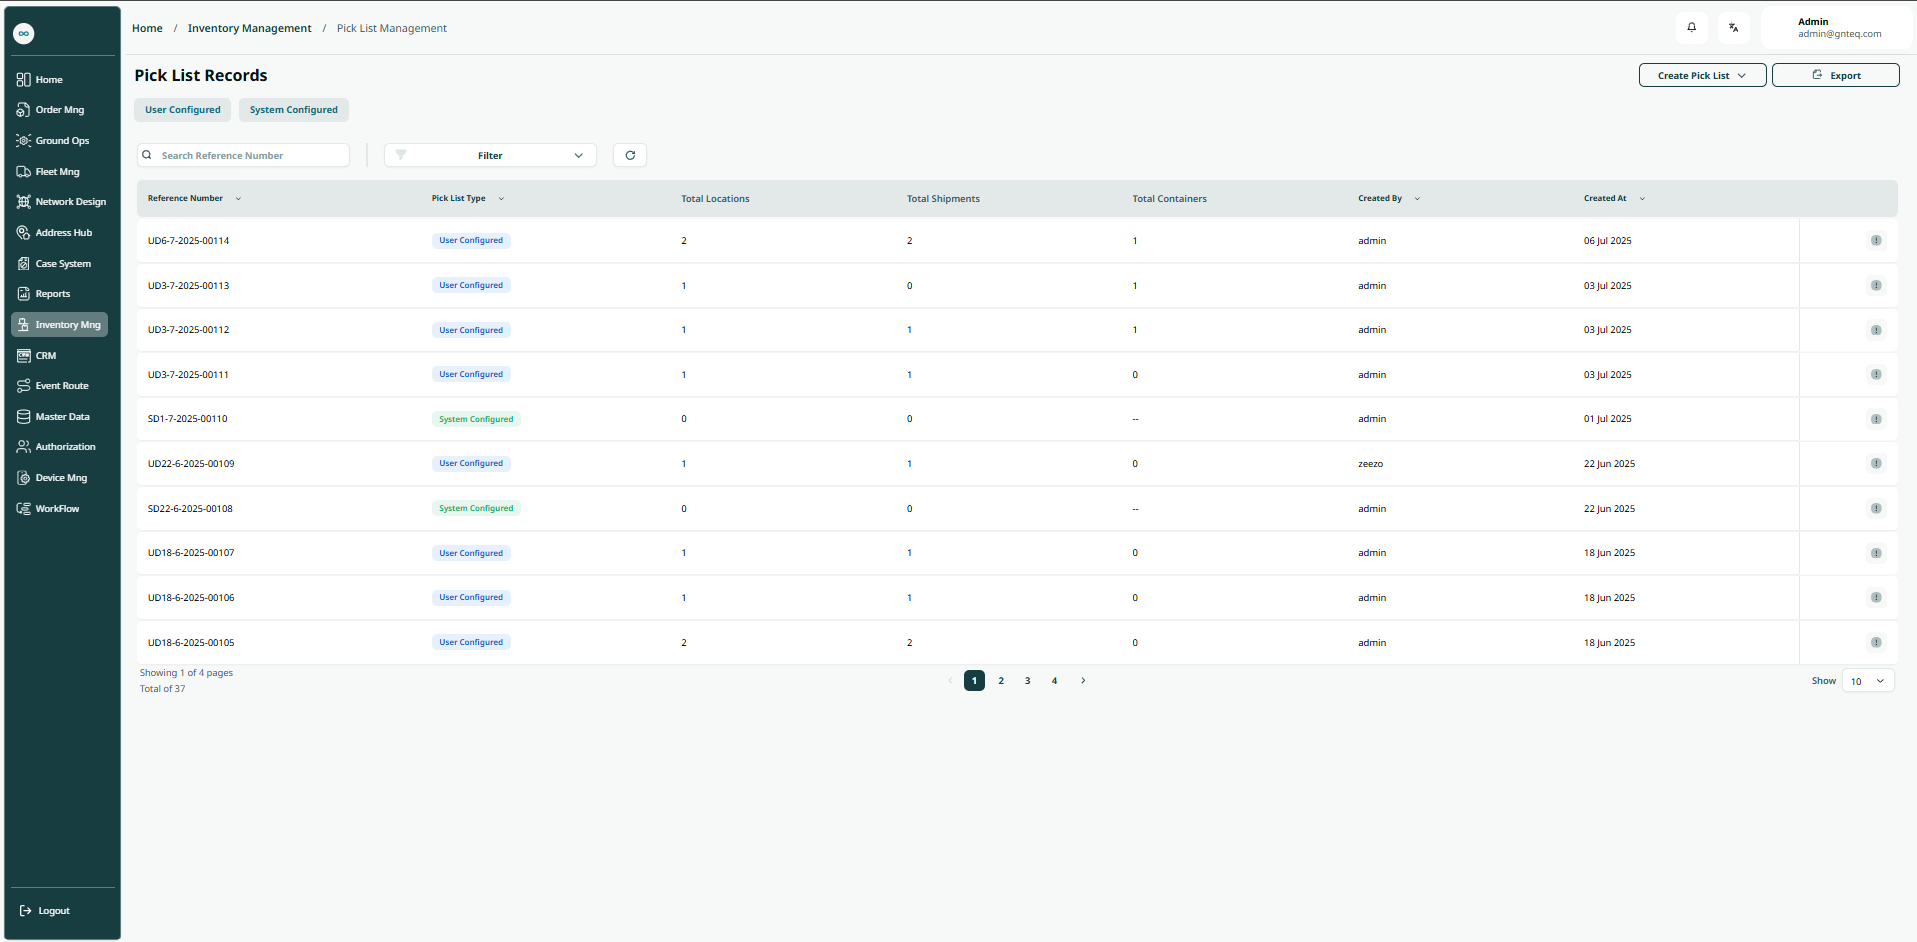
User Configured: The user can navigate to the user configured screen by clicking "User Configured."
-
Export: the user can export the list as an Excel file by selecting export button.
-
Search: the user can search for the courier by typing the created at, created by.
-
Filters: the user can search for the picklist by the reference .
-
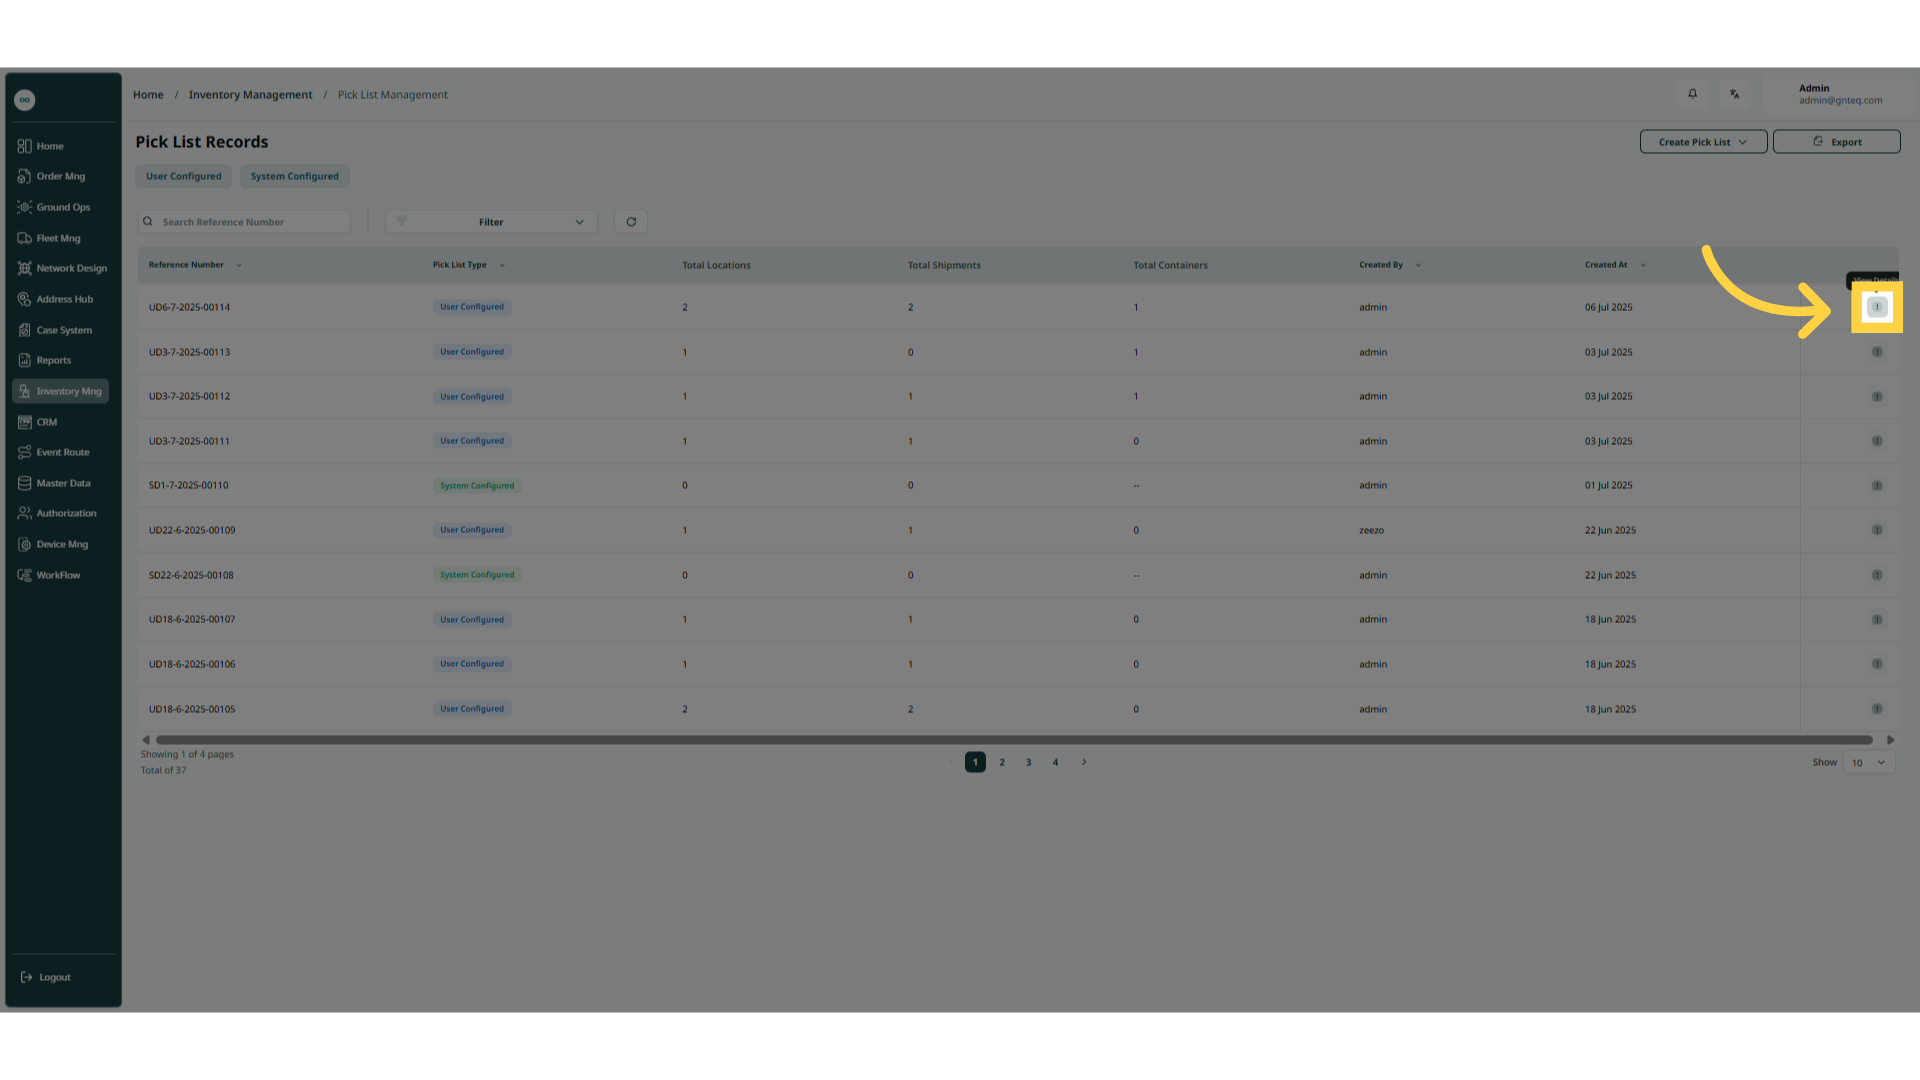
Actions: by clicking on Actions, the user can view the picklist details.
1.1.1 View details
The user can view an existing pick list by clicking on View Details from Actions by navigating to the ‘Pick List Records’ screen via the Inventory Management module.
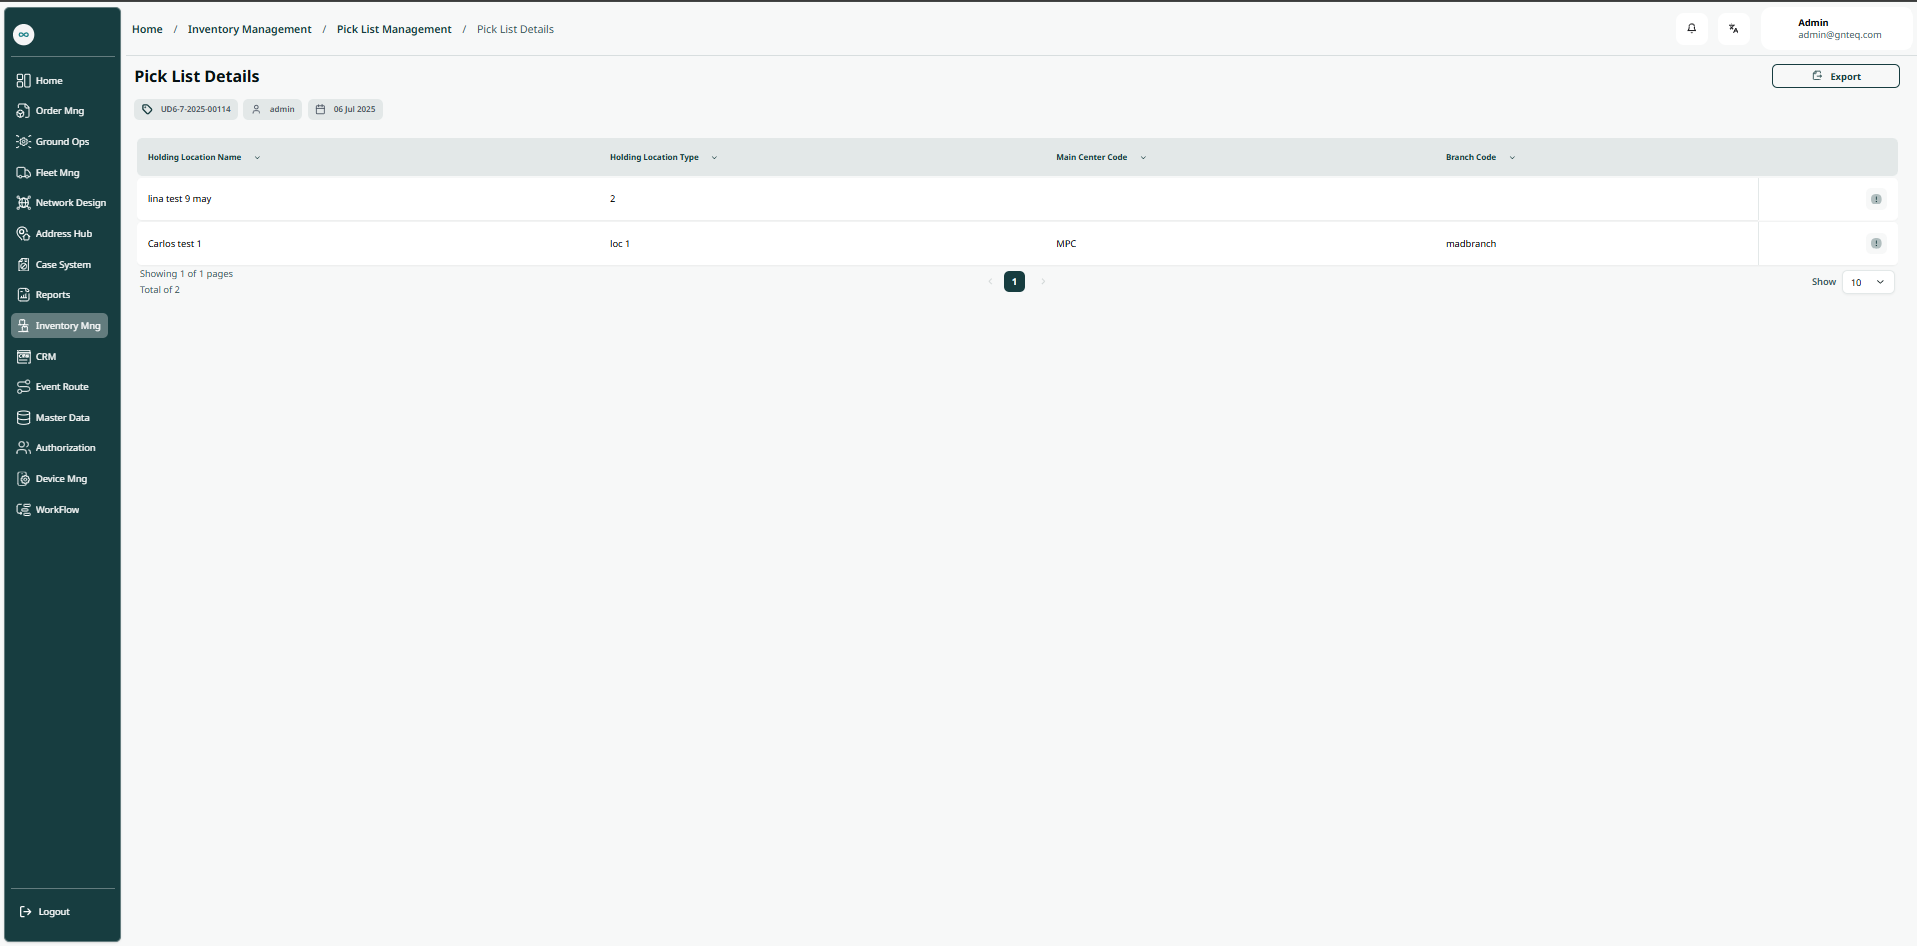
1.1.1.1 Pick List Details
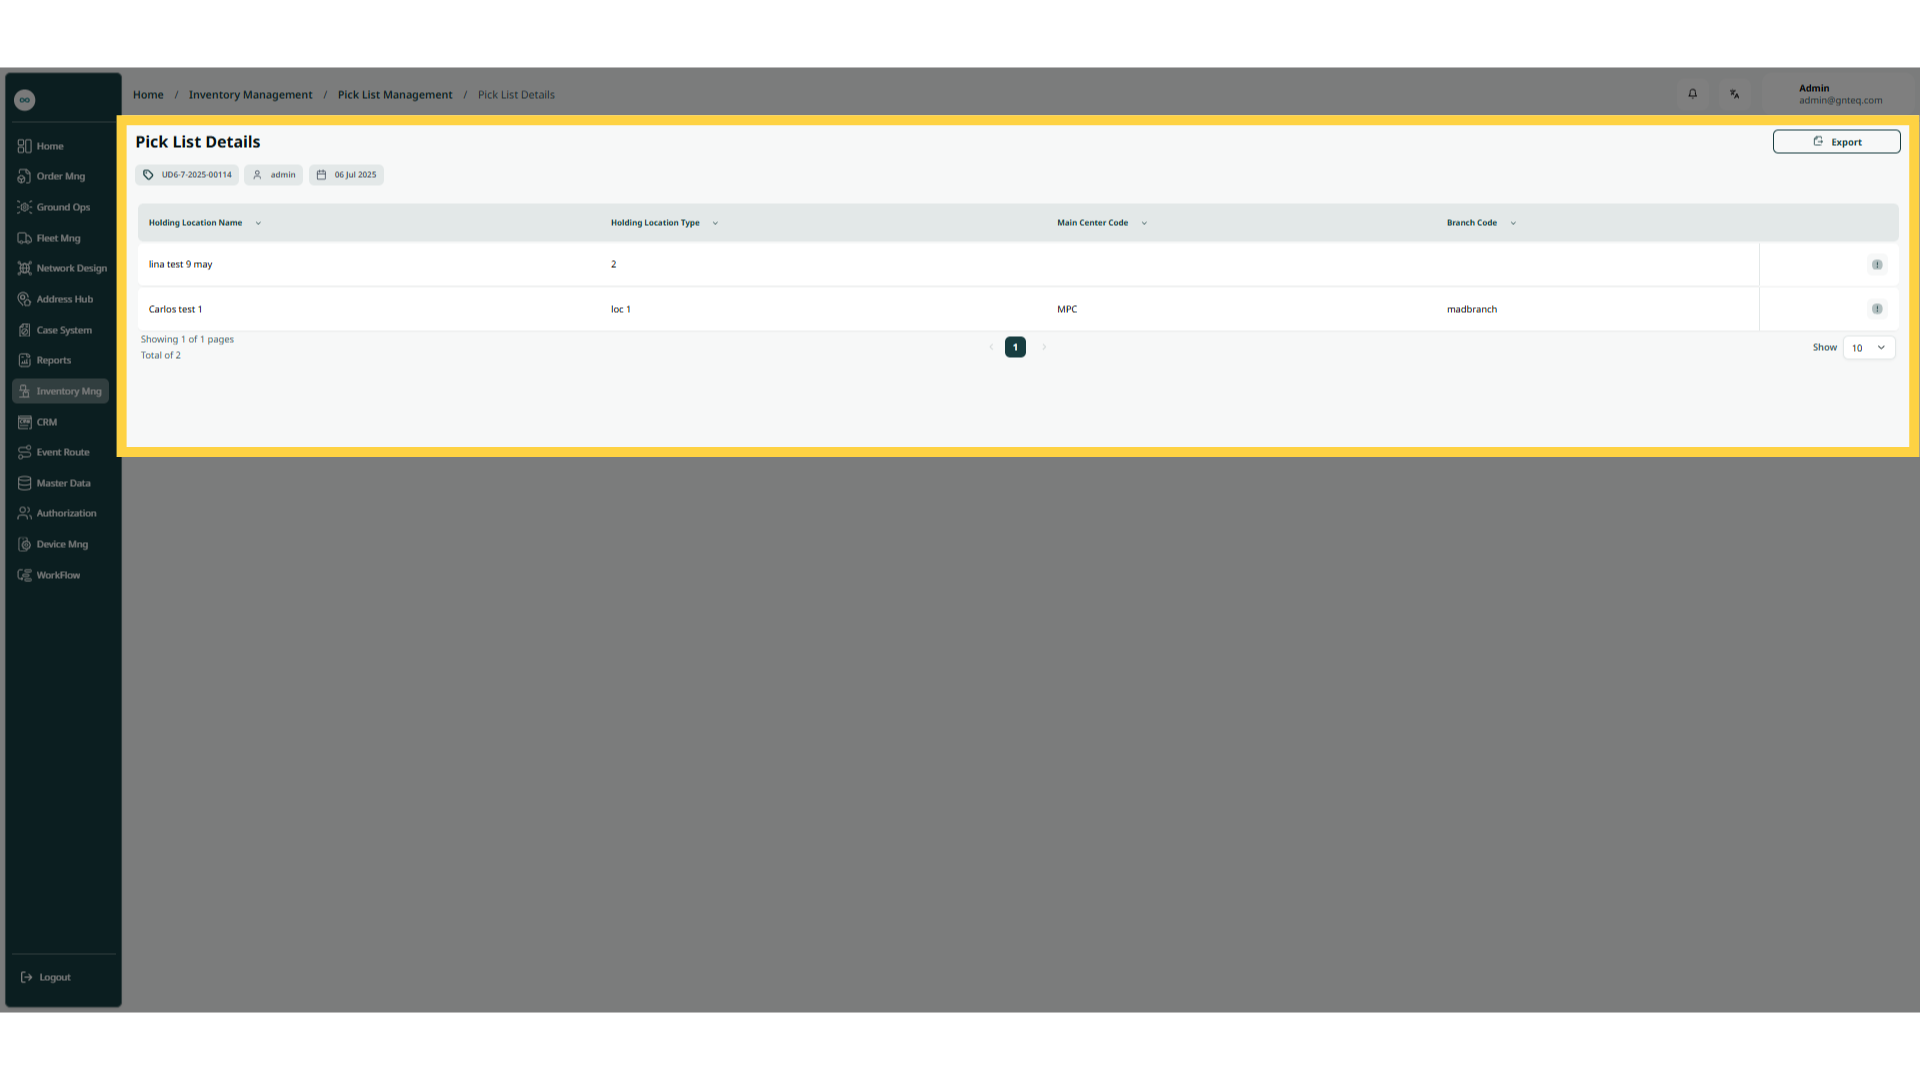
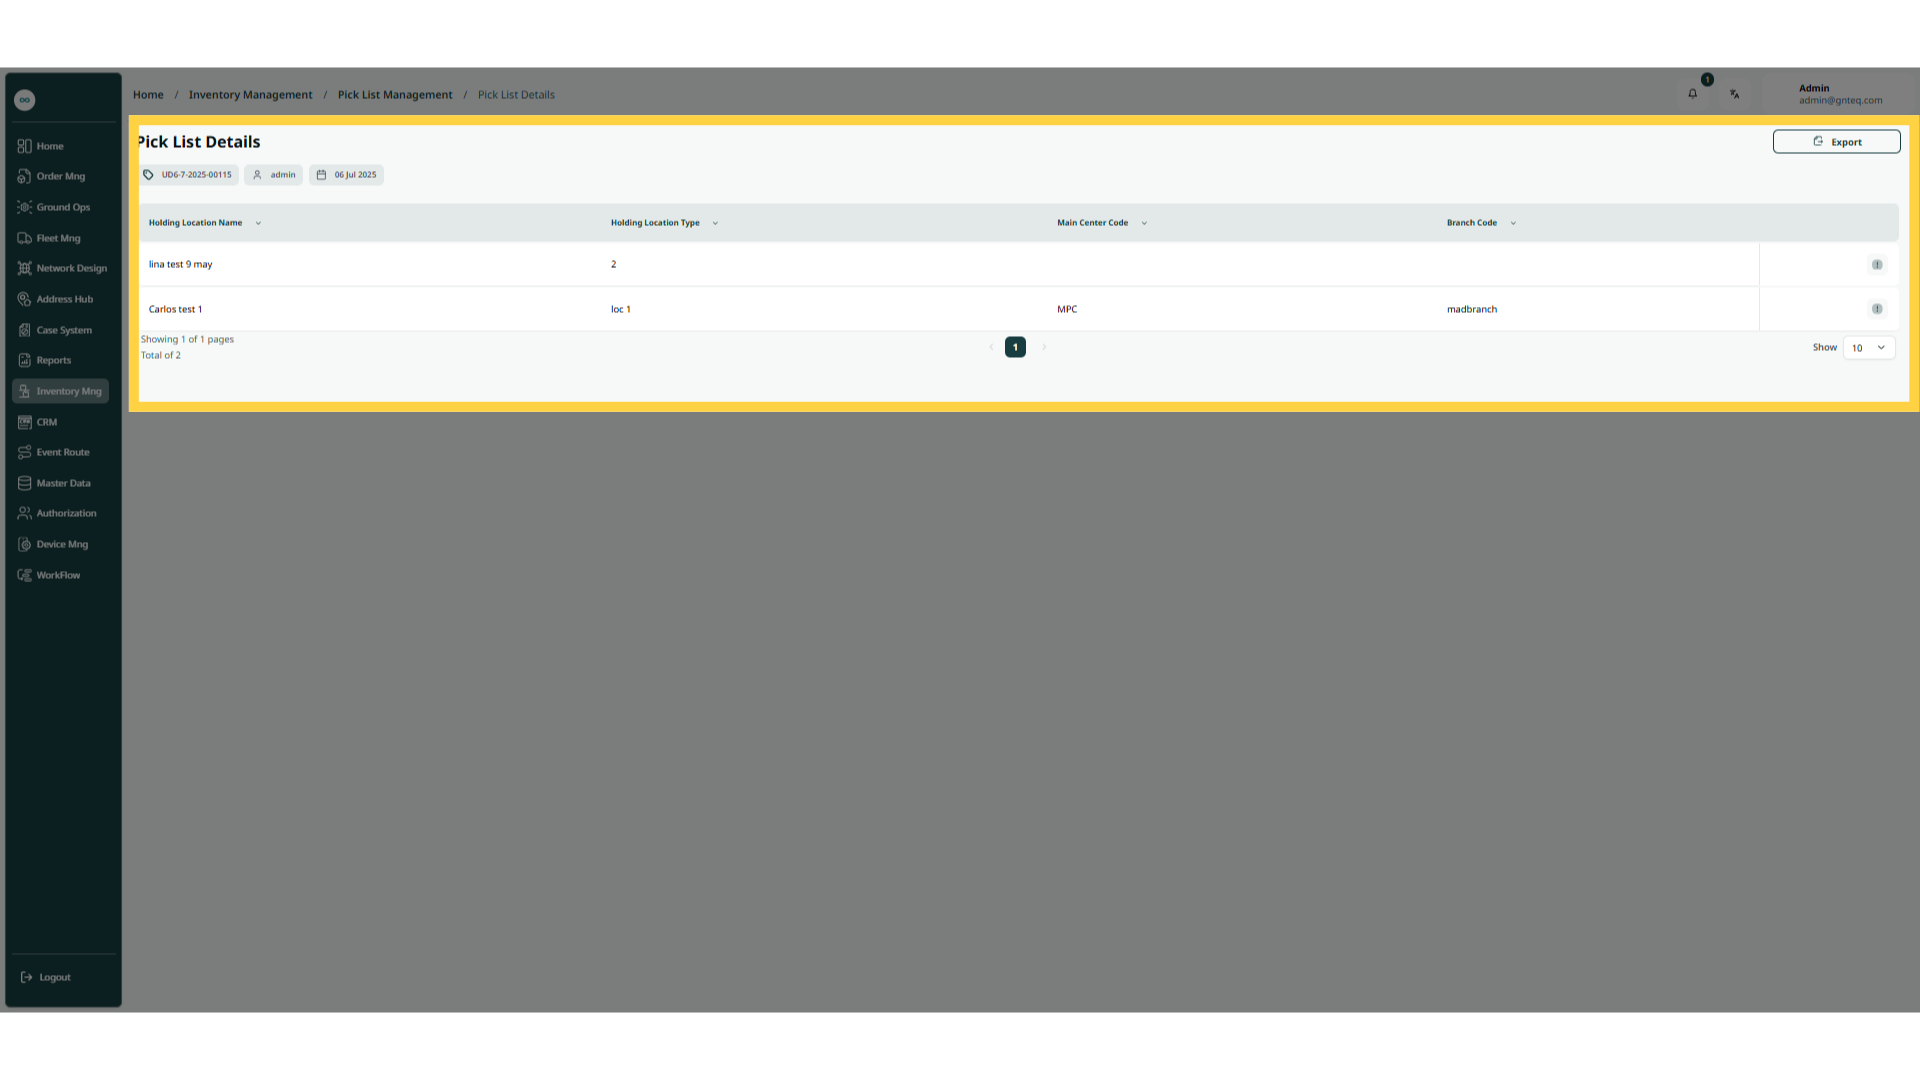
The user can view an existing pick list details by clicking on View Details from Actions by navigating to the ‘Pick List Records’ screen via the Inventory Management Module.
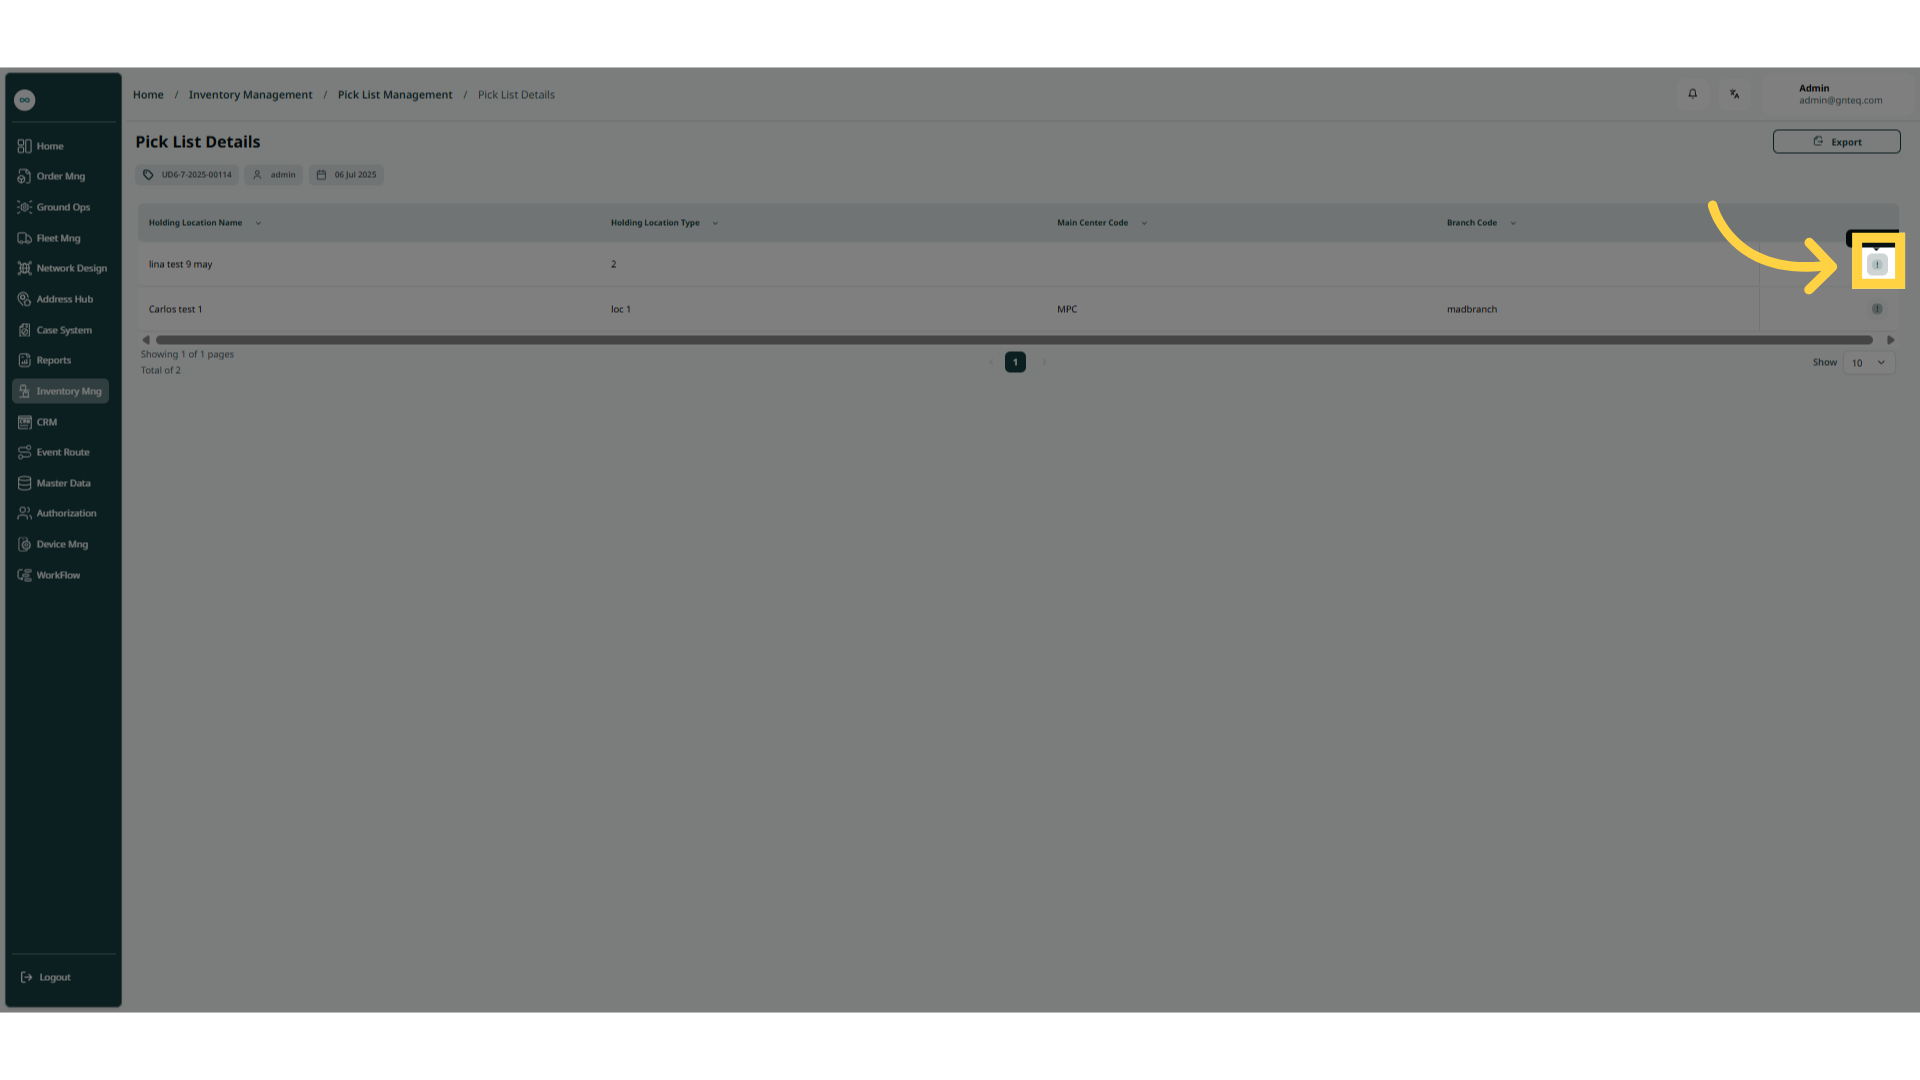
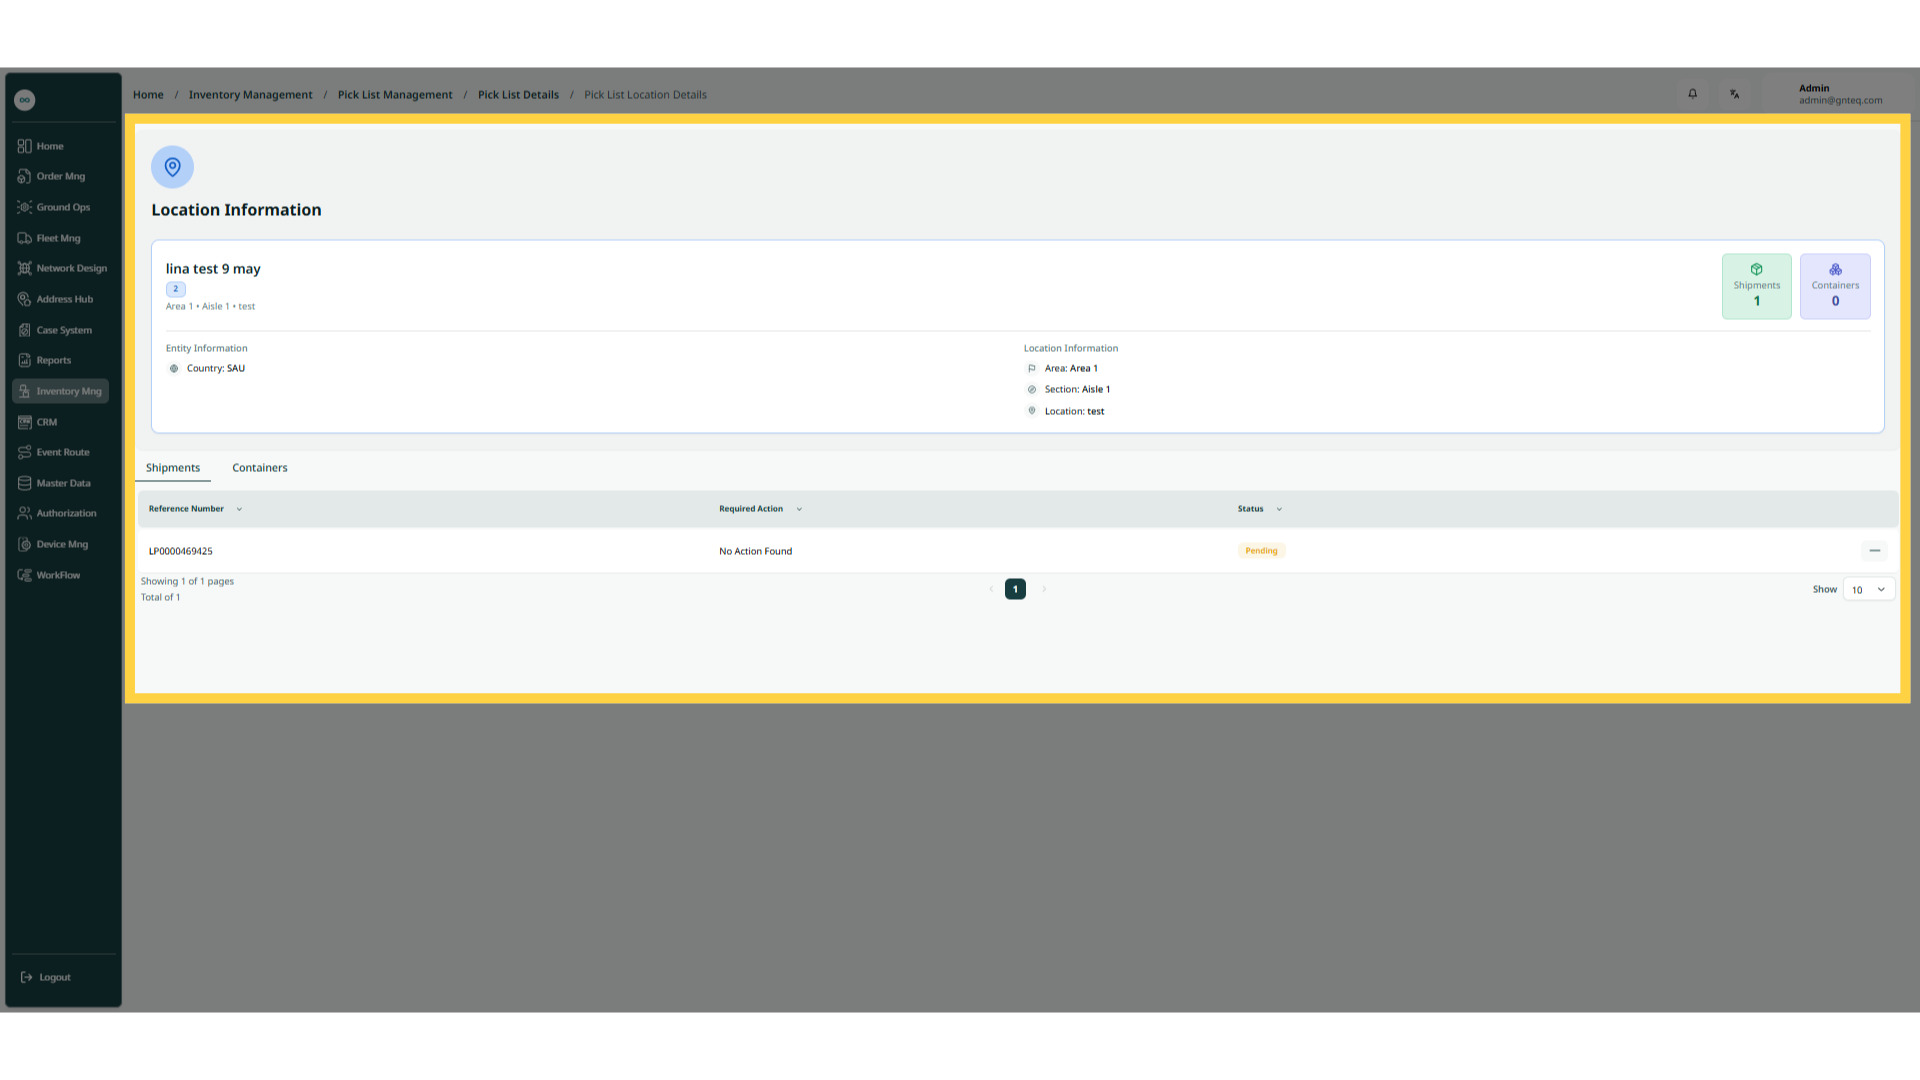
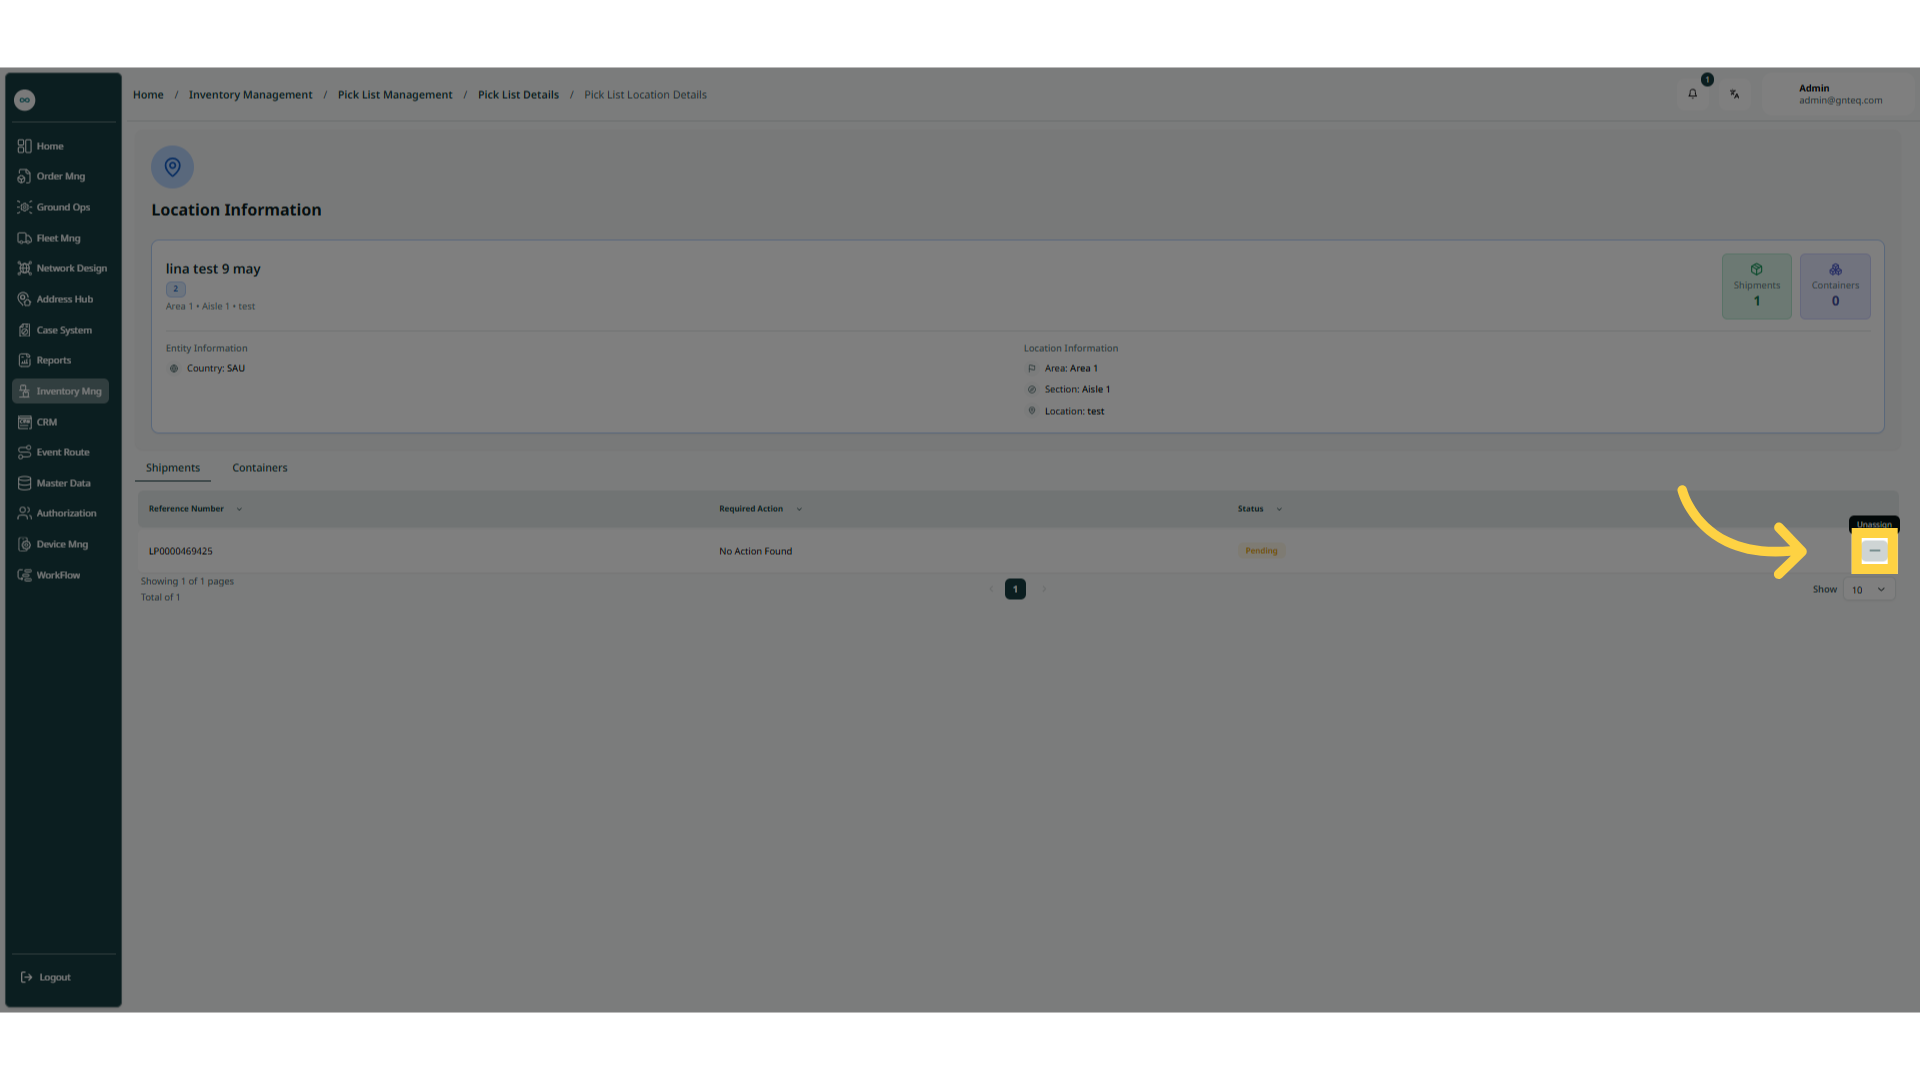
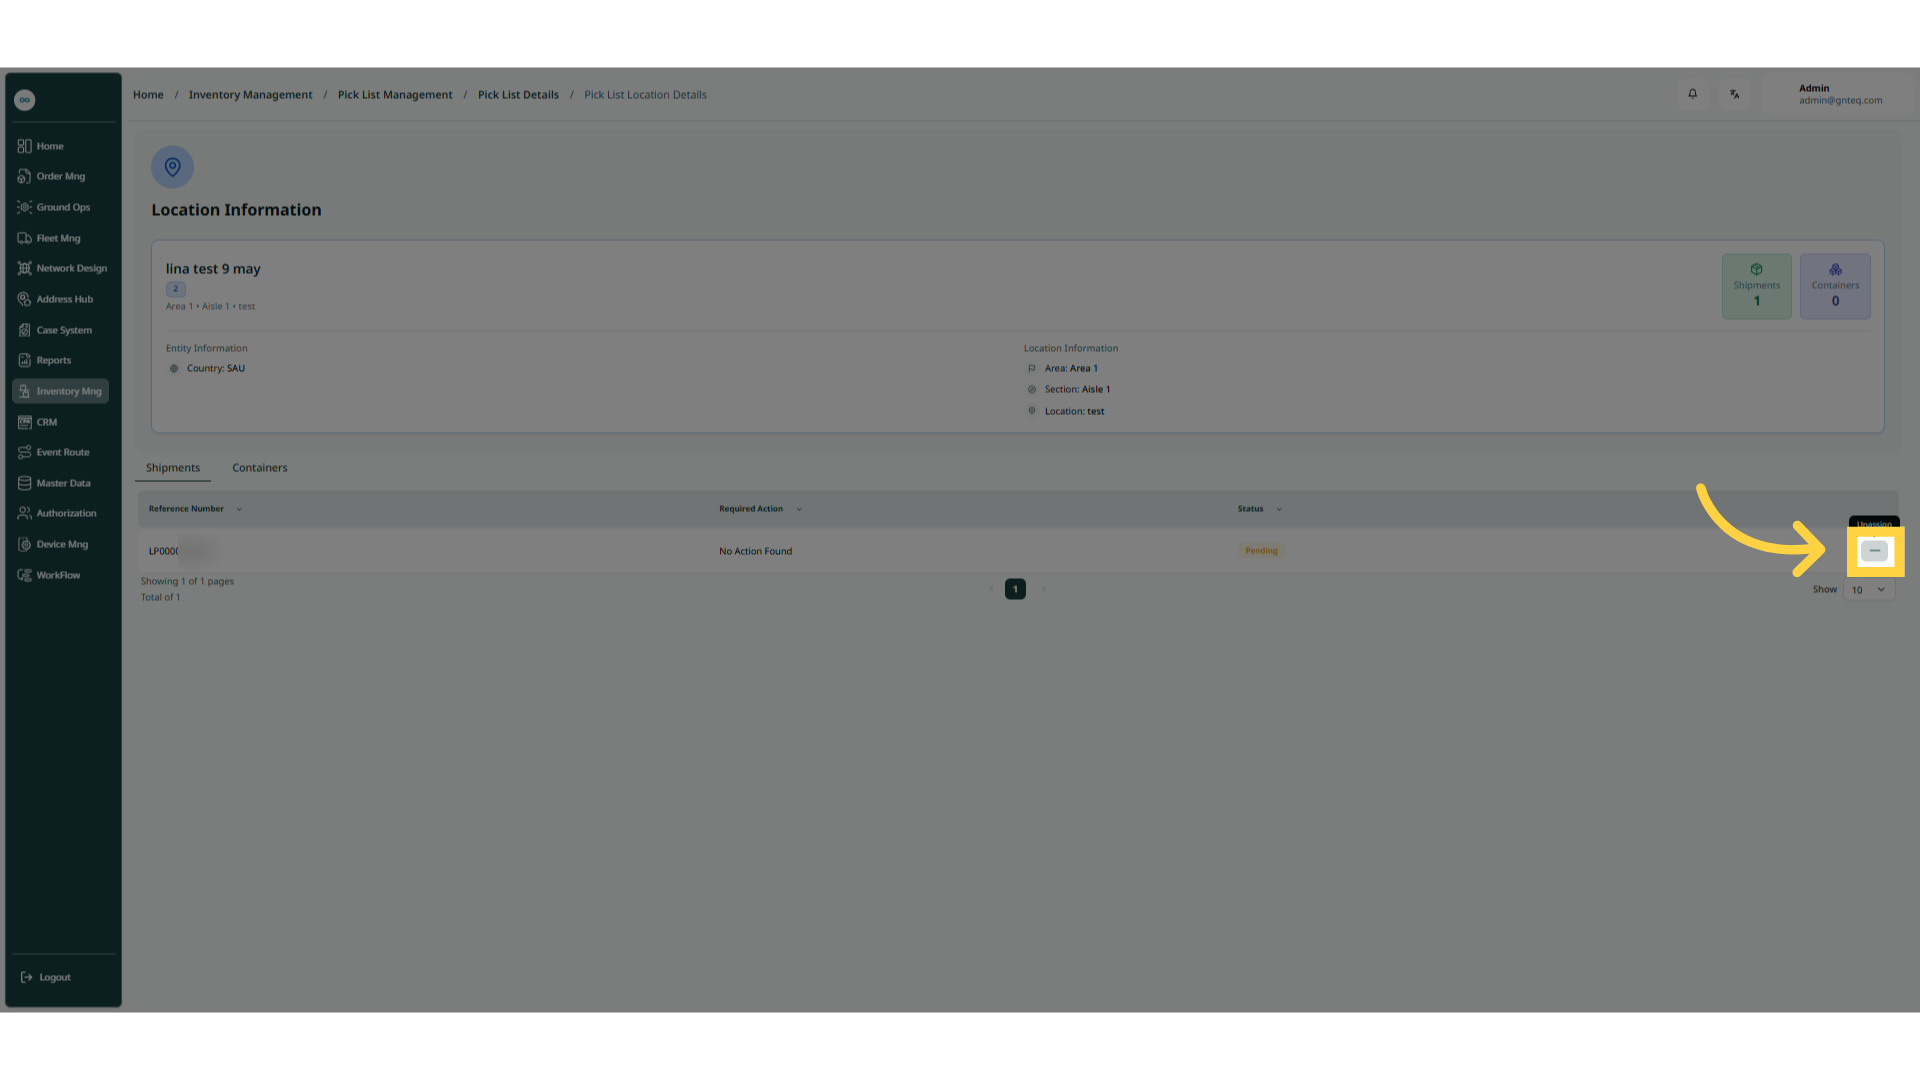
Note: the user can remove shipments from location, by clicking on Unassign from Actions by navigating to the “Location Information” screen via the Inventory Management.
1.2 Create User Configured List
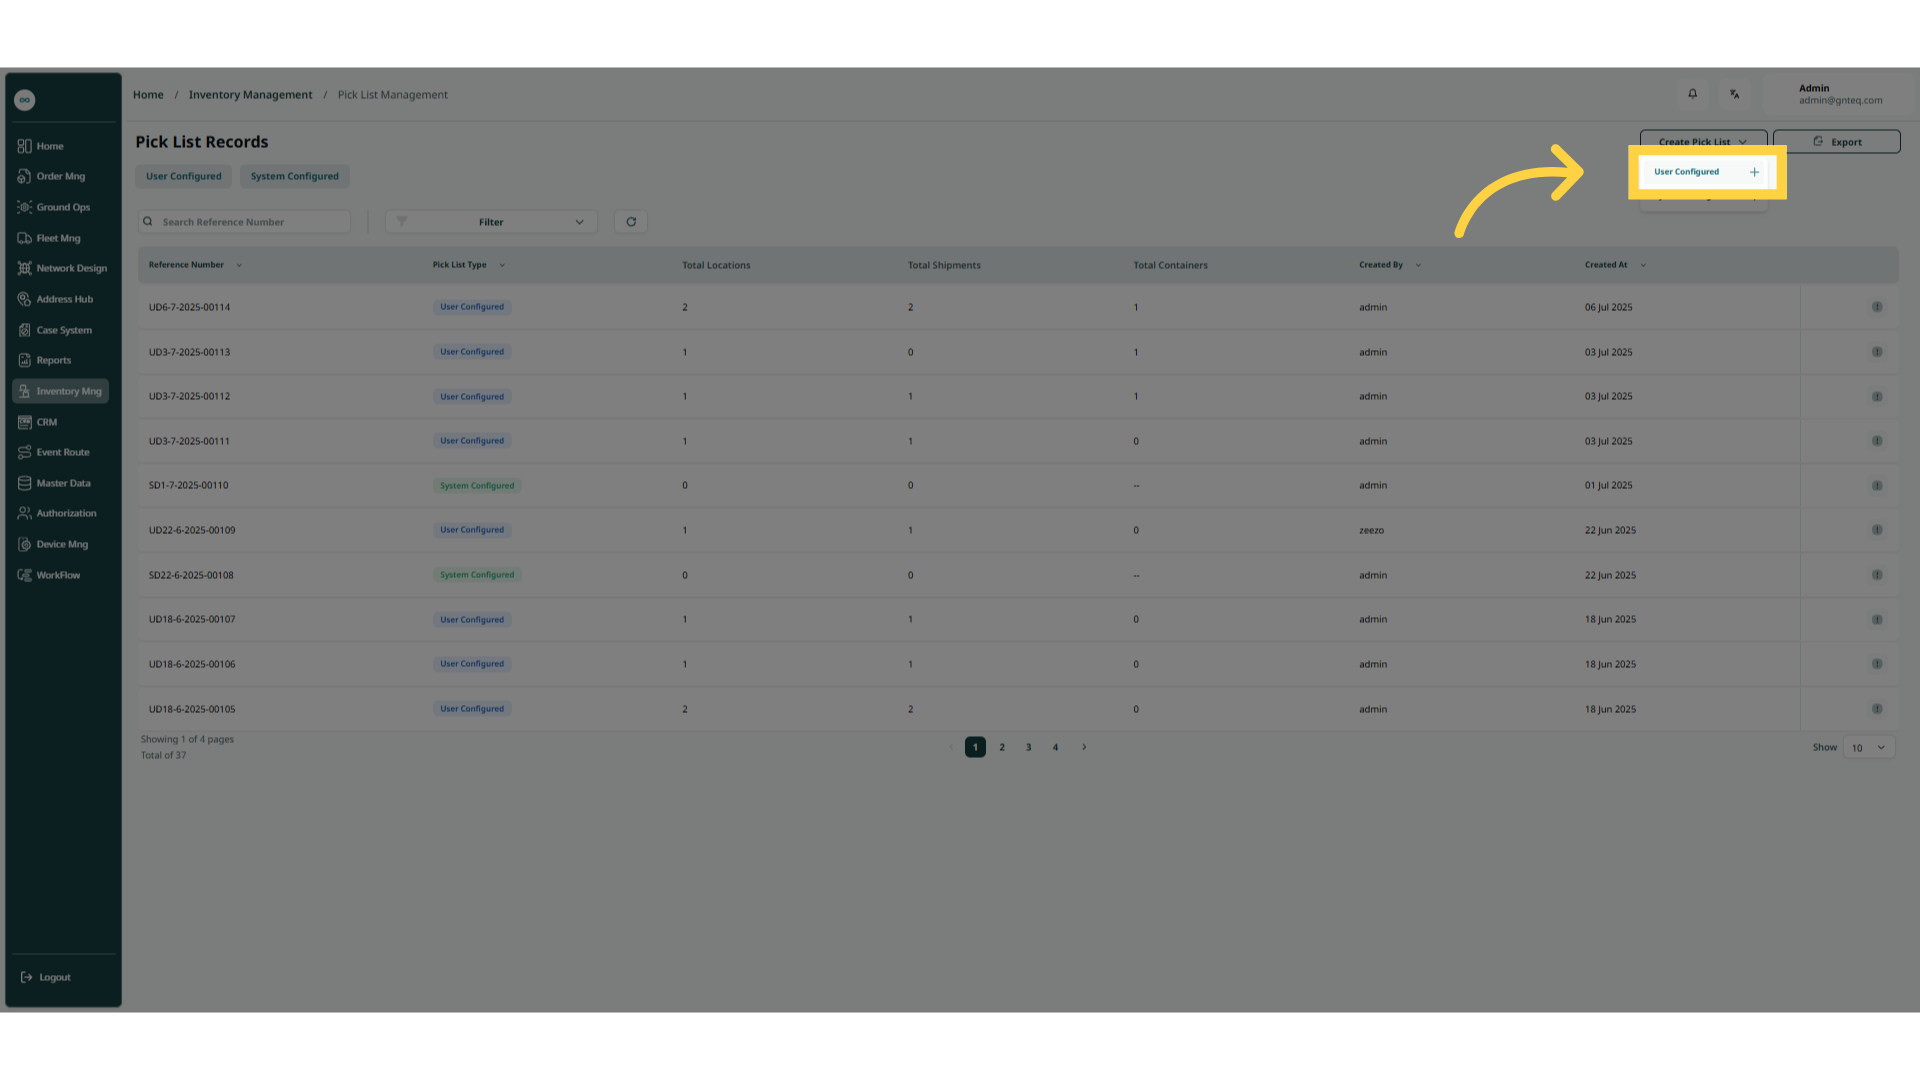
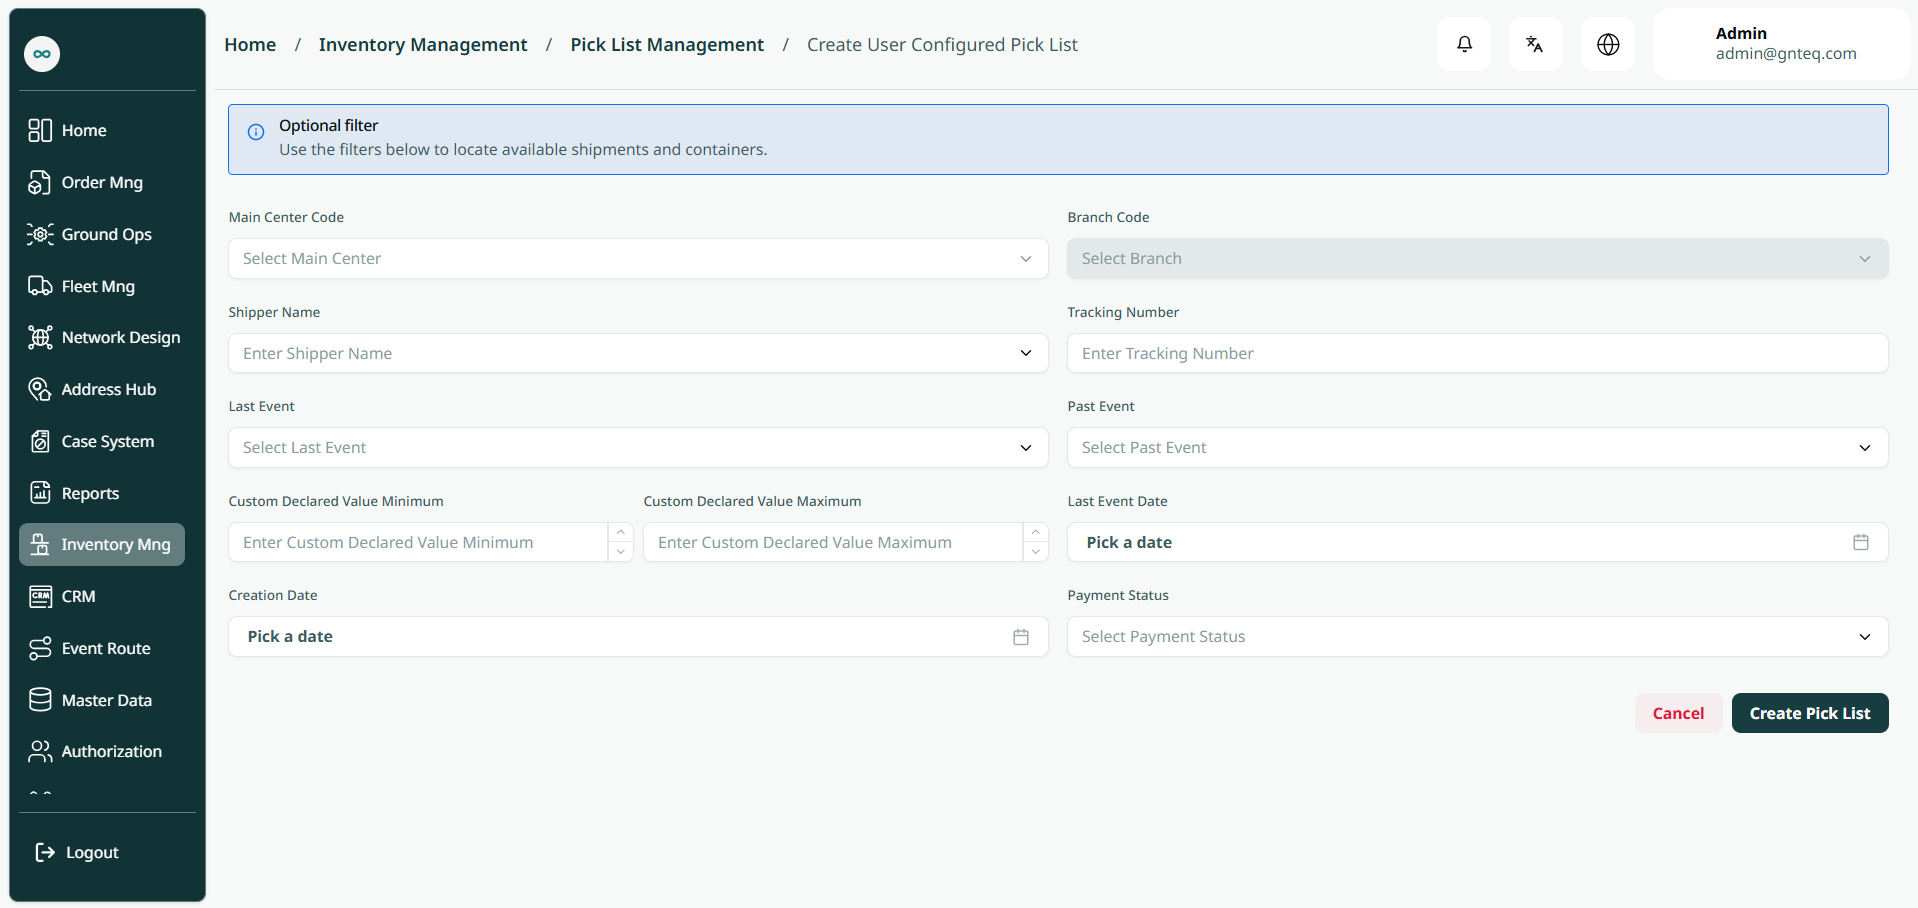
The user can create a new user configured pick list by navigating to the ‘Pick List Records Dashboard’ screen via the Inventory Management Module and clicking on User Configured button:
-
Main Centre: this field represents the city where the shipment arrived.
-
Branch: this field represents the station where the shipment arrived.
-
Warehouse Area: this field represents the the name of the area in the warehouse.
-
Product Type: this field represents the name of the product type.
-
Shipper Name: this field represents the name of the shipper.
-
Last Event: this field represents the last final event for the shipment.
-
Past Event: this field represents the event before the last one.
-
Custom Declared Value Minimum: this field represents the minimum declared value.
-
Custom Declared Value Maximum: this field represents the maximum declared value.
-
Last Event Date: this field represents the date of the last event.
-
Creation Date this field represents the creation date of the shipment.
-
Payment Status: this field represents the status of payment (create, pending, paid, partially paid, not paid)
-
Tracking Number: this field represents the number of shipments.
-
Address Changed (checkbox): if selected, the address has changed.
-
On Hold (checkbox): if selected, the shipment is pending.
-
Return (checkbox): if selected, the shipment is a return shipment.
-
Required Printing (checkbox): if selected, the printing is required.
By clicking 'Create Pick List,' the system will find the locations successfully.
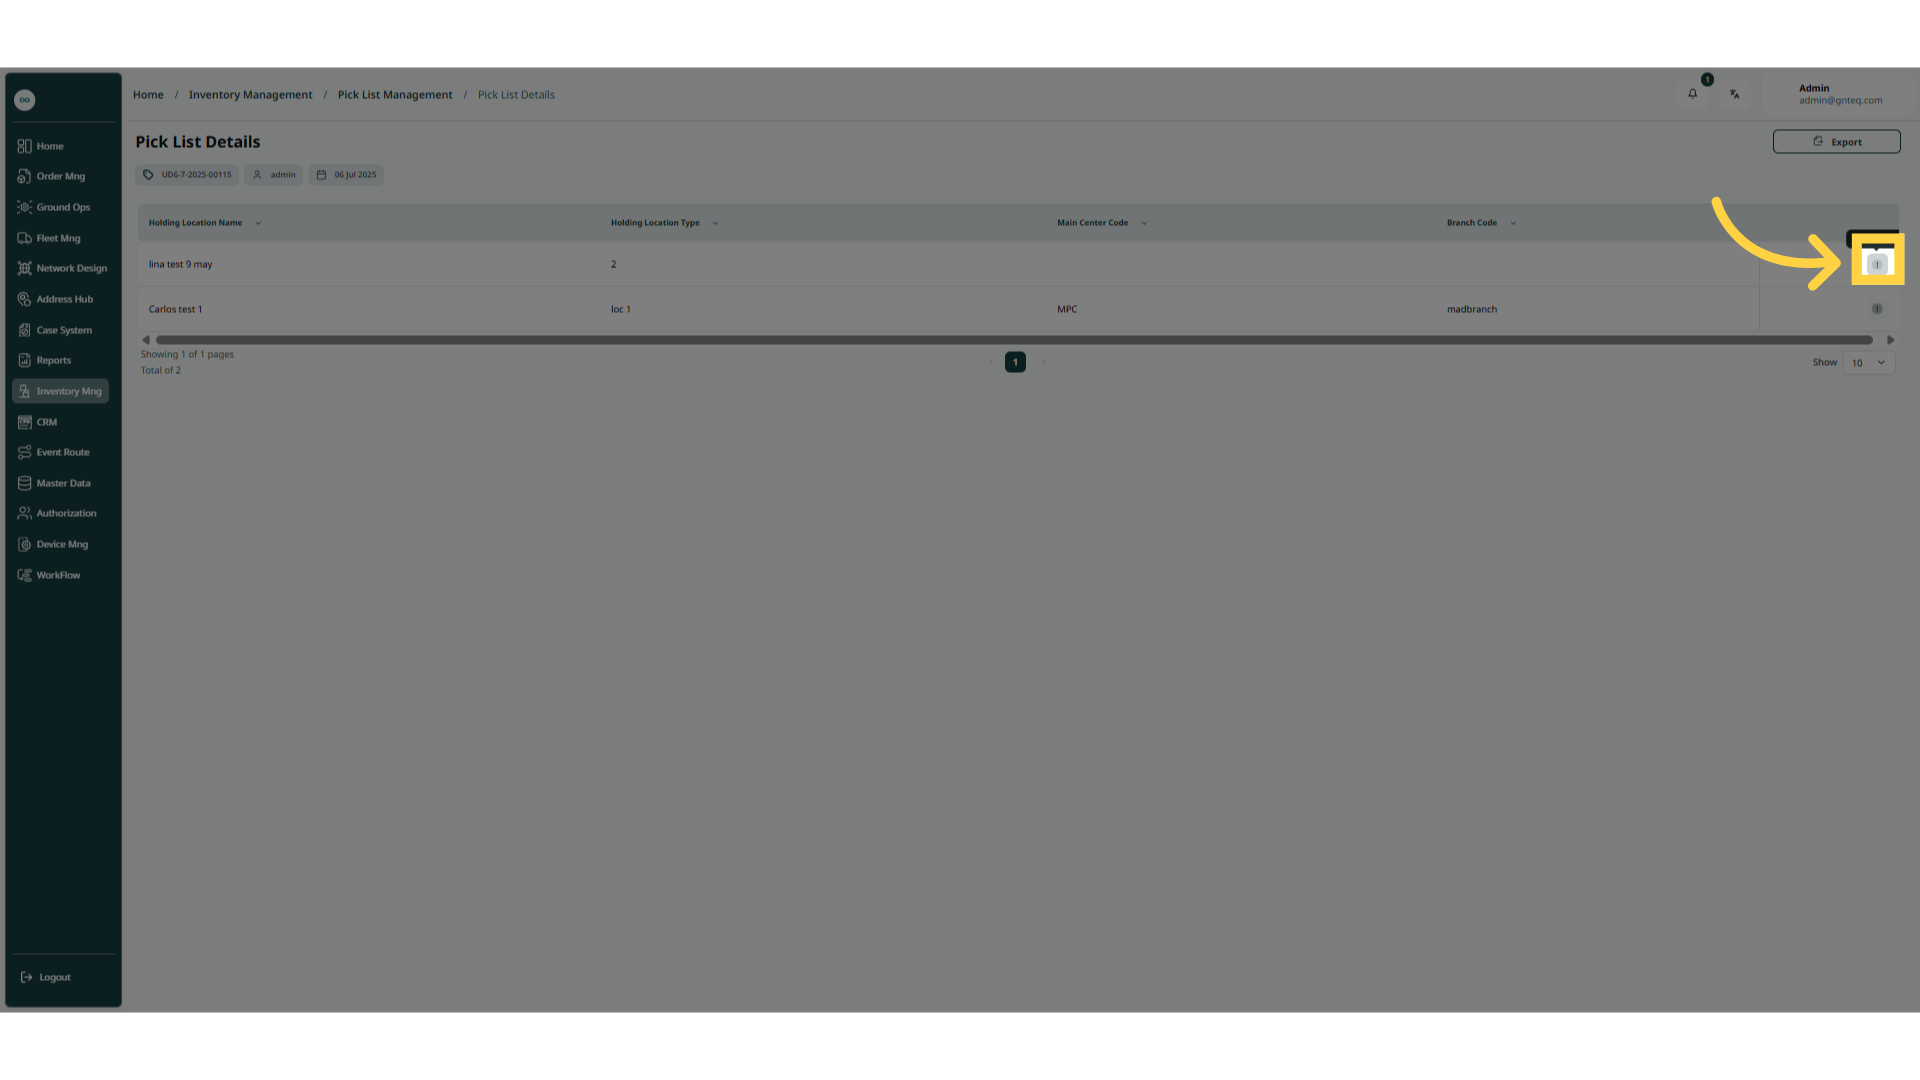
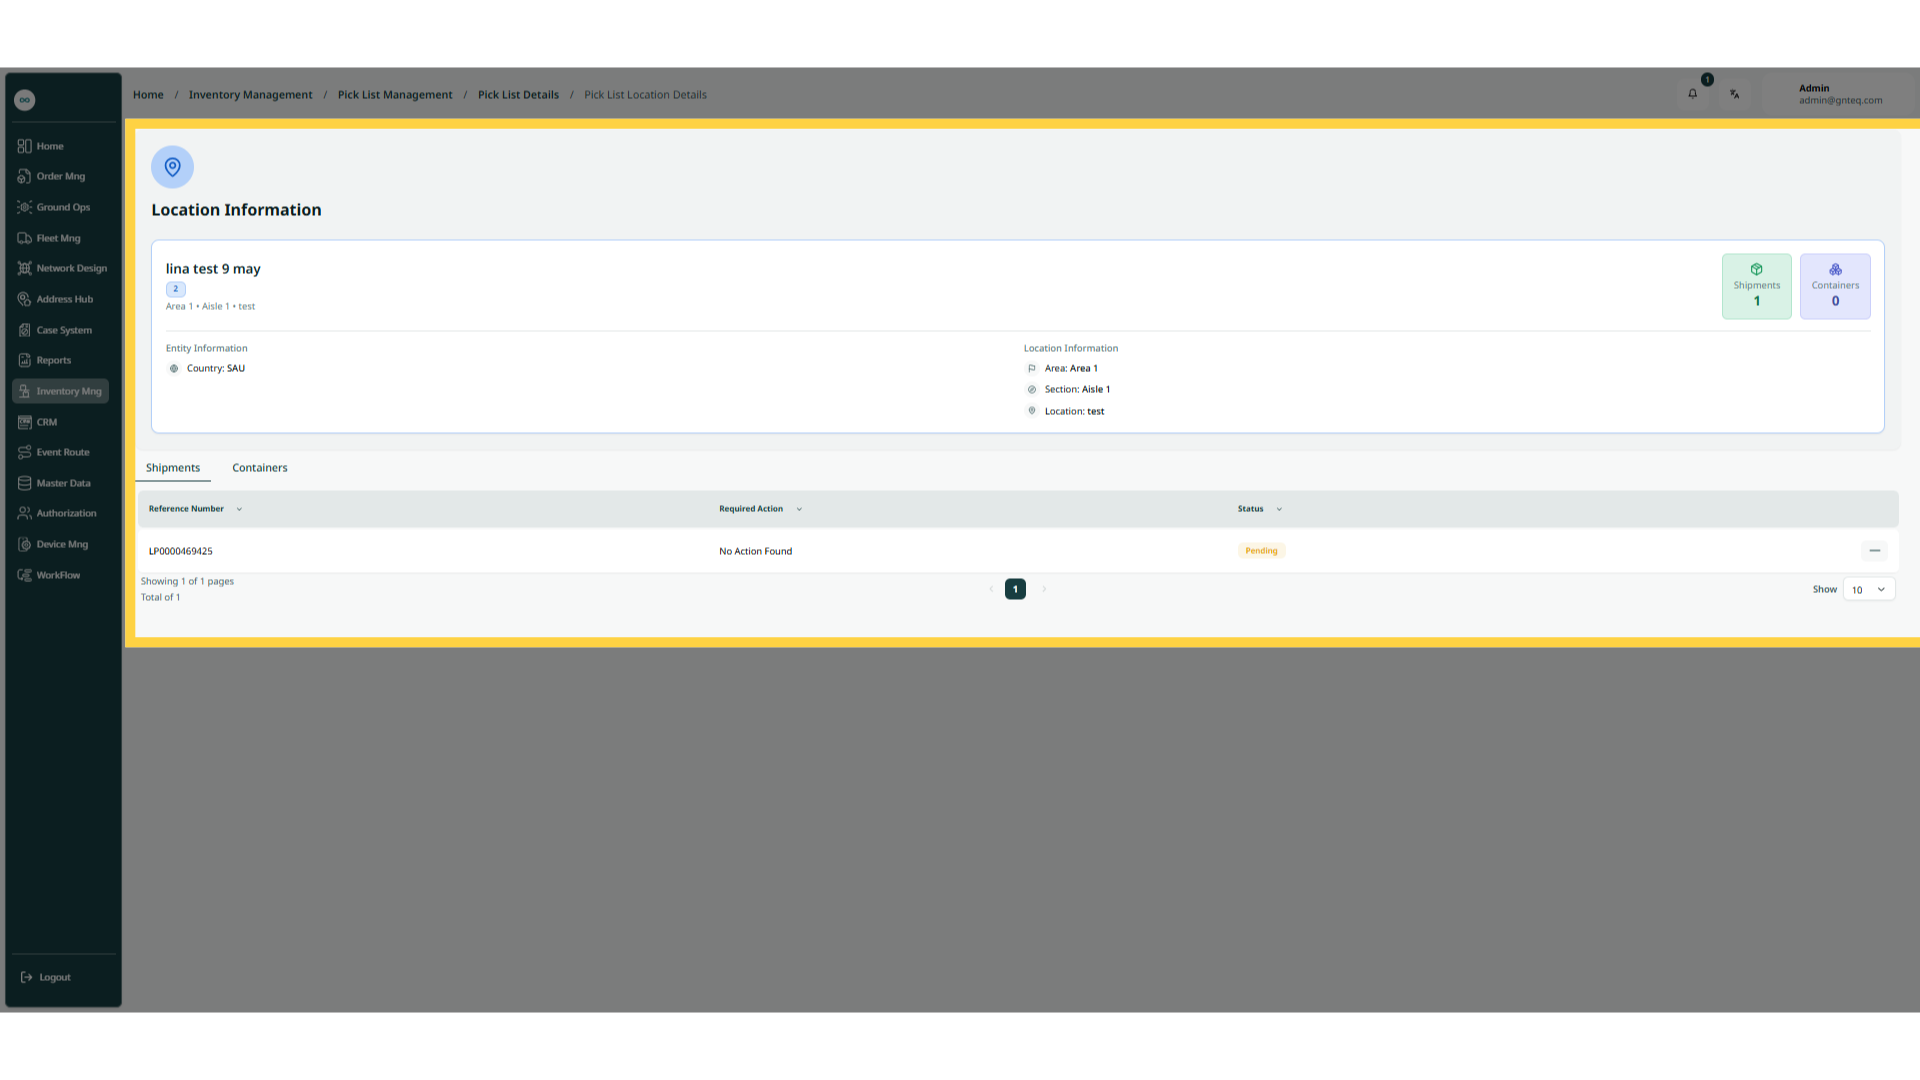
Note: the user can remove shipments from location, by clicking on Unassign from Actions by navigating to the “Location Information” screen via the Inventory Management.