.png)
1. User Creation Overview
2. Dashboard
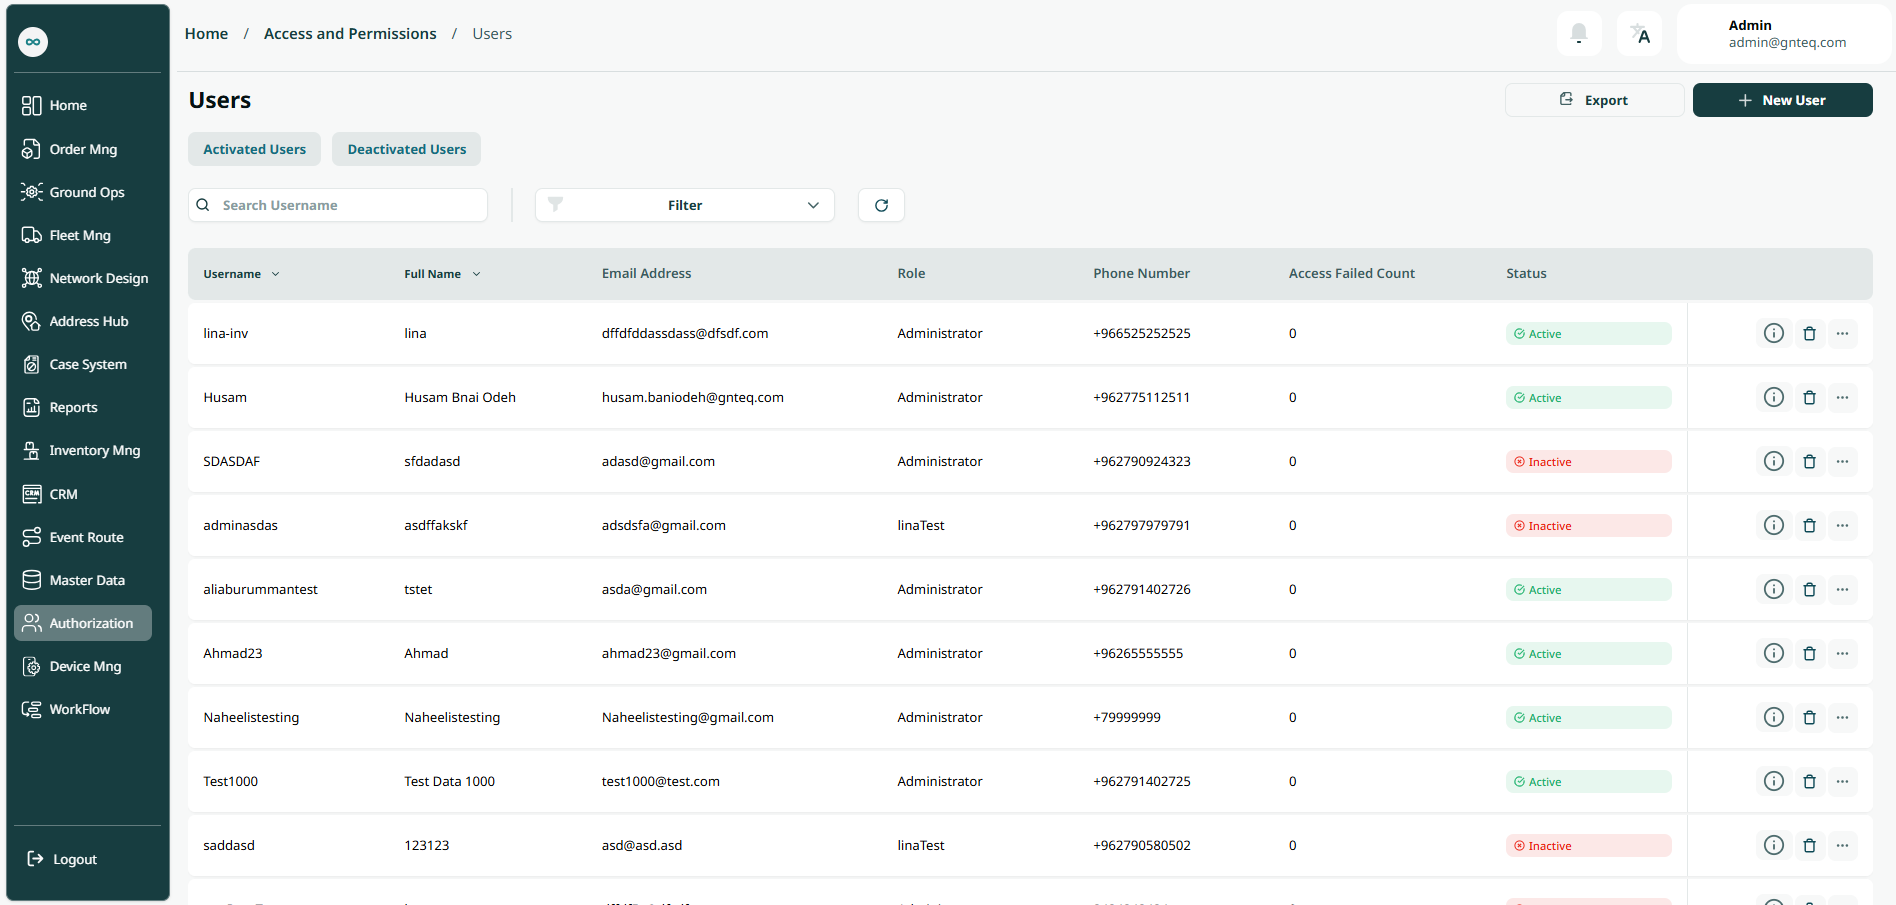
The admin can view the defined users in the system by navigating to the ‘Users’ screen in the Authorization Module from the left navigation panel as follows:
-
Add User: the admin can add a new user by clicking "Add User."
-
Export: the admin can export the list as an Excel file by clicking the Export Data button.
-
Activated Users: the admin can access the activated users screen by clicking "Activated Users."
-
Deactivated Users: the admin can access the deactivated users screen by clicking "Deactivated Users."
-
Filters: the admin can search for a user by entering their full name and email address.
-
Search: the admin can search for the user by typing username.
-
Number of Rows Per Page: the admin can specify the number of items to display per page.
-
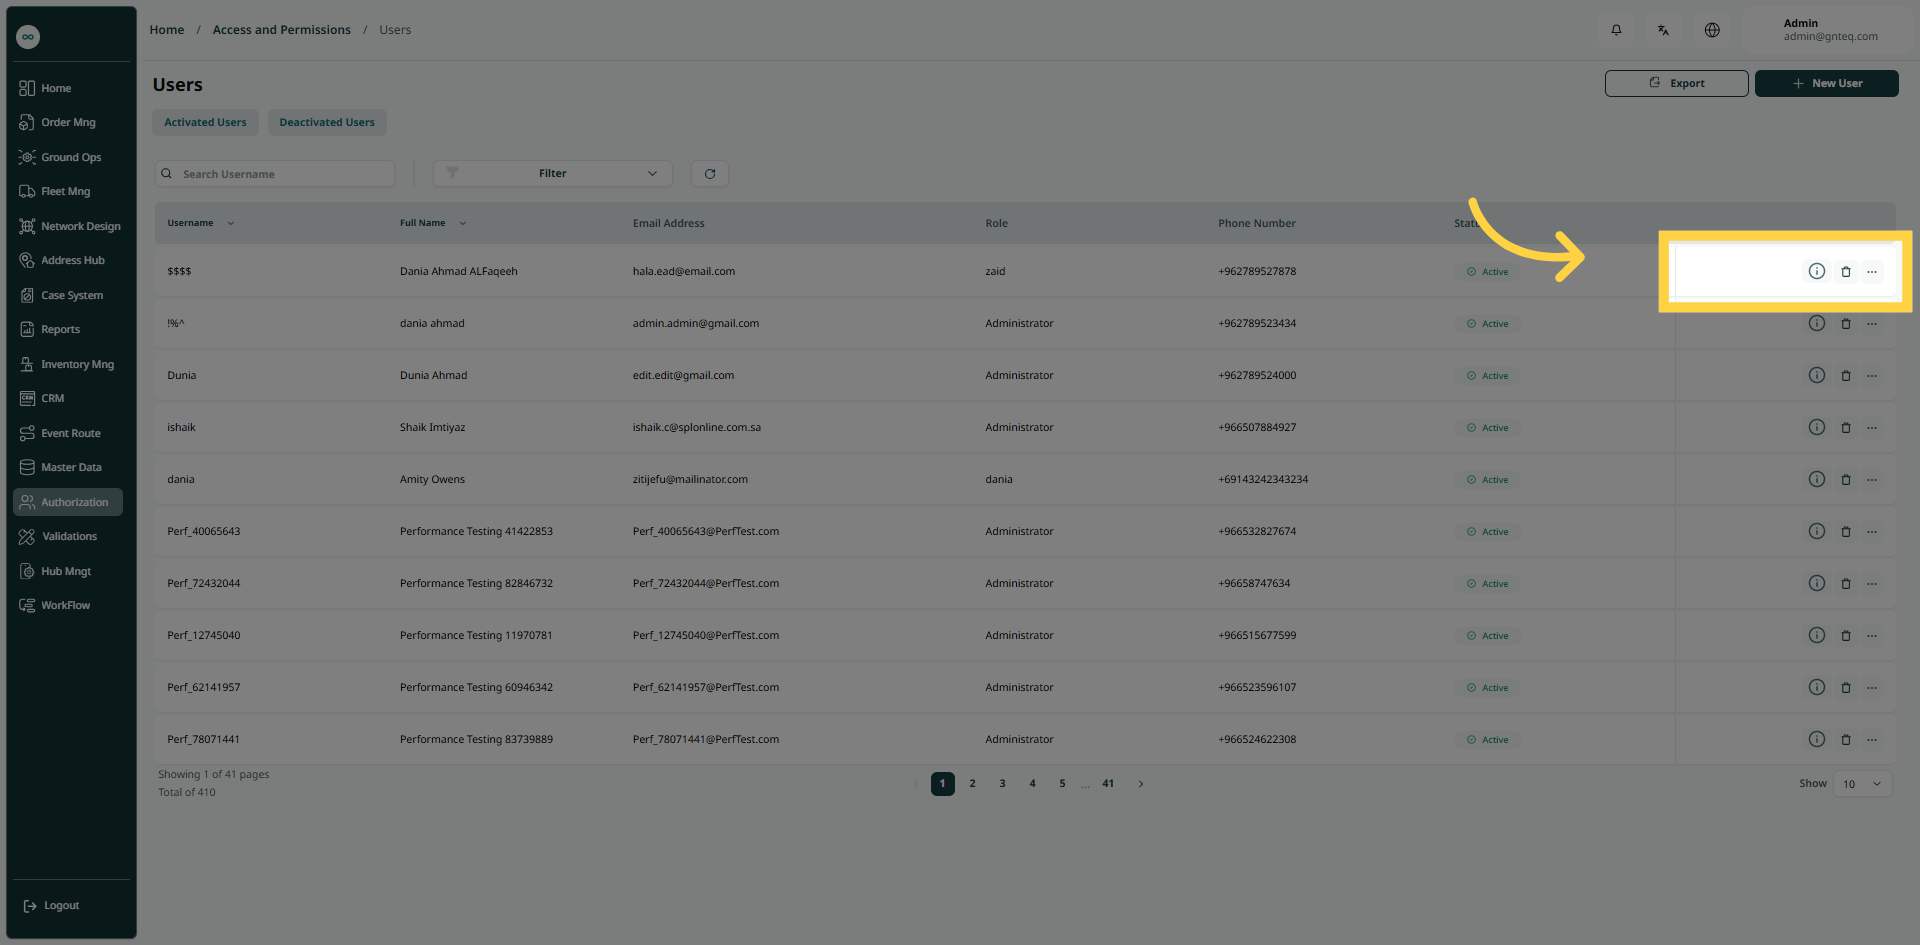
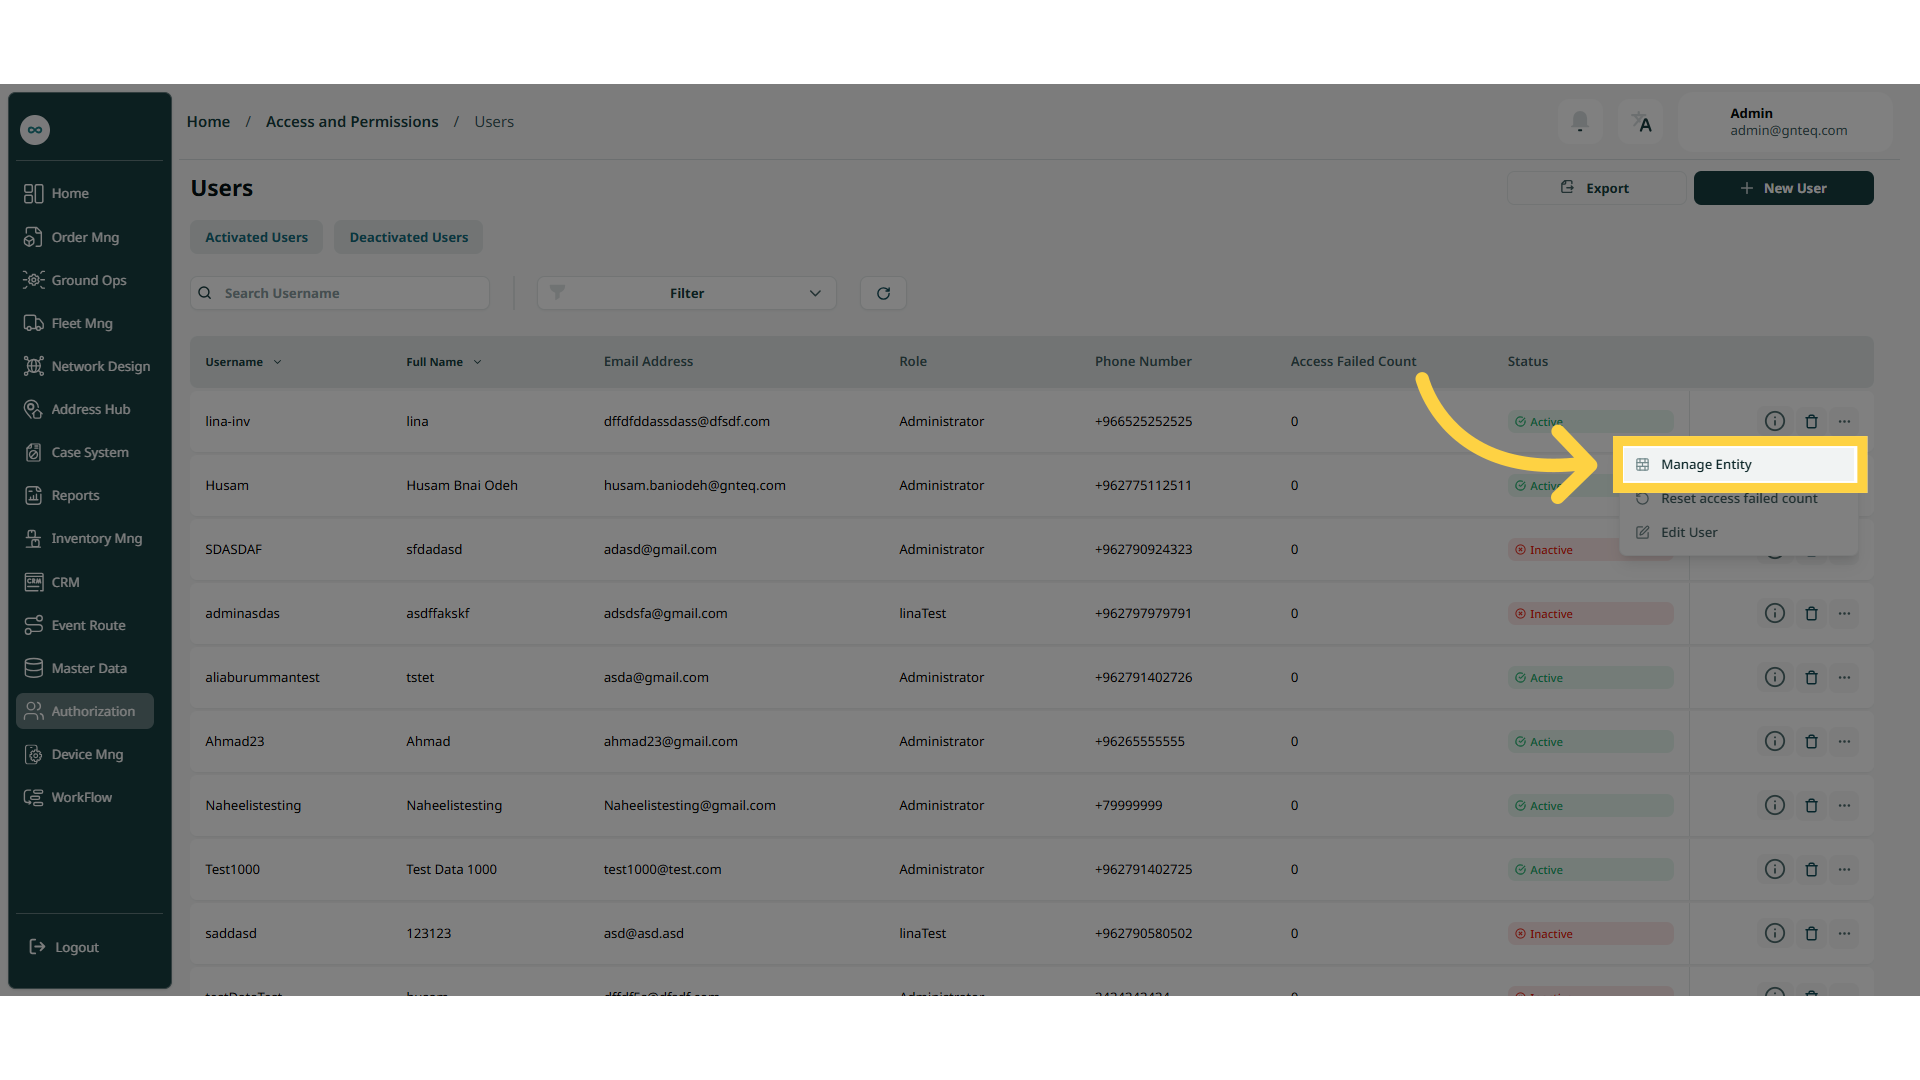
Actions: by clicking Actions, the admin can edit the user by going to the edit User section, delete the user, view user details, or manage the entity.
2.1 User Information
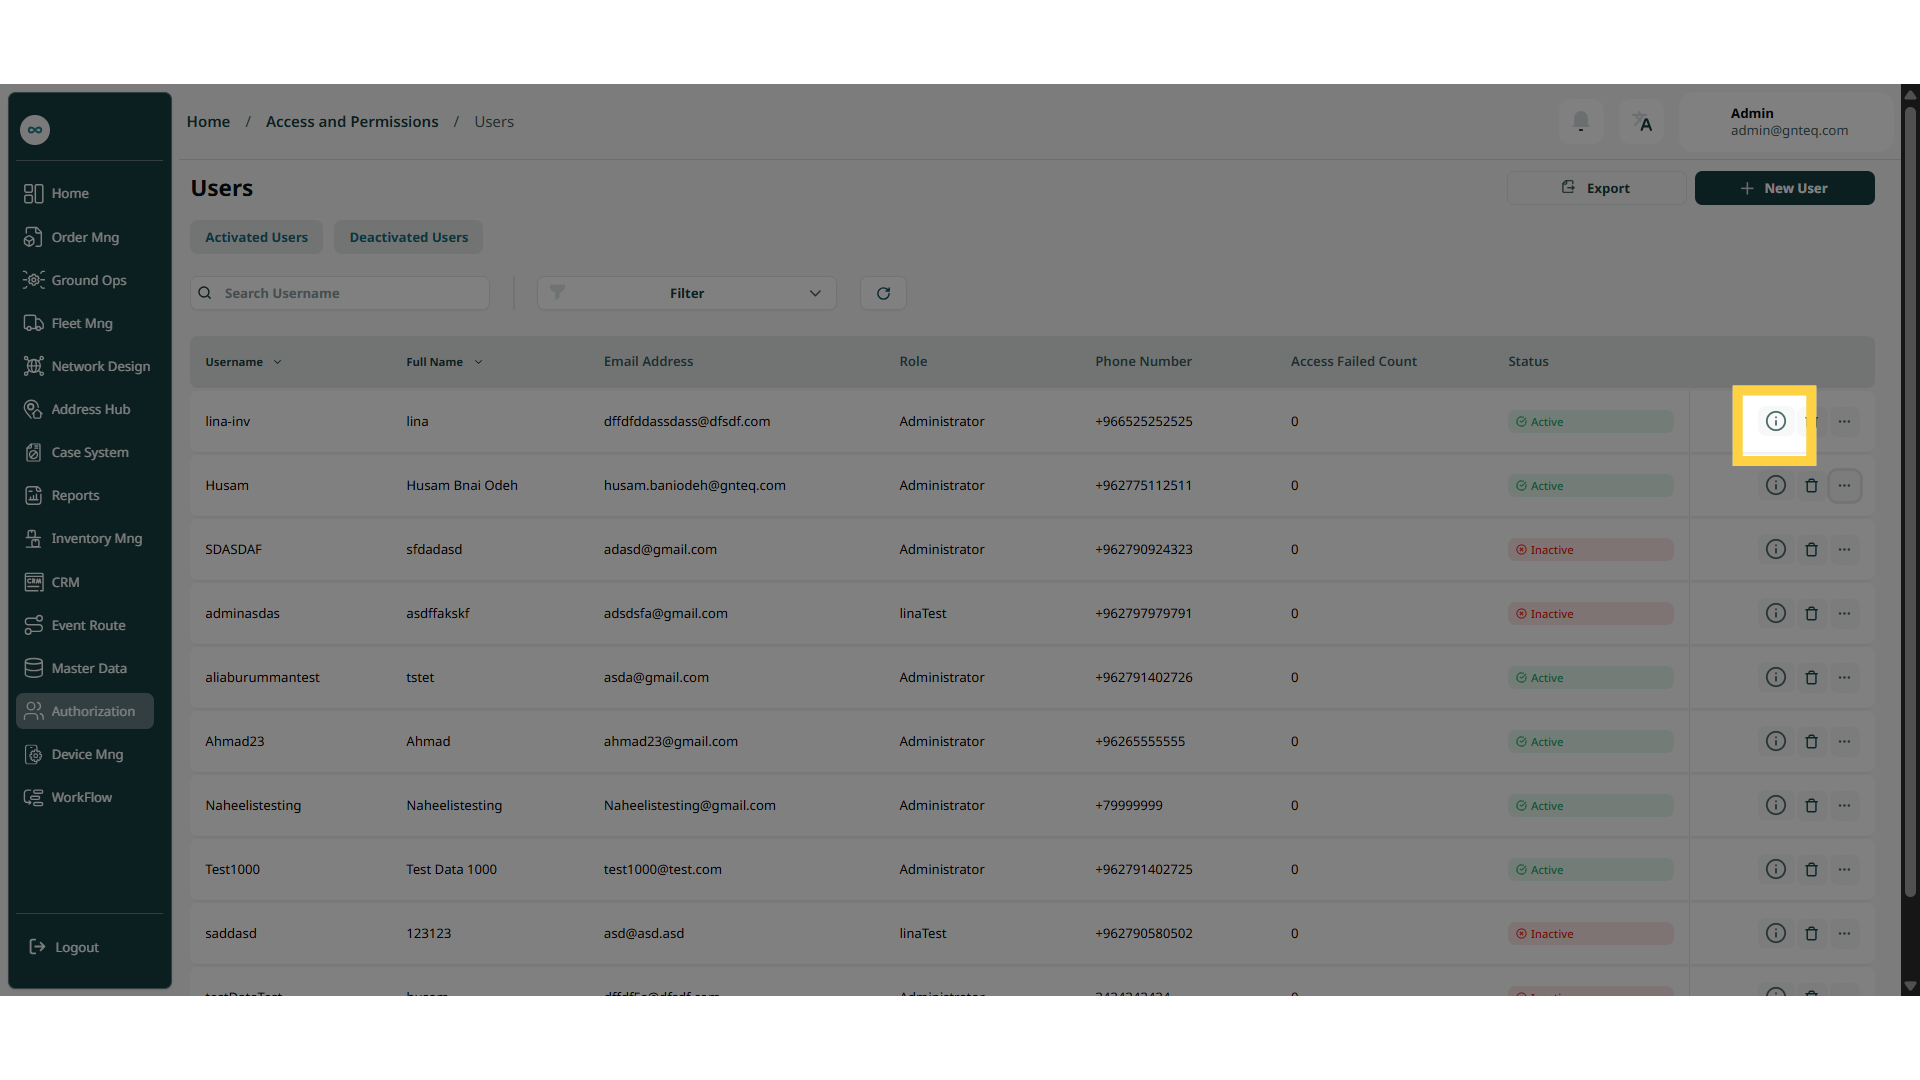
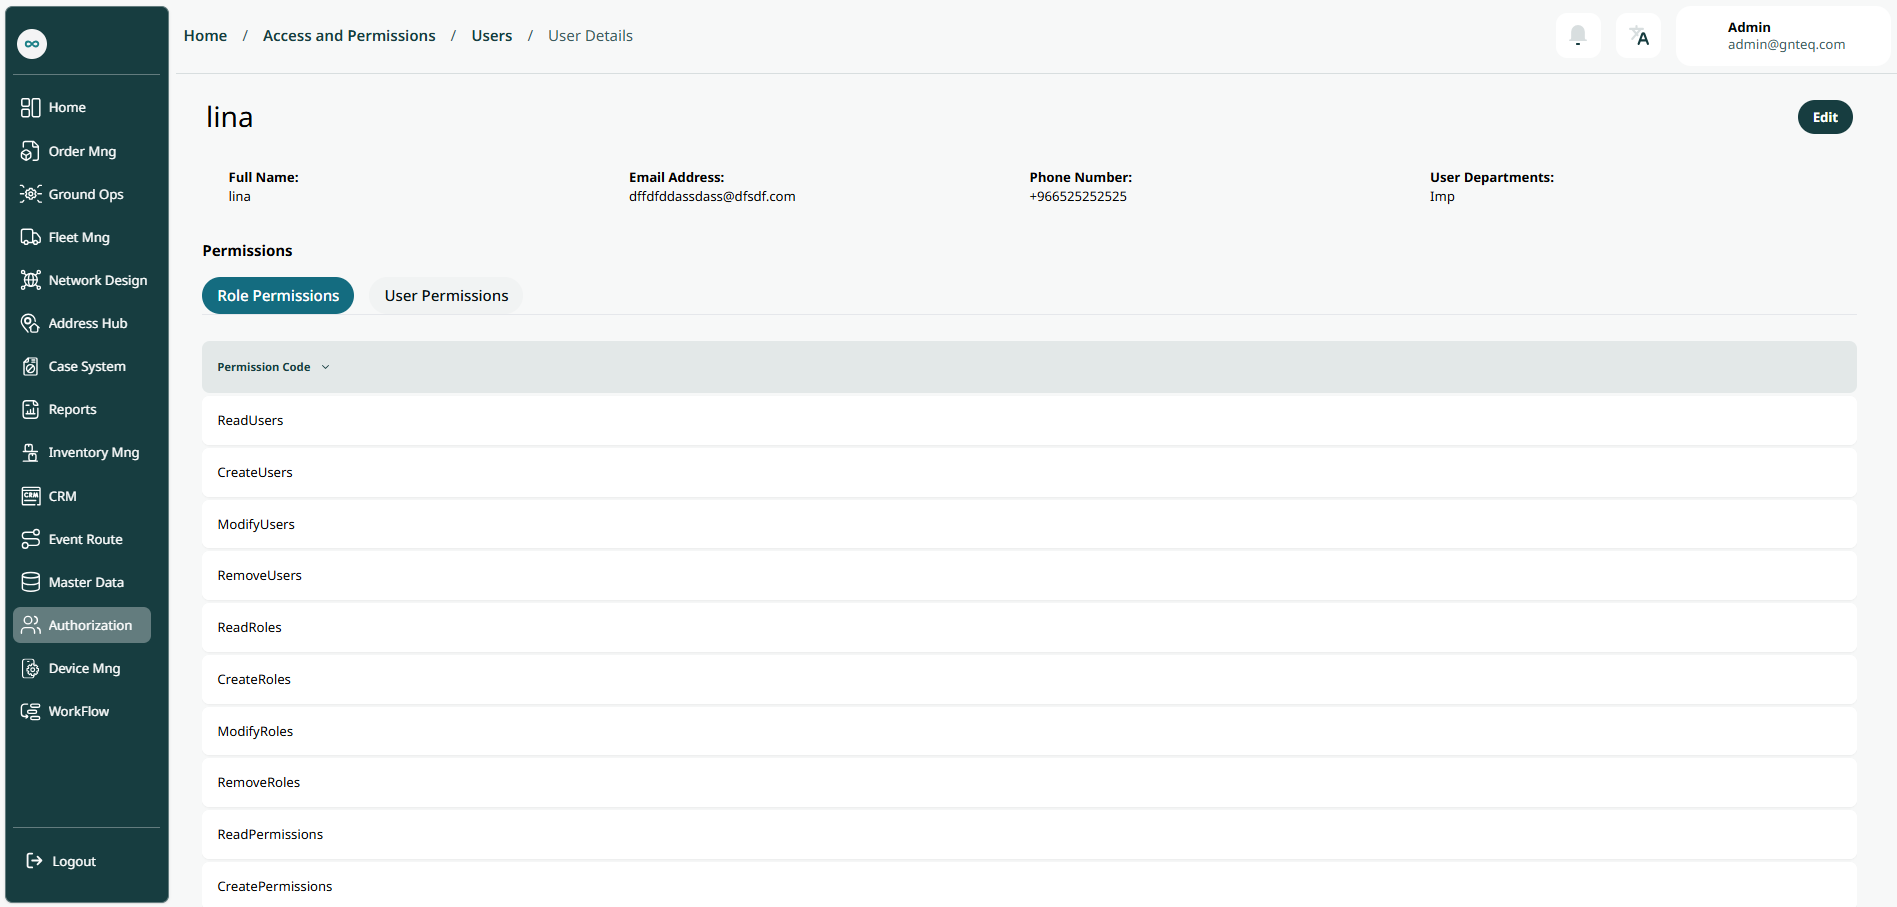
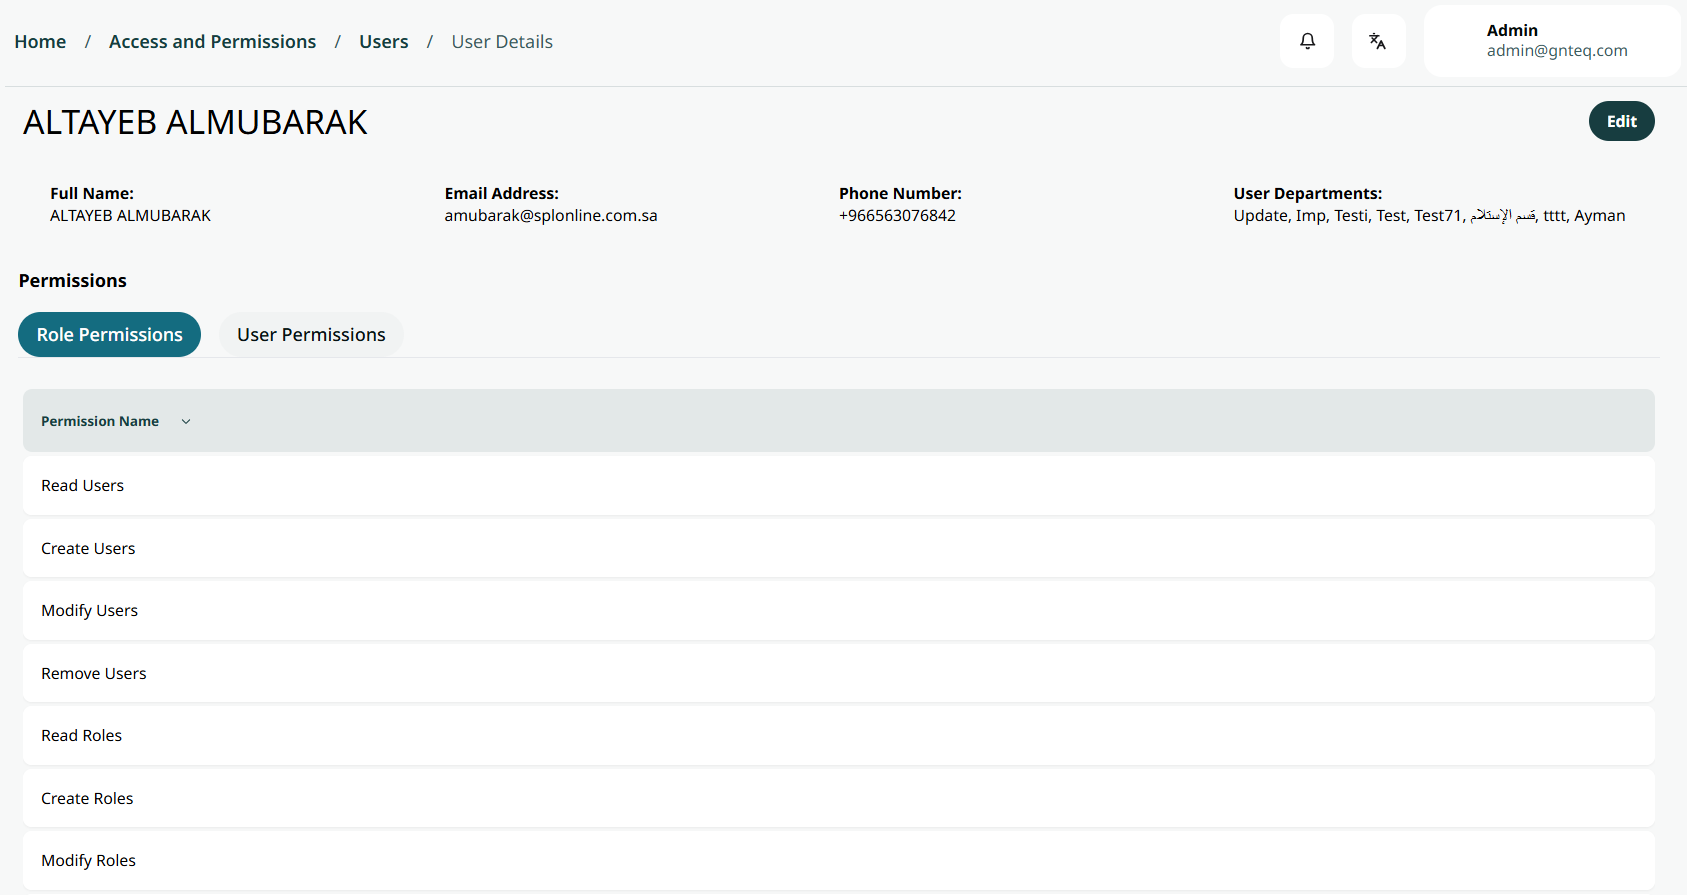
The admin can view the user information Details by navigating to the ‘Users’ screen via the Authorization Module and clicking on Users Information from Actions as follows:
2.1.1 Edit User Information
The admin can edit the user information by navigating to the ‘Users’ screen via the Authorization Module and clicking on Users Information from Actions, then clicking on Edit as follows:
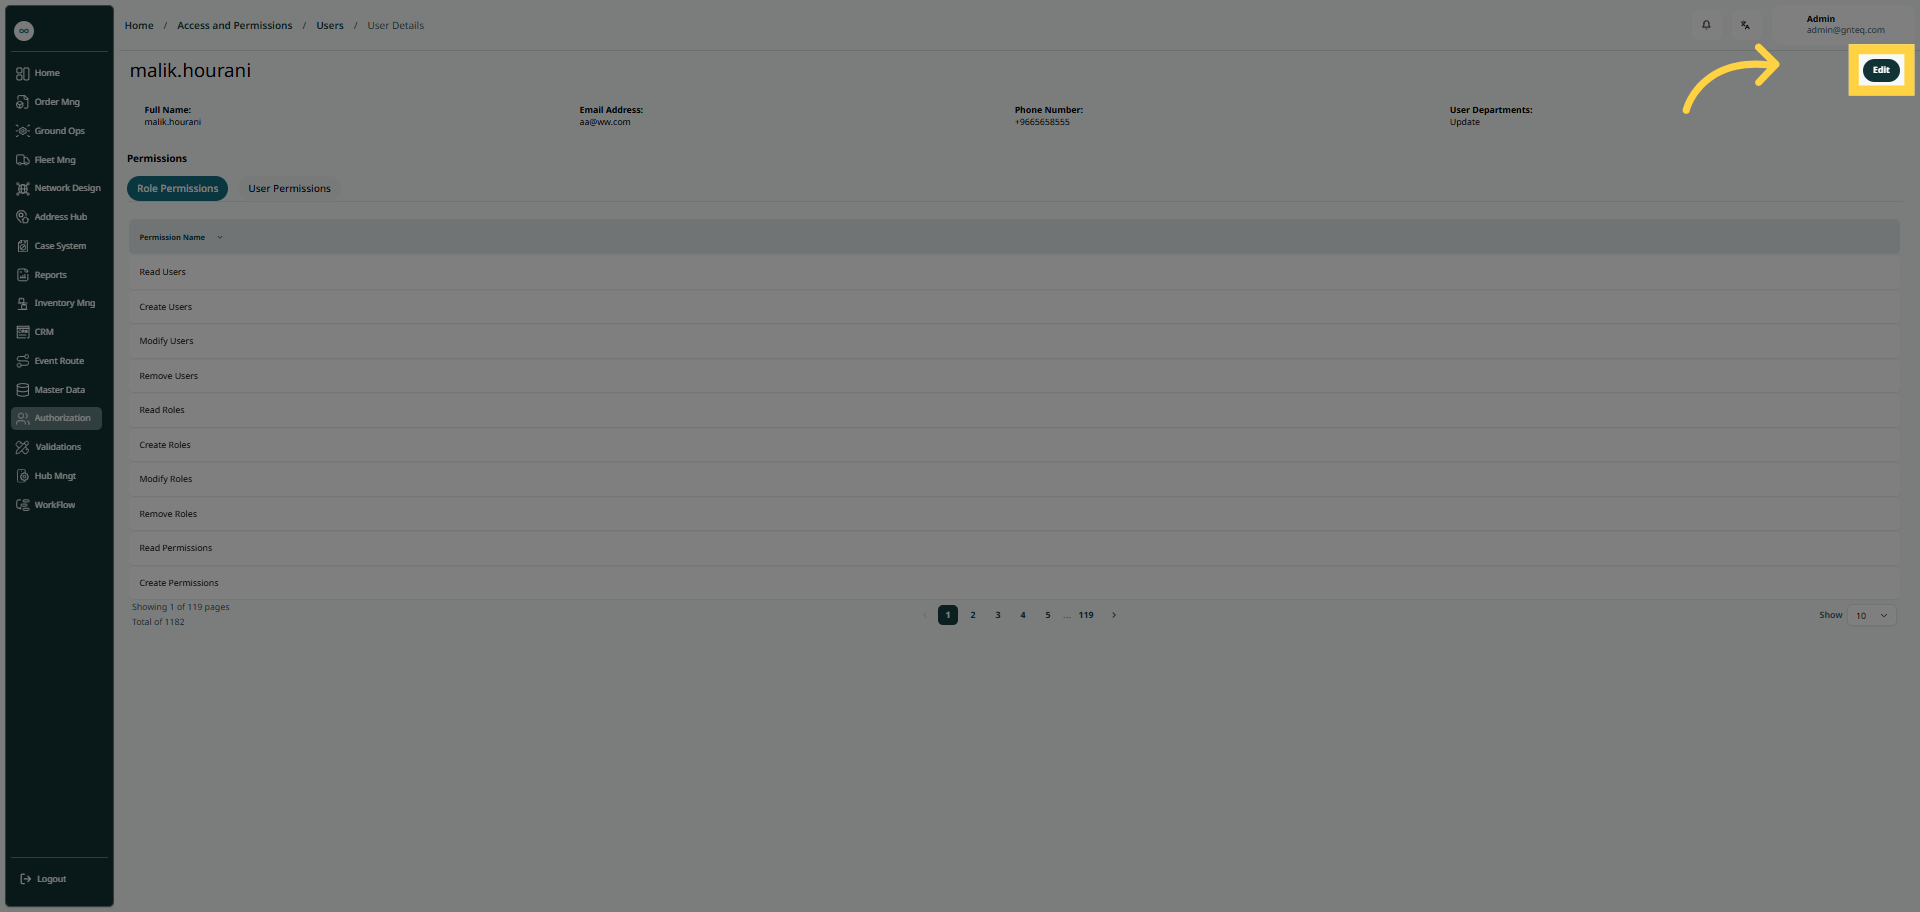
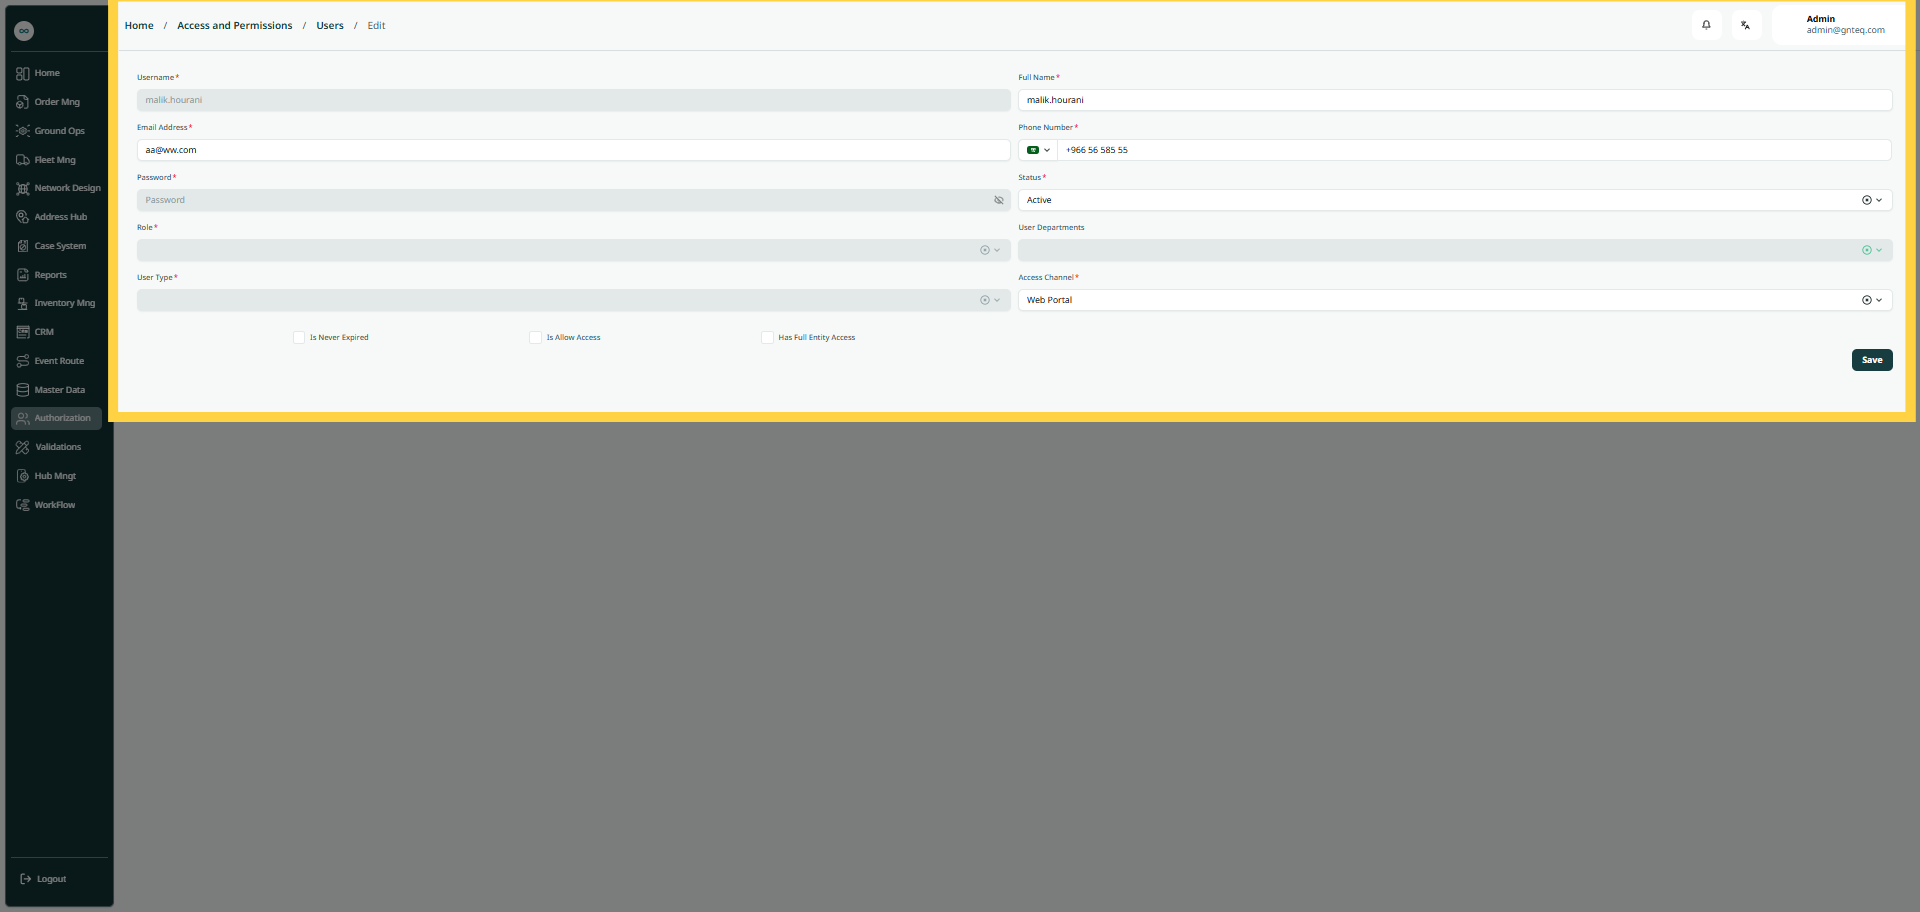
By clicking on Save, the information will be edited successfully.
2.2 Mange Entity
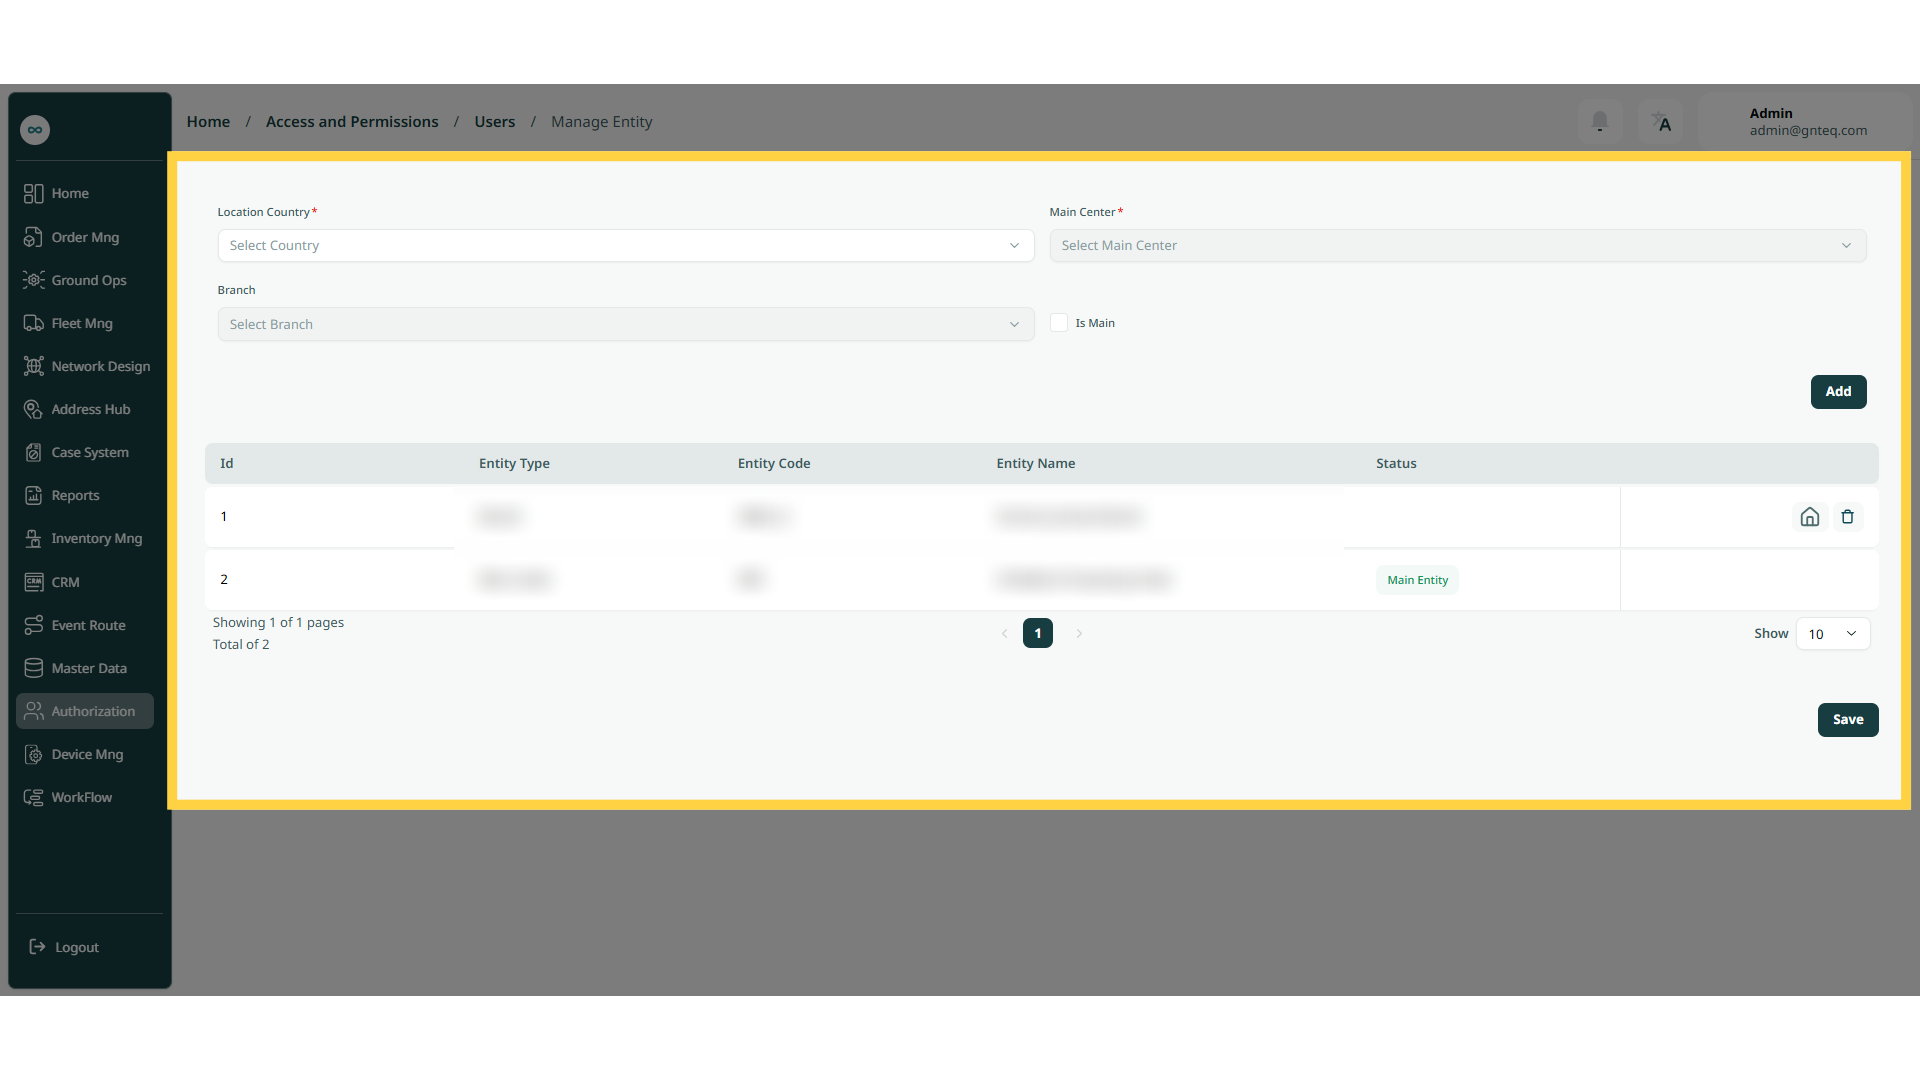
The admin can edit, delete, add certain locations by navigating to the ‘Users’ screen via the Authorization Module and clicking on Mange Entity from Actions as follows:
-
Location Country: this field represents the place that the user will serve.
-
Main Centre: this field represents the city where the user is registered or primarily operates.
-
Branch: this field represents the station or user that the vehicle will serve.
-
Is Main (Checkbox): Selecting this checkbox identify the entity as the main entity.
By clicking on Add, the system will add the Entity successfully.
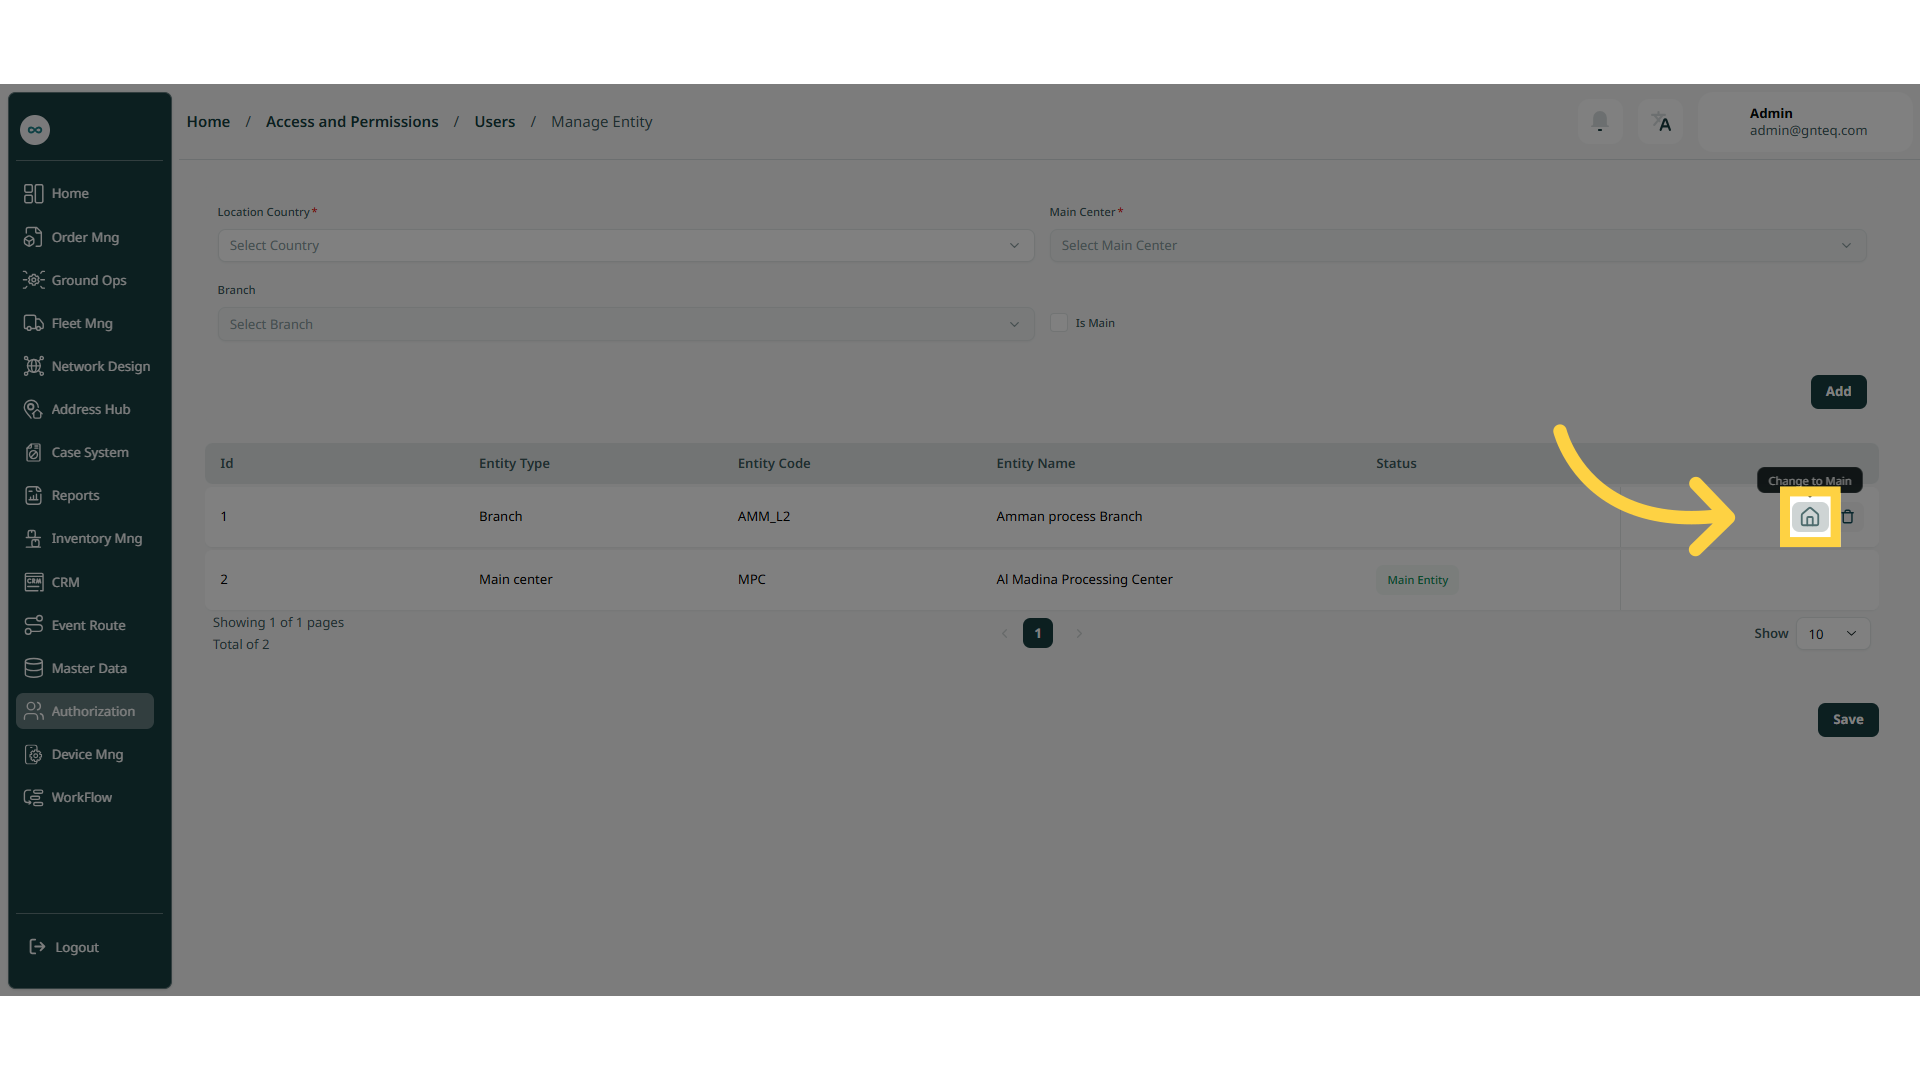
Note: by clicking on this icon the entity will become the main entity for the user.
By clicking on Save, the system will add the entity's to the user profile.
2.3 Edit User
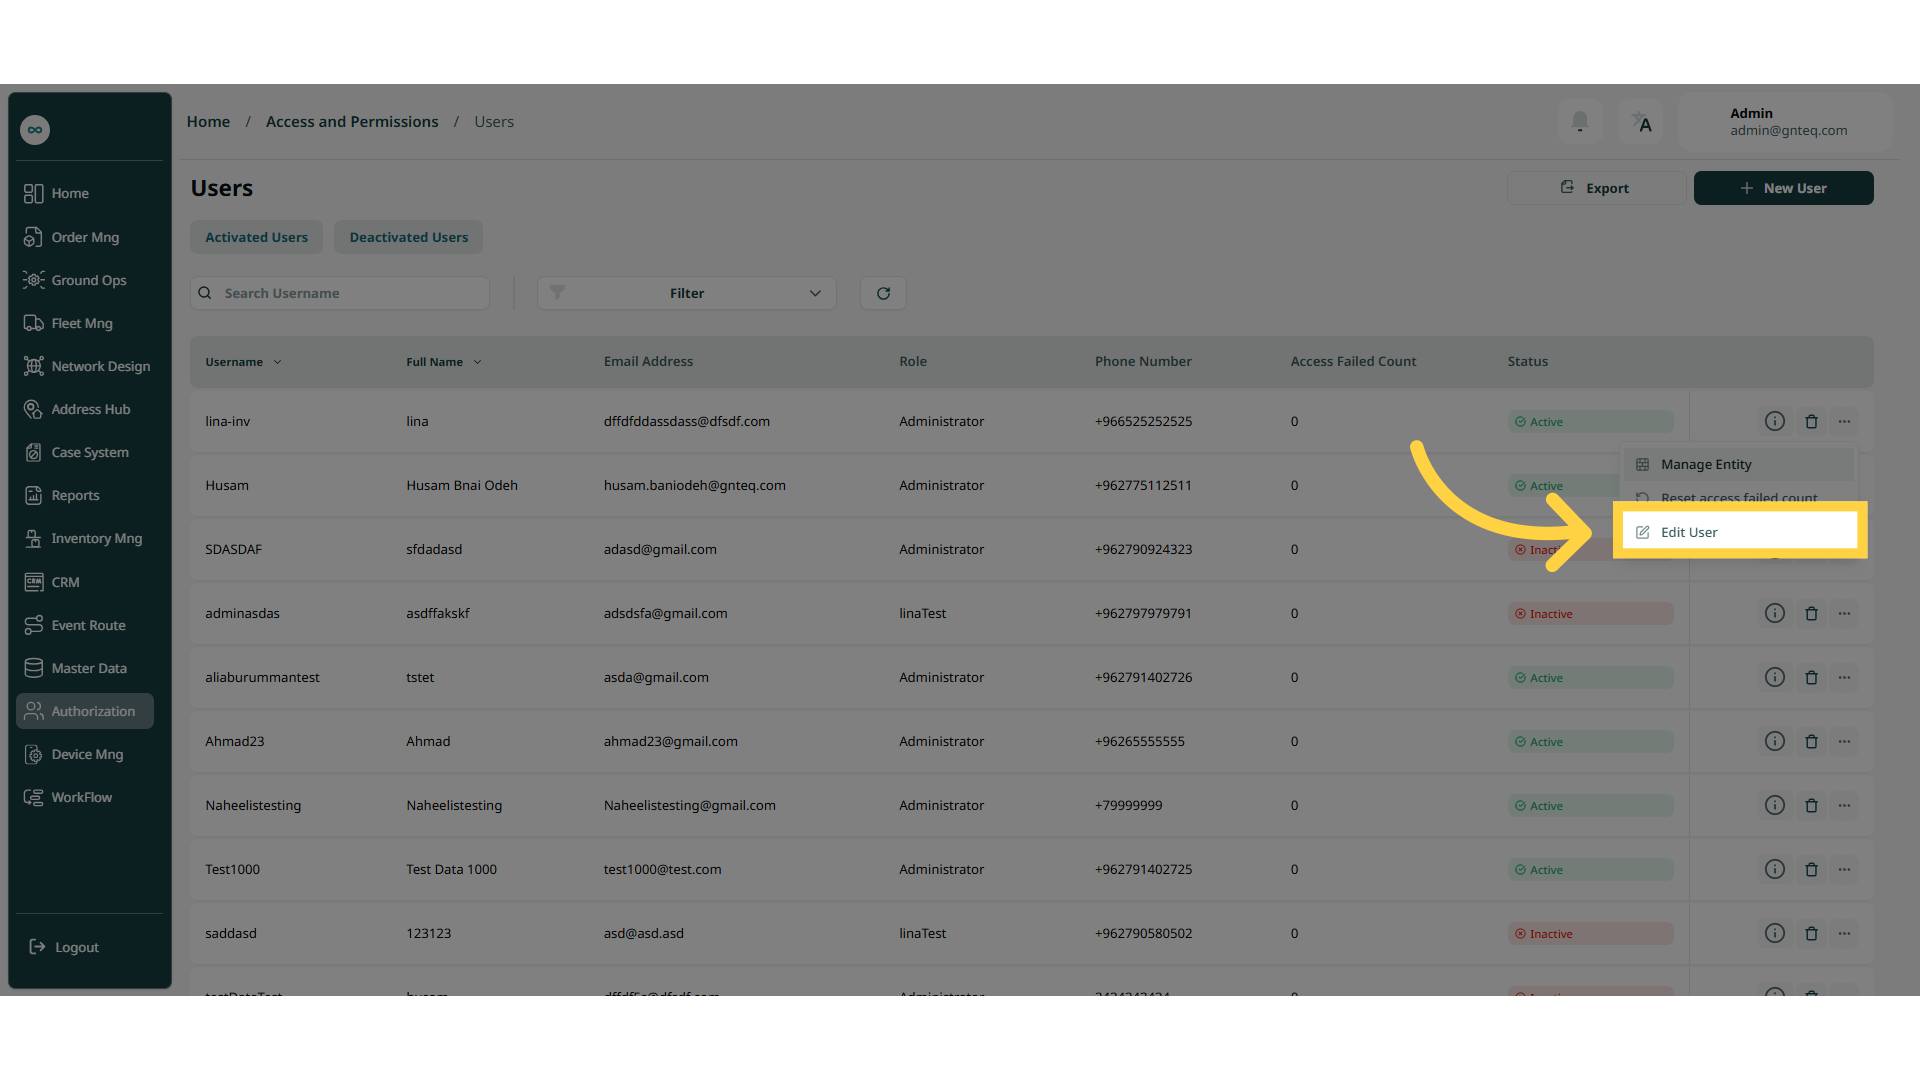
The admin can edit an existing user by clicking on Edit from Actions by navigating to the ‘Users’ screen via the Authorization Module.
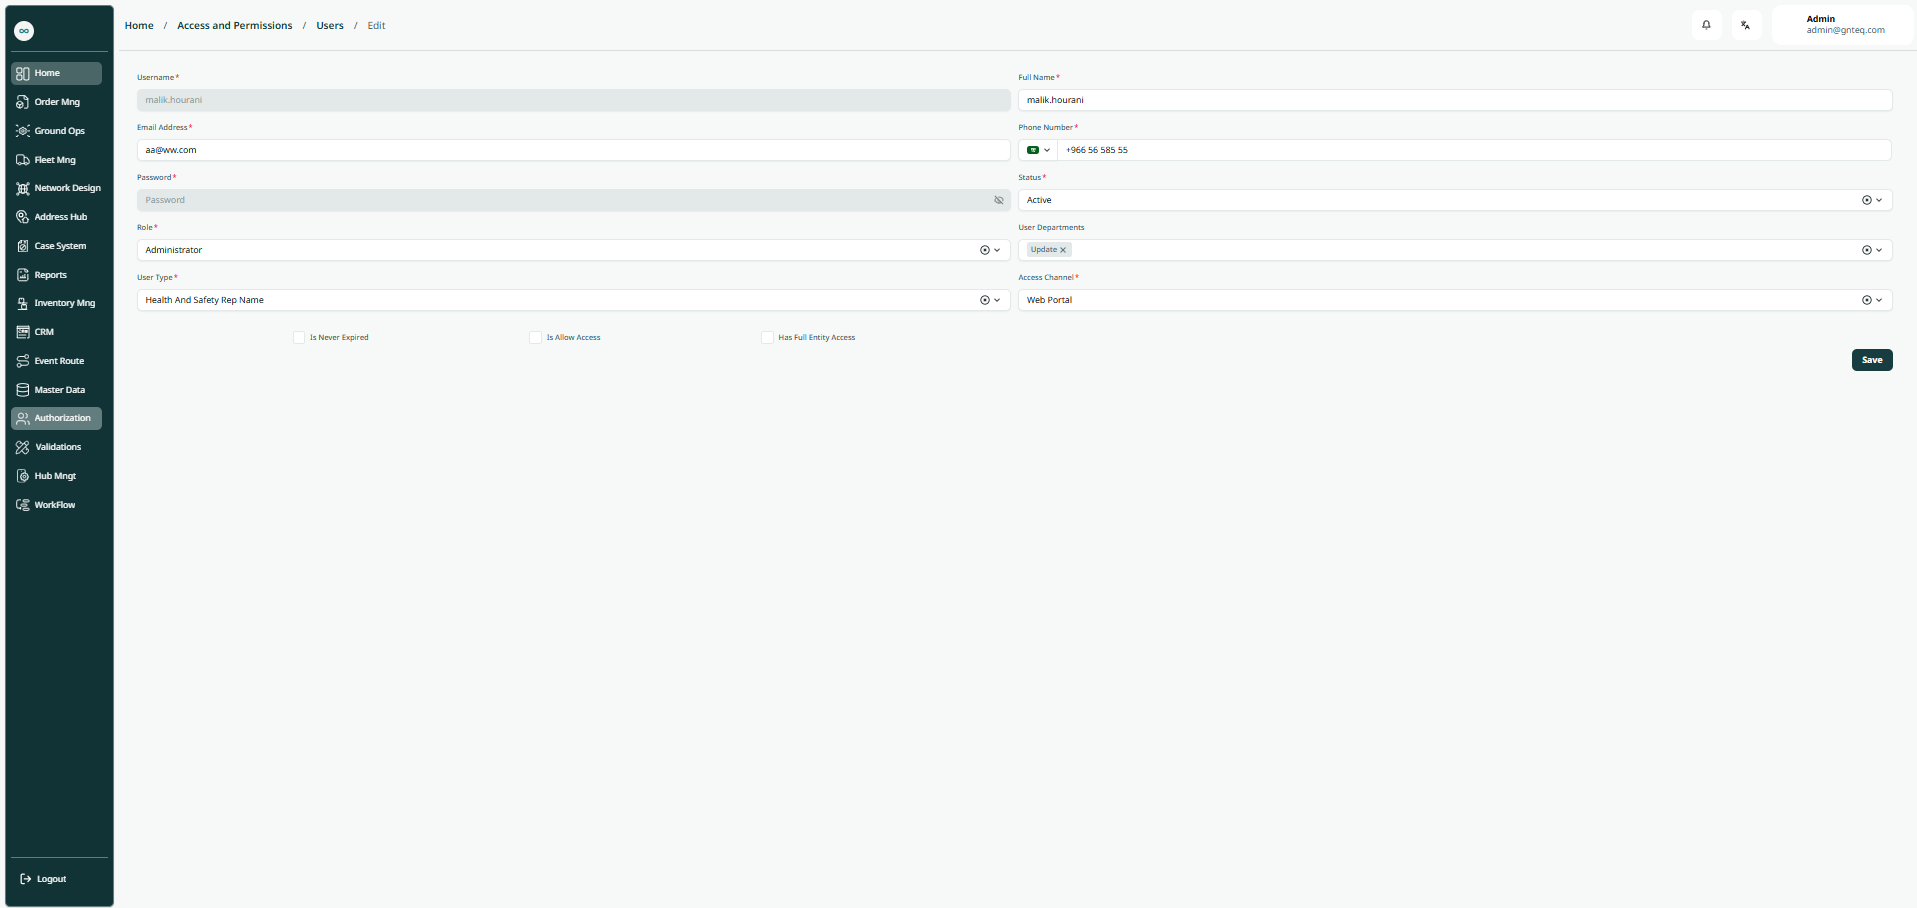
By clicking on ‘Save’, the system updates the information successfully.
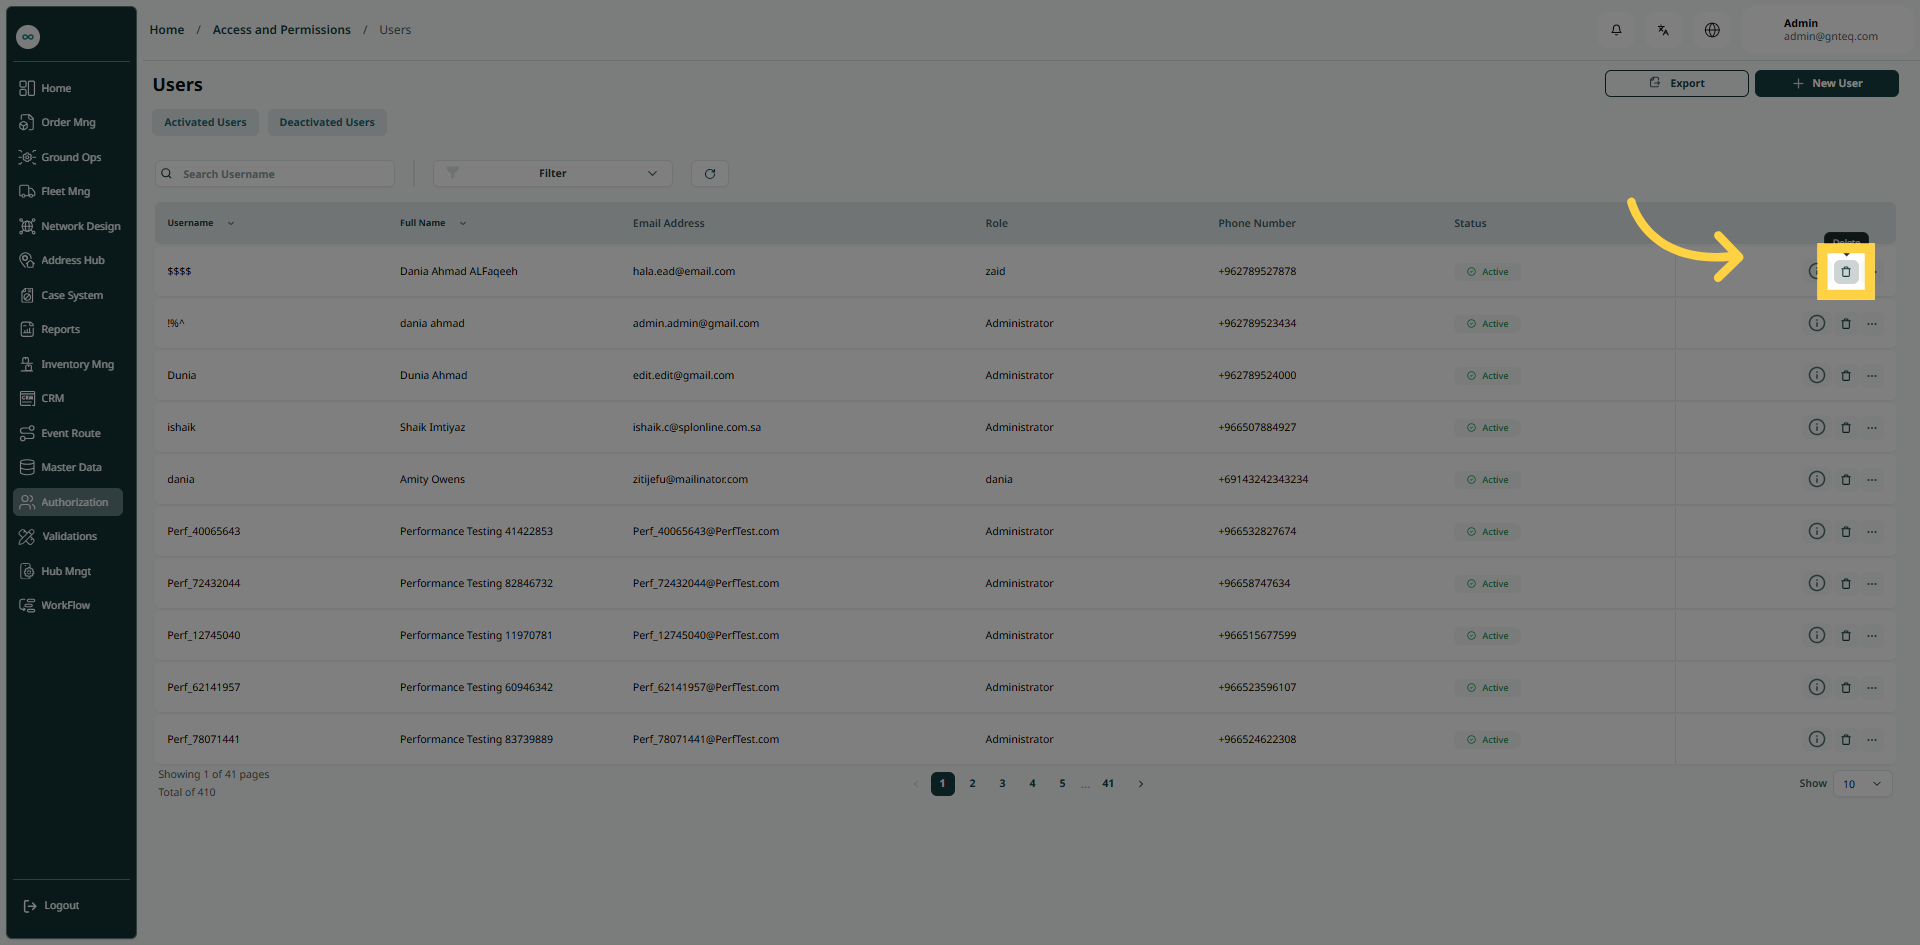
2.4 Delete User
The admin can delete an existing user by clicking on Delete from Actions by navigating to the ‘Users’ screen via the Authorization Module.
3. Add New User
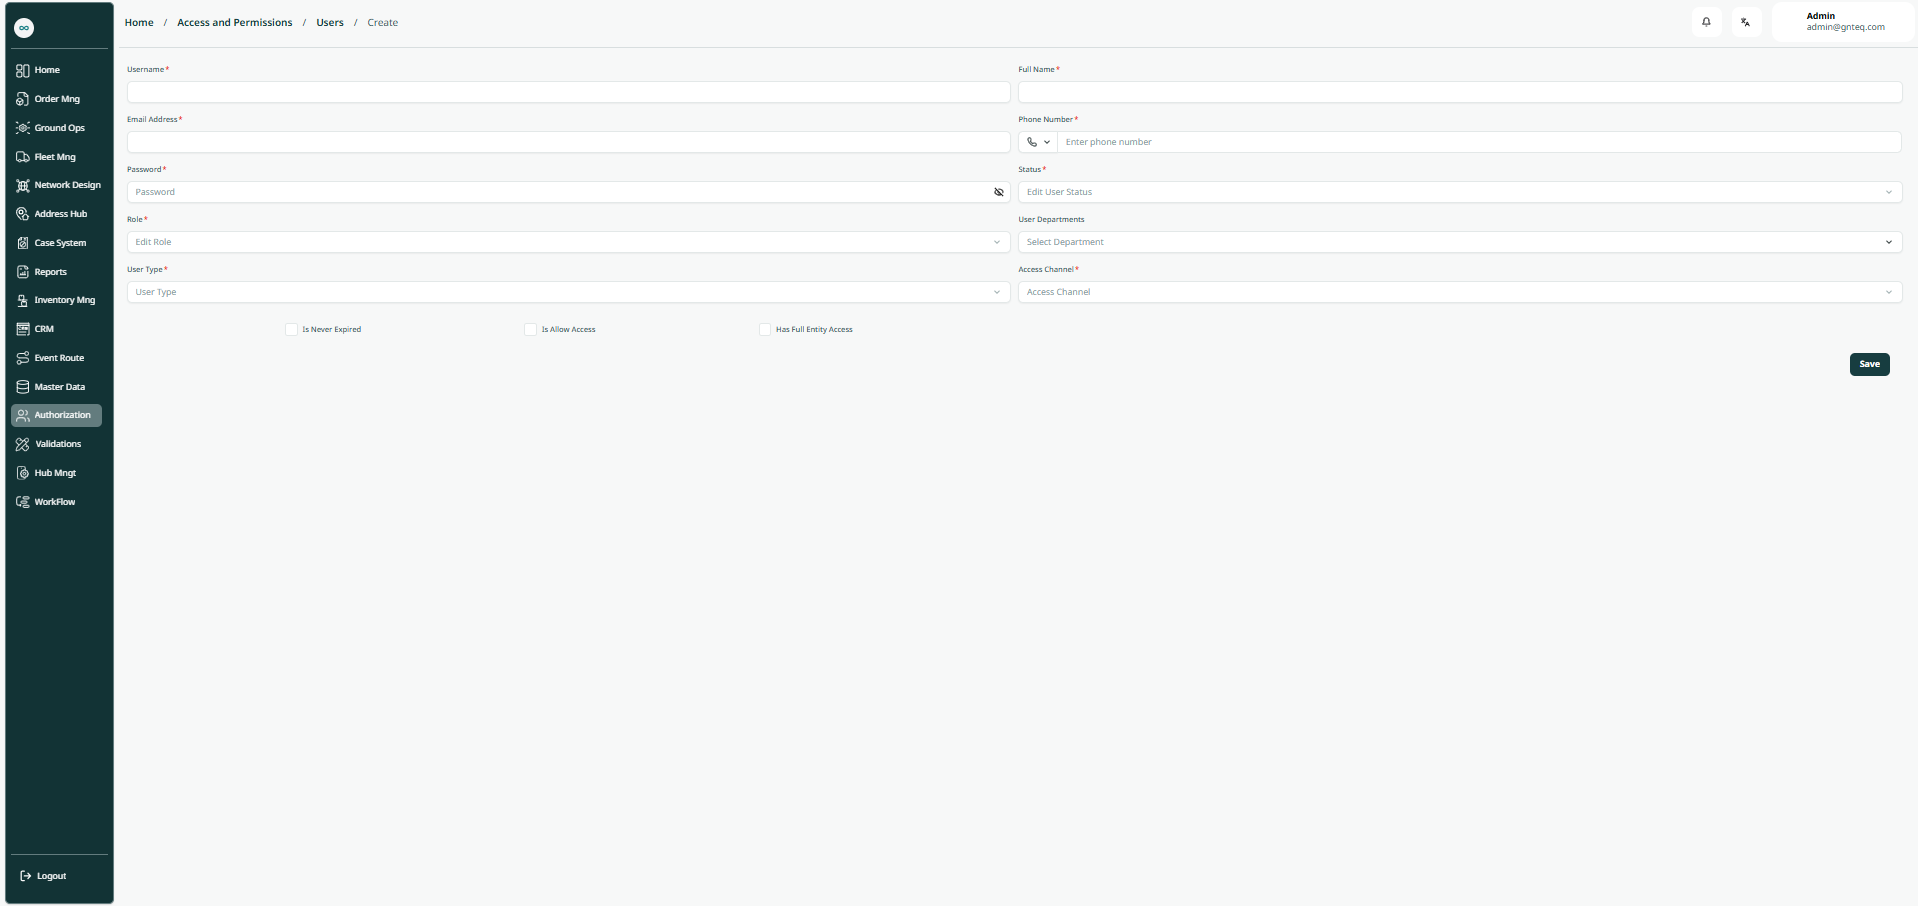
The admin can create a new user by navigating to the ‘Users’ screen via the Authorization Module and clicking on New User button:
-
User Name: this field represents the user’s name.
-
Full Name: this field represents the user’s full name, which included three parts.
-
Email Address: this field represents the user’s active email address.
-
Phone Number: this field represents the user’s main phone number.
-
Password: this field represents the user’s confirmed password.
-
Status: this field represents the status, where 'active' means that the user is currently functioning within the system, and 'inactive' means that the user is no longer part of the system
-
Role: this field represents the user role’s name .
-
User Departments: this field represents the user department.
-
User Type: this field represents the type of user in the system (security and safety officer, shift supervisor, etc.).
-
Access Channel: Access this field using the access method (web, partner connection)..
-
Has Full Entity Access (checkbox): if it is checked, it grants access to all entities in the system.
-
Is Allow Access (checkbox): if it is checked, then the user can access the system, it's not for API users.
-
Is Never Expired (checkbox): if checked, then the API user can generate a token, when needed, to access the system.
By clicking on Save, the user will be save successfully in the system.